


June 6, 2022
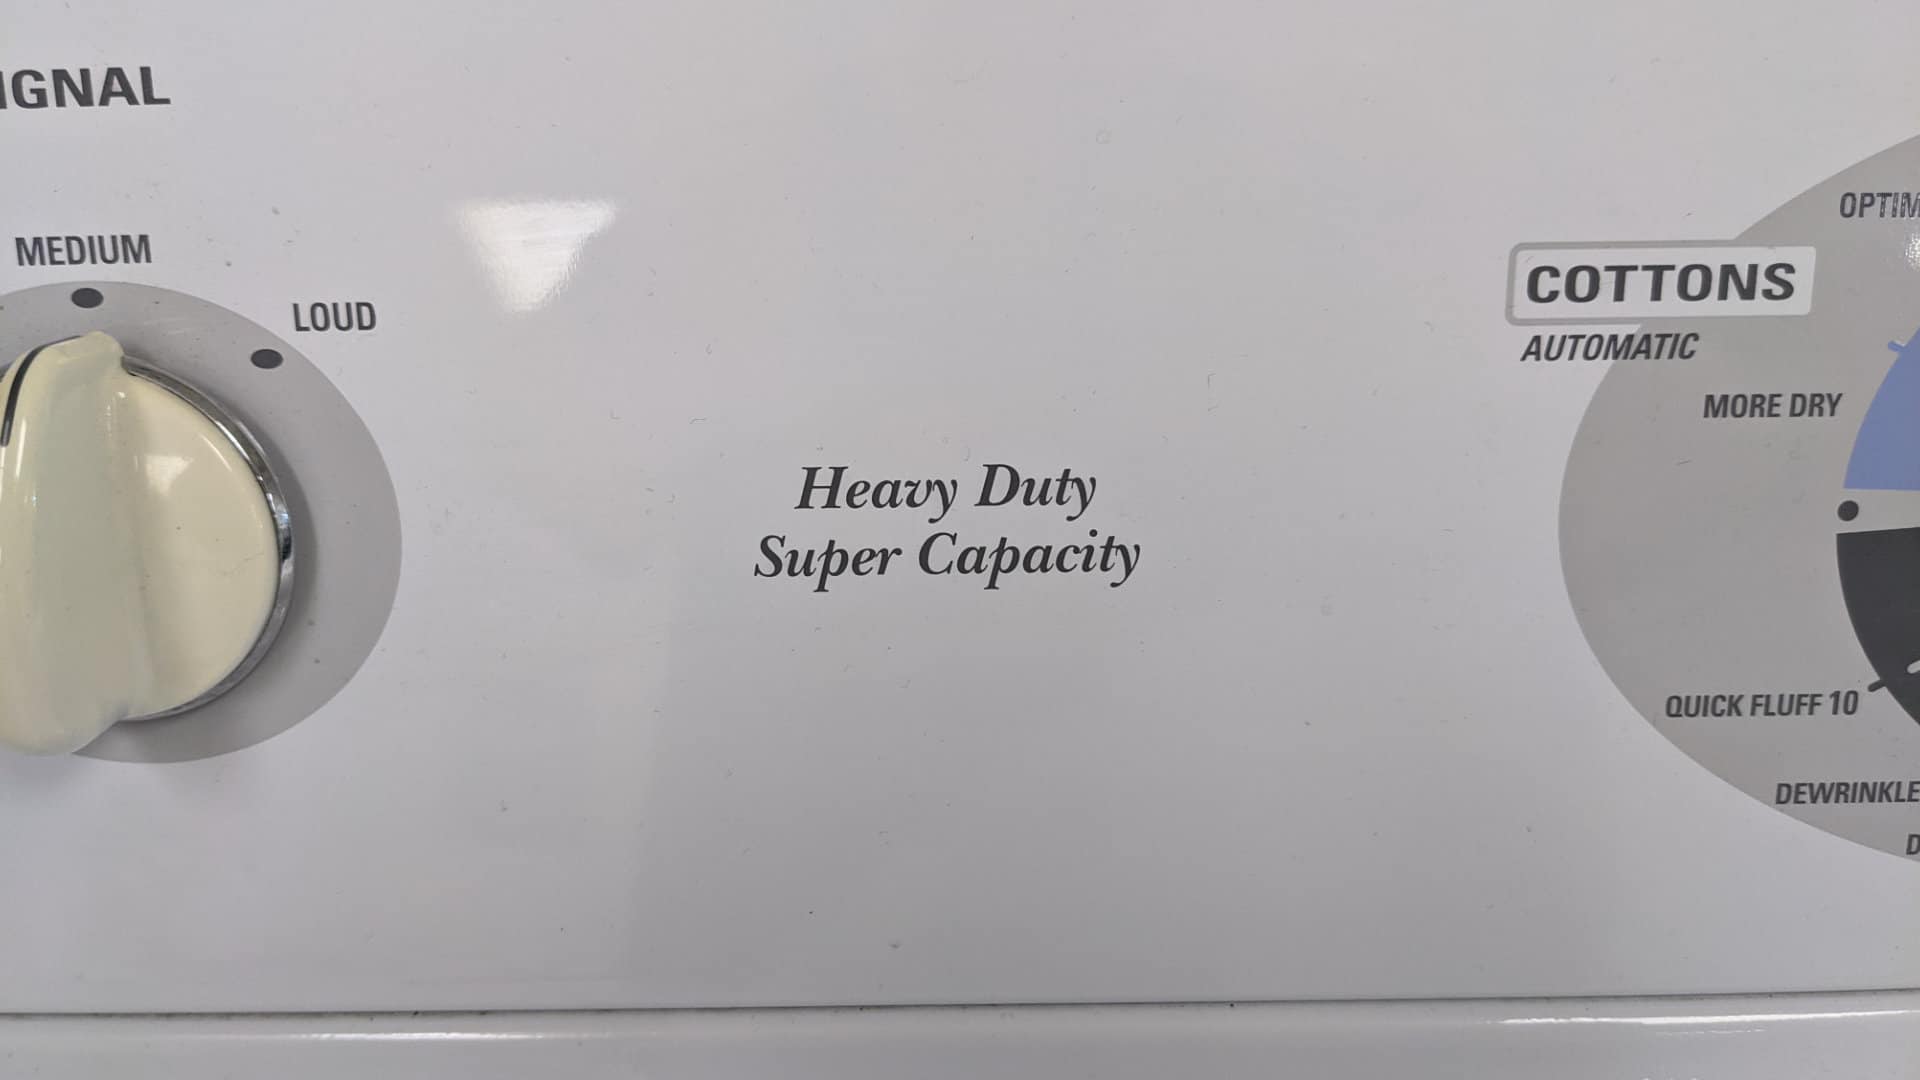
Dryer Repair
If your GE dryer is not spinning, it can not only ruin your day, but it might indicate a bigger issue. Now, not only will you need to re-wash and dry everything that was in that load, but you might also need to buy a new dryer. Before it comes to that, though, you should try and troubleshoot your GE dryer for any issues.
We are here to help and have completed a list of some of the most common reasons for GE dryers not spinning and what to do.
This guide applies to the majority of Amana washers, including the following:
CADE165RAL
CADG265RAL
CADG265RBL
CADG265RCL
DBLR333ET0AA
DBLR333ET0WW
DBLR333ET1AA
DBLR333ET1WW
DBLR333GT0WW
DBLR333GT1AA
DBLR333GT1WW
DBLR453ET0AA
Check the dryer door
GE dryers have a safety feature that requires the door to be fully closed before it will work. Unfortunately, slamming the door doesn’t always cut it, and it can lead to damage that results in bigger issues. It is important to ensure you are always closing the door firmly rather than slamming it closed. Once it is closed properly, then you can press start on your GE dryer.
The most common issue with a dryer door occurs with the door switch. If it is damaged or is worn out due to prolonged use, it will not be able to sense when the doors are closed, resulting in your dryer not working correctly.
To troubleshoot this problem, you should open up both sides of your appliance for a thorough examination. If you find any visible damage at all, you should replace the switch as soon as possible to avoid more costly repairs later on.
The child lock is on
Another common cause of your GE dryer not spinning is because the child lock is on. A good indicator that the child lock is on is if your dryer lights up by won’t start.
The child lock is a safety measure that is on most GE dryers nowadays. It prevents young children from hurting themselves if they are playing with the machine. The child lock can be activated or deactivated using a series of buttons or switches. They are generally located in the area behind the front loading door panel.
If this is the issue, you can breathe a sigh of relief; it is a quick and easy fix. There are two ways to deactivate the child lock. The first way is to hold down the button for 5 seconds; this will unlock it. The alternative way is by pressing the child lock button until GE dryer lights stop flashing.
If neither of these methods works for you, you should consult your owner’s manual or a model-specific post.
A broken drive belt
If your GE dryer is running but has not or has stopped spinning, one of the most common causes is a worn or broken drive belt. The solution is also something that do-it-yourself enthusiasts can have a crack at. There is also no shame in calling your local repair team if you prefer to have it fixed ASAP.
One way to preempt a broken drive belt is by paying attention to when it needs replacing. When your dryer starts taking longer to finish drying the load of clothes, it is usually a good indicator it is time for a new belt. The belt itself is like a large rubber band that wraps around two devices on the drum.
To troubleshoot a broken belt, all you need to do is reach in and try to turn the dryer drum by hand. If it spins easily, then it is a sure sign something down there needs repairing or replacing.
Follow these simple steps to replace your GE dryer drive belt.
- Unplug the appliance from its power source.
- Remove the dryer’s top panel (you may need to unthread a few screws) or lift the panel up and support it.
- Next, remove the dryer’s front panel. You may need to disconnect the door switch.
- Depending on your dryer model, there may be a bulkhead behind the front panel that supports the drum. You will need to remove any braces and disconnect any sensor wire connecters before you can uninstall the bulkhead.
- Next, you will need to release the tension of the old belt. Reach under the drum and depress the idler pulley to do so.
- Detach the belt from the motor drive pulley and idler pulley and slide it over the front of the drum to remove it.
- Slip the new belt over the drum. Ensure that the grooved side of the belt is facing inward to grip the drum when it’s moving.
- Next, loop the belt on the idler pulley and drive the pulley. You may need to consult a model-specific guide if you are unsure of the correct formation.
- Once it is on, rotate the drum by hand. This will help to align the new belt.
- Reinstall all components (bulkhead, wires, and sensors) before reinstalling the front panel. Don’t forget to reconnect the door switch wire connecter if necessary.
- Finally, reinstall the top panel and reconnect your appliance to the power source.
A malfunctioning drive motor
The final thing to check is your drive motor. A GE dryer’s drive motor is probably the most important part of the appliance. Thankfully GE has engineered its motors well, and they have for a long time. Unfortunately, that doesn’t mean they don’t break down, though.
A good test to do to see if your dryer motor is the problem is to start your dryer. If the lights turn on, but the drum won’t turn, it’s probably the dryer motor. If there is a strange noise like a humming noise, then it would indicate another issue like a faulty drive belt or rollers. If there is no sound to hear, however, then you may need to look at replacing the motor. While it is sometimes possible to repair a faulty motor, this can often be difficult and costly, in some cases more expensive than buying a new motor.
While your GE dryer should be a reliable, long-lasting appliance, like all appliances, sometimes things go wrong. If you are ever unsure what the problem is, it is best to call a qualified technician. They will be able to provide fast expert help and hopefully get you up and running again ASAP.
(323) 284-6780Give us a call!
May. 06, 2024
LG Washer LE Error Code Explained

May. 06, 2024
5 Reasons Your Oven Is Not Heating Up

May. 06, 2024
What Temperature Should a Freezer Be Set At?

Apr. 09, 2024
How to Fix the Whirlpool Washer F9 E1 Error Code

Apr. 09, 2024
How to Solve Frigidaire Dishwasher Lights Blinking

Apr. 09, 2024
Resolving the LG Washer UE Error Code (3 Easy Fixes)

Mar. 06, 2024
Replacing an Over-the-Range Microwave with a Range Hood

Mar. 06, 2024
How to Get Burnt Smell Out of Microwave (In 2 Easy Steps)

Mar. 06, 2024
7 Reasons Why Your Bosch Ice Maker Is Not Working

Feb. 05, 2024
Why Does Your Self-Cleaning Oven Smell?

Feb. 05, 2024
Why Is Your Whirlpool Cabrio Washer Not Spinning?

Jan. 03, 2024
Why Does My Refrigerator Make Noise?

Jan. 03, 2024
Troubleshooting the F2 Error Code on a Whirlpool Oven

Jan. 03, 2024
Rust Inside Microwave: Causes, Fixes, and Prevention Tips

Dec. 11, 2023