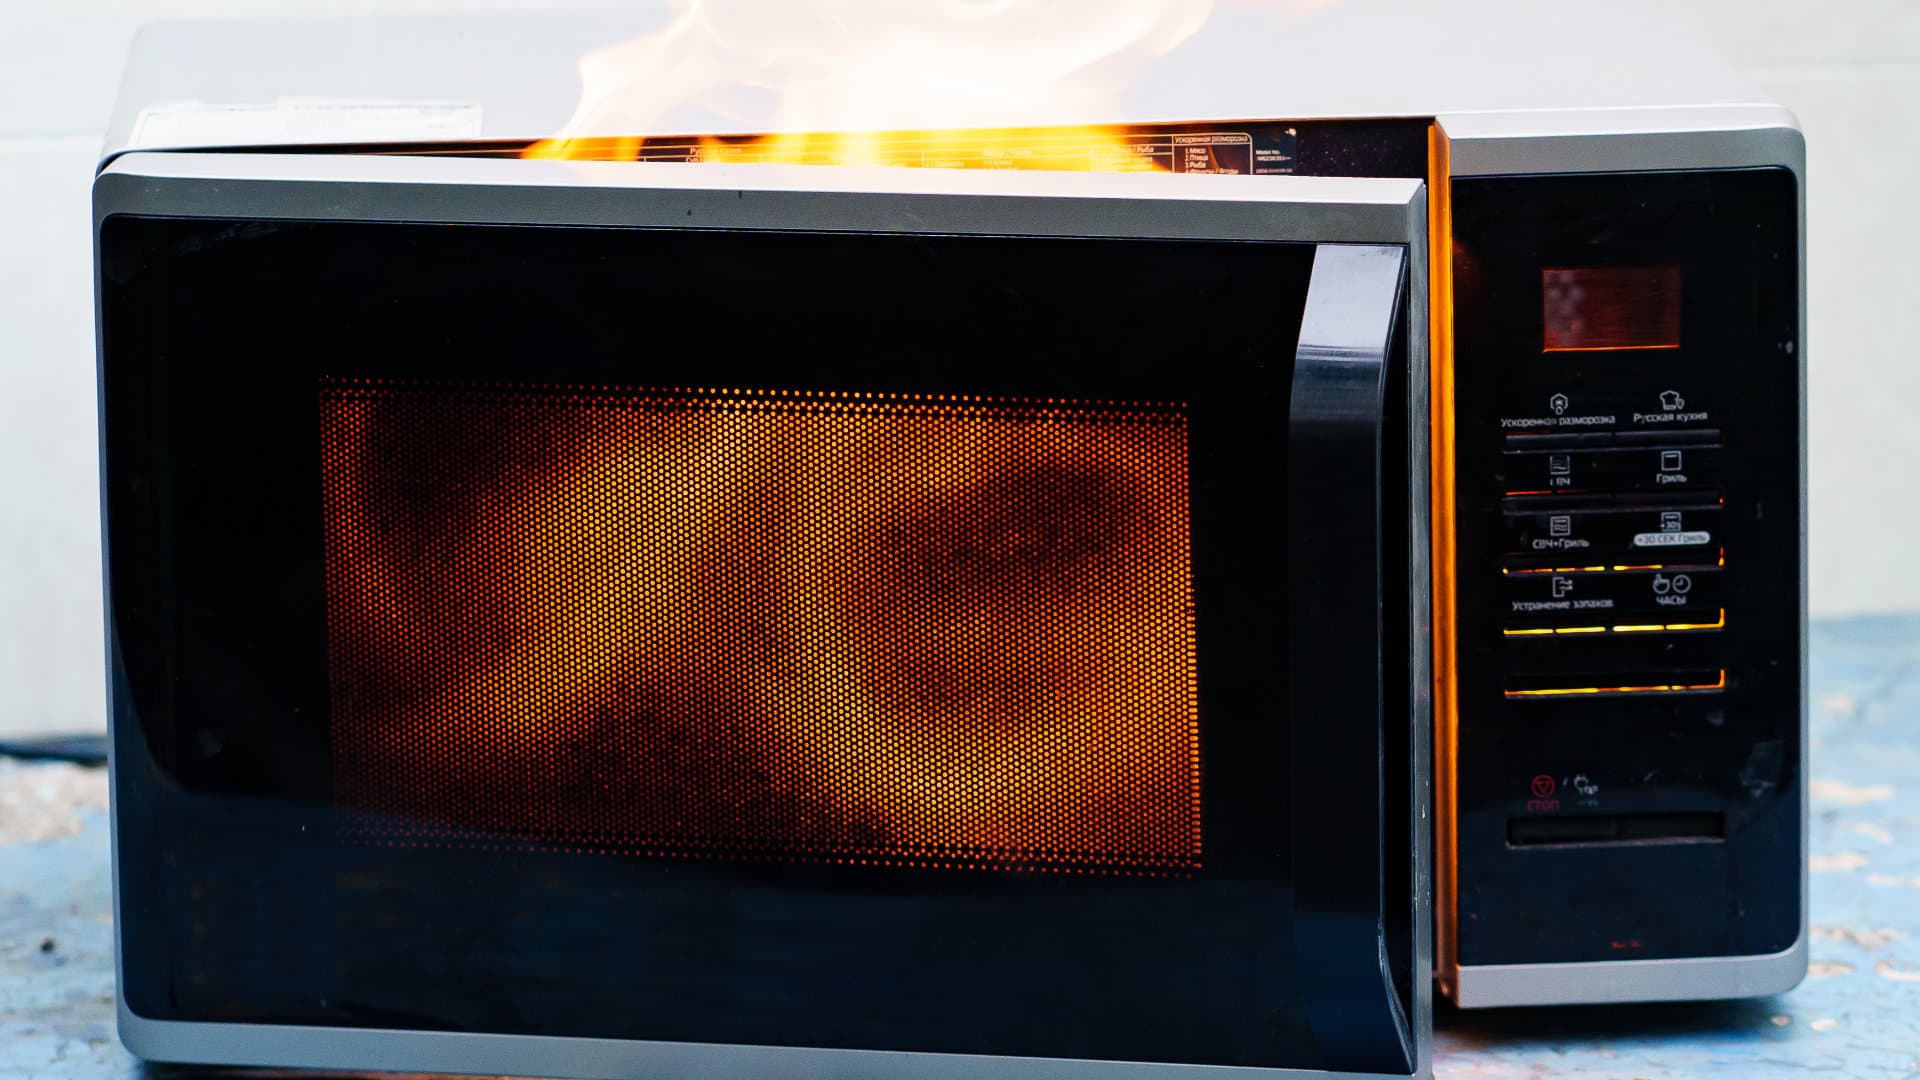
The stench of something burnt coming from your microwave can be incredibly off-putting. It is usually the result of accidentally heating food for too long, not cleaning the microwave adequately, or using a container that isn’t microwave-safe which ends up melting or burning.
The trouble is, this smell can often linger for a long time if it’s not dealt with appropriately, so it’s worth taking action right away to remove it.
Thankfully, there are some simple, proven methods for removing a burnt smell from a microwave, which we will provide step-by-step instructions for in this article. We’ll also offer some tips to follow to prevent this problem from occurring again in the future!
After reading and implementing these steps, your microwave should be smelling fresh once again, allowing you to use it with confidence, and without holding your nose!
How to Remove a Burnt Smell from Your Microwave
Removing the burnt smell from your microwave is a two-step process. The first step is to give the microwave a thorough clean to ensure there is no burnt food or grime still inside that could be continuously adding to the smell.
Once you’re confident it’s thoroughly clean, the next step is to use a deodorizing agent to remove any lingering odors.
Step 1: Thoroughly Clean the Microwave
There are a couple of methods you can use to clean the microwave for the best results. They are:
1. Steam Clean with Lemon or Vinegar
To steam clean, add either one cup of white vinegar and one cup of water, or a few slices of lemon and two cups of water, to a microwave-safe bowl.
Next, put the bowl inside the microwave and turn it on full power for 3 to 6 minutes until the contents start to boil. Then, turn off the microwave and leave it to sit for five to ten minutes without opening the door. This allows the acidic, hot steam to break down the grease and grime stuck to the microwave’s interior.
After waiting, remove the bowl, using an oven glove if it’s still hot. Then, dip a microfiber cloth into the same lemon or vinegar solution, wring it out so it’s damp, and then use it to thoroughly wipe the microwave interior and the door.
Be sure to get into all the nooks and crannies, around the door seal and the turntable plate, as this is where food and grime often hide and go undetected.
2. Scrub with Vinegar and Baking Soda
This second method is great if your microwave is very dirty. It involves making a paste from baking soda and water and applying it to the interior and any dirty surfaces with a damp cloth or sponge.
After letting the paste sit for 10 to 20 minutes, give the whole area a good scrub with a microfibre cloth, or a Mr. Clean Magic Eraser (melamine sponge) if the burnt-on food and grime are particularly stubborn. The baking soda is a gentle abrasive that helps dislodge and remove grime.
Next, spray white vinegar over the same surfaces, and scrub them again with a damp cloth for an additional clean. You can repeat both of these steps one more time if needed, until you feel the microwave is completely clean.
As with the first method, ensure you clean all the nooks and crannies, the turntable plate, and around the door seal. Baking soda and vinegar are both excellent natural cleaning agents, as well as deodorizers, which should help remove much of the burnt smell.
Step 2: Remove Lingering Odors
Now your microwave is sparkling clean and you know the main source of the burnt smell has been removed. However, there may still be a lingering yet subtler burnt smell, which you can remove with a deodorizing agent.
You have a few options here, so pick whichever you already have available at home. If you don’t have these things to hand, they are all easy to purchase at your local convenience store. Your options to consider are:
- Baking soda
- Activated charcoal
- Coffee grounds
- Cat litter
To complete step two, simply fill a bowl with one of the above substances, place it inside the microwave, close the door, and leave it there until all of the odors are absorbed.
Beware that it may take several days for the odor to be completely removed, so be patient. You can still use the microwave during this time, just always remember to remove the bowl first before using it!
How to Prevent Burnt Smells from Coming Back
Now that your microwave is looking good and smelling fresh, you probably don’t want to have to deal with this issue again in the future. To prevent it from returning, follow these tips:
- Always cover food: Covering food when heating in the microwave prevents splatters and traps moisture, which helps to prevent burning.
- Clean it regularly: If your microwave is cleaned regularly, and wiped with a damp cloth after each use, food and grime are unable to build up and burn over time.
- Don’t overheat food: Don’t opt for the set-and-forget approach when heating food. It’s better to heat in short bursts, stirring in between, and monitoring the progress as you go.
- Don’t use non-microwave-safe containers: Only use microwave-safe containers, such as ceramics without metal glaze, pyrex, glass, and other containers clearly labeled microwave-safe. This is the only way you can be sure they won’t melt or burn.
Summary
There you have it, our two-step process for removing that nasty burnt smell from your microwave, along with some tips to keep it away long term. By stocking baking soda and vinegar in your pantry at all times, you’ll be armed with the products and knowledge you need to tackle this unpleasant odor-related problem when it arises.

How to Fix the Whirlpool Washer F9 E1 Error Code
How to Solve Frigidaire Dishwasher Lights Blinking
Resolving the LG Washer UE Error Code (3 Easy Fixes)
Replacing an Over-the-Range Microwave with a Range Hood

How to Get Burnt Smell Out of Microwave (In 2 Easy Steps)

7 Reasons Why Your Bosch Ice Maker Is Not Working
Why Does Your Self-Cleaning Oven Smell?
Why Is Your Whirlpool Cabrio Washer Not Spinning?
Why Does My Refrigerator Make Noise?
Troubleshooting the F2 Error Code on a Whirlpool Oven
Rust Inside Microwave: Causes, Fixes, and Prevention Tips

4 Ways to Get Smell Out of Dishwasher

7 Steps to Fix a Whirlpool Oven Not Heating
What to Do When Your Washing Machine Smells Like Rotten Eggs
