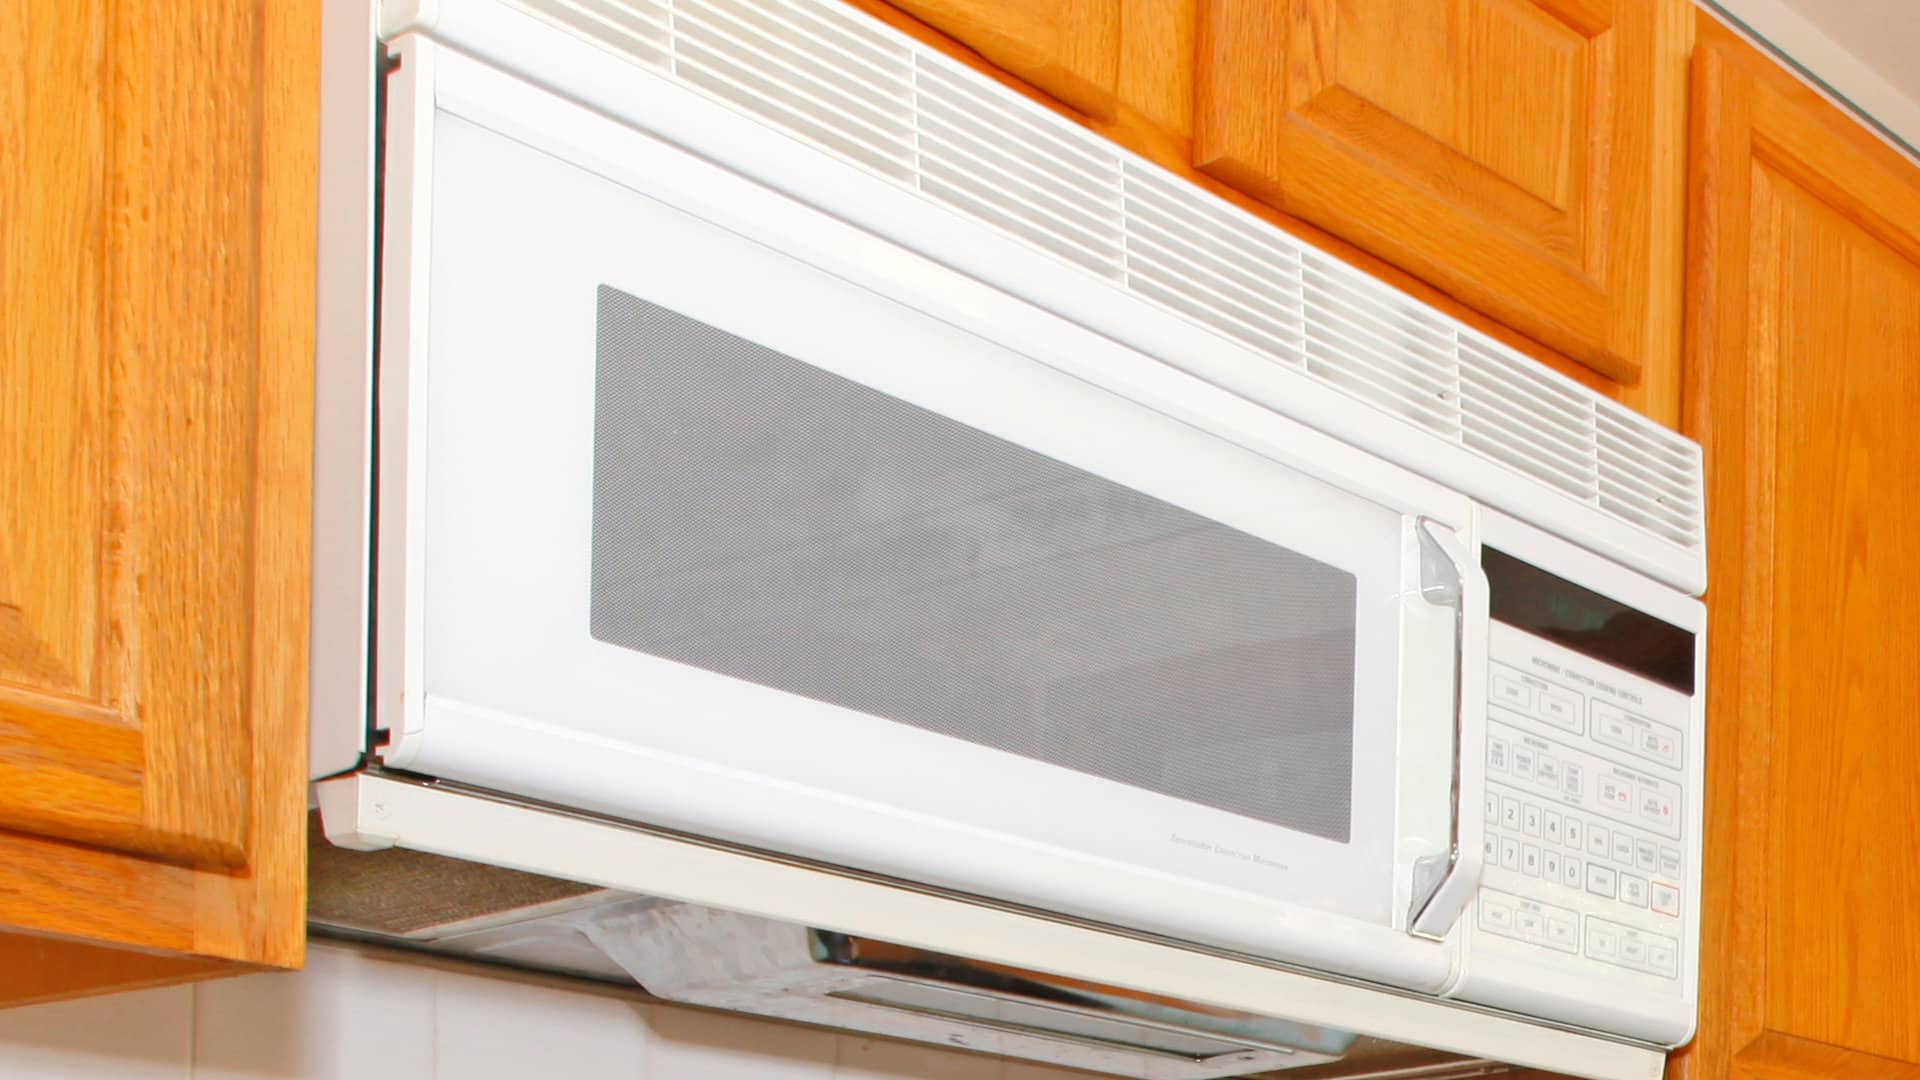
There are two phases to replacing an over-the-range microwave with a range hood. First, you need to remove the over-the-range microwave and then you need to install the new range hood in its place. This handy guide will walk you through step-by-step both of these phases.
For anyone with some DIY experience and the right tools, this task should be achievable. However, keep in mind that over-the-range microwaves and range hoods can be heavy, so you’ll need someone to help you support yours while carrying, removing, and installing it.
Phase 1: Removing the Over-the-Range Microwave
Removing the microwave should be relatively simple; however, the steps required can vary slightly depending on which model you have. Here are the typical steps required to remove an over-the-range microwave.
1. Remove Everything From the Cabinet Above
The upper cabinet is where the microwave usually plugs in and where the ductwork connects if your microwave has external venting. It’s a good idea to clear out any other items stored in this cabinet to give you room to work and easy access to the bolts, ductwork, and power cable.
2. Unplug the Over-the-Range Microwave
Disconnect the power to your microwave by unplugging it from the wall outlet, typically in the upper cabinet. You’ll need to unplug it in order to remove it, but it’s also essential to do this first for safety reasons.
3. Remove the Ductwork
This step won’t be needed if your over-the-range microwave has recirculating venting (this means it filters the air and recirculates it back into the kitchen).
However, if your microwave has external venting, you’ll need to disconnect the ductwork by unscrewing it where it attaches to the microwave, often on the top.
4. Remove the Bolts Securing the Microwave
An over-the-range microwave is typically held up by two or more bolts that run through the floor of the upper cabinet into the top of the microwave. To remove the microwave, you need to remove these bolts.
However, the front of the microwave will begin to drop as you remove these bolts, so either ask someone to support the microwave while you remove the bolts or ensure you’re strong enough to support it yourself while doing so.
Removing the bolts is simply a case of using a cordless drill or a screwdriver to unscrew them.
5. Remove the Microwave
Although the bolts holding up the microwave have now been removed, the microwave is still partially supported by its mounting plate. You can remove the microwave from the mounting plate by tilting the front of the appliance downward and then lifting it up from the mounting plate.
Again, this is best done with the support of a second person as over-the-range microwaves can weigh between 44-77 lbs (20-35 kg). You’ll also need to feed the power cord down through the pass-through hole in the upper cabinet, which can be difficult, especially while holding the heavy microwave.
6. Remove the Mounting Plate
The final step is to remove the mounting plate. You can do this by unscrewing the bolts or screws that attach it to the wall.
Phase 2: Installing the Range Hood
Installing the range hood is more involved than removing the microwave. Again, exact instructions can vary depending on the range hood you purchase, so be sure to check the user manual for specific details. Here are the typical steps required to install a range hood.
1. Decide Where You’ll Place the Range Hood
Most range hoods come with a paper template you can use to help you determine where the vent will go. Tape the template to the wall where you plan to install the new range hood. Then, use the template to mark on the wall where the vent hole will go.
If your range hood doesn’t come with a template, you’ll have to use a tape measure to work out where the vent hole will go.
2. Check That the Vent Location Is Suitable
It’s best to cut a small hole in the drywall first so you can check whether there is any plumbing or wiring in this area. If the area is clear, it’s a suitable location for the vent hole.
3. Cut the Vent Hole
Starting with the interior wall, cut a vent hole using a reciprocating saw or oscillating tool that’s 6 to 7 inches wide. Then, use a drill to make four locator holes around the perimeter of the vent hole. Make sure these will be visible from the exterior wall.
Next, go outside and use these locator holes to guide you in cutting the vent hole in the exterior wall. Which tool you use will depend on whether you have a smooth or uneven exterior wall, and what material it’s made of.
4. Fit the Vent Cap
Position the vent cap over the exterior vent hole, making sure it is centered. Then, screw it in place and calk around the edges with exterior-grade silicone for a waterproof seal.
5. Prepare the Damper
Many range hoods come with a damper. Place it in the interior vent hole and measure how much space there is that you need to duct. Cut out the amount of ducting you need and check that it fits. Then, mark the outside of the interior damper so you know where to secure the duct to the damper and then tape it in place.
6. Connect the Wiring
Most range hoods need to be hard-wired rather than plugged into a wall outlet. Therefore, you’ll need to call in an electrician to set this up for you.
7. Fit the Range Hood
This is where you’ll need an extra pair of hands. Have another person help you position the range hood so it aligns with the vent hole and template markings. Place the screws through the mounting slots and start securing the range hood in place. Before fully tightening the screws, check that the range hood is level. Connect the ductwork to the range hood and secure it in place.
As was mentioned earlier, exact instructions will vary, so always follow your range hood’s installation instructions.
8. Complete the Wiring
Follow the manufacturer’s instructions provided for your range hood. If you have no experience and are unsure how to connect the electrical wiring, it’s best to call in an electrician to do it for you.
9. Test the Range Hood
Now that the range hood is installed, turn it on to check that everything is working correctly.

How to Fix the Whirlpool Washer F9 E1 Error Code
How to Solve Frigidaire Dishwasher Lights Blinking
Resolving the LG Washer UE Error Code (3 Easy Fixes)

Replacing an Over-the-Range Microwave with a Range Hood
How to Get Burnt Smell Out of Microwave (In 2 Easy Steps)

7 Reasons Why Your Bosch Ice Maker Is Not Working
Why Does Your Self-Cleaning Oven Smell?
Why Is Your Whirlpool Cabrio Washer Not Spinning?

Why Does My Refrigerator Make Noise?
Troubleshooting the F2 Error Code on a Whirlpool Oven
Rust Inside Microwave: Causes, Fixes, and Prevention Tips

4 Ways to Get Smell Out of Dishwasher
7 Steps to Fix a Whirlpool Oven Not Heating
What to Do When Your Washing Machine Smells Like Rotten Eggs
