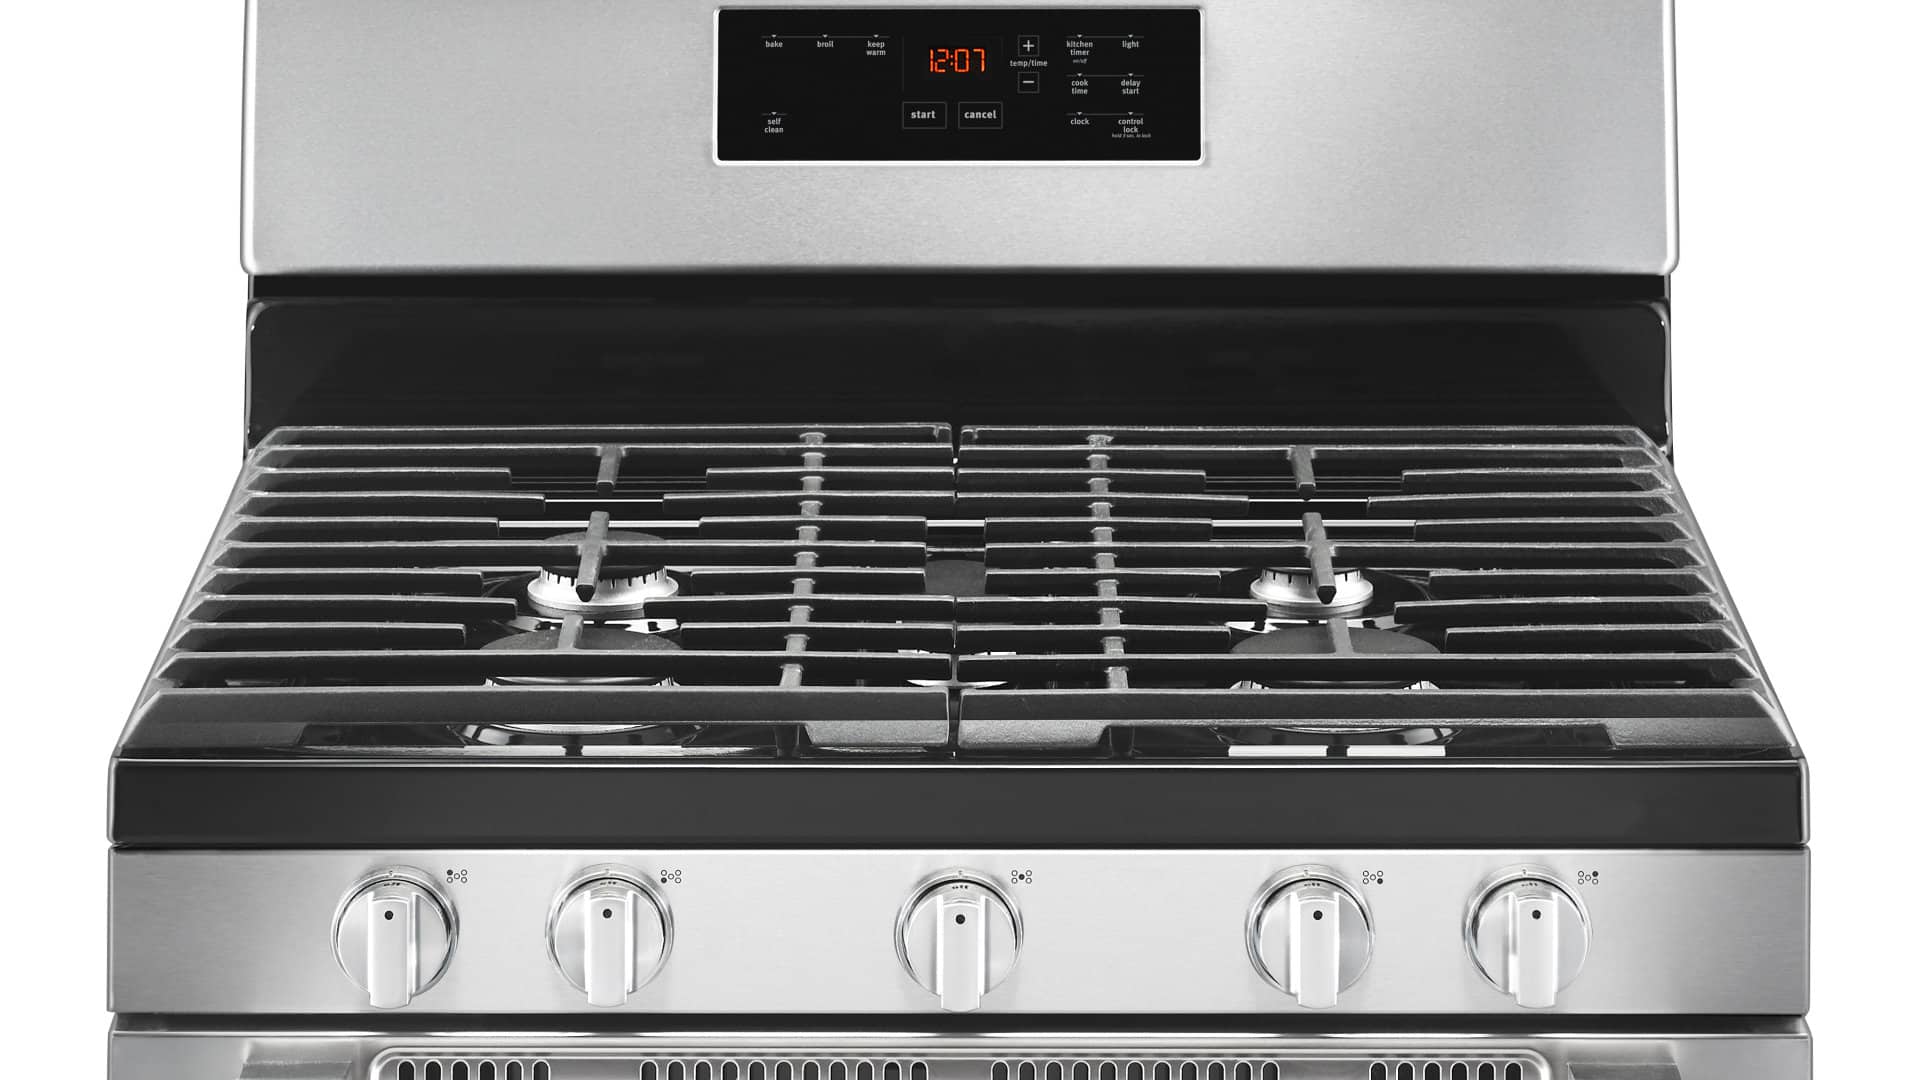
If the F2 error code appears on your Whirlpool oven, it means there could be an issue with the temperature sensor, the control board, or the associated wiring. Or, in some cases, it could mean the oven’s internal temperature has exceeded a preset threshold.
Whatever the cause, this fault will need to be investigated and repaired before you begin using the appliance again. This article will help you troubleshoot the issue, hopefully allowing you to start using your Whirlpool oven again soon, or at the very least, know where you stand with it. Let’s get started.
What does Whirlpool recommend?
Whirlpool doesn’t provide much information about the F2 error code on its website other than saying it could be related to the temperature sensor, control board, or wiring.
They also offer a simple solution to try:
- Turn off the oven by cutting off the power at the circuit breaker.
- Wait at least 1 minute.
- Turn on the oven by switching on the power at the circuit breaker.
- Observe the oven for 1 minute to see if the error code has gone and does not reappear.
- Fire up the oven again to ensure it is working correctly.
While this is an easy solution, it’s not going to work for everyone. And if you’ve already tried it, and it didn’t work, you’re presumably now wondering what to do next.
Well, your options are: 1) call in a qualified appliance repair technician to inspect your oven, or 2) try to troubleshoot the issue yourself. If you’ve opted for option 2, the coming sections in this guide will show you the best things to inspect and test for a Whirlpool oven displaying the F2 error code.
Troubleshooting the F2 code in your Whirlpool oven
Alright, you want to give this a shot yourself. But before we begin, let’s consider some safety precautions.
You should always turn off your oven at the circuit breaker to avoid the risk of electrocution while working on it, and also ensure the oven has cooled down entirely if recently used.
It’s also wise to have your user manual handy or find a diagram of your oven online, as the location of each component can vary per Whirlpool model. You will also need a few tools to troubleshoot this issue, including screwdrivers, a multimeter, and pliers.
Inspect and test the temperature sensor
The temperature sensor is usually easier to access than the control board and is the more common cause of the F2 error code, so inspecting and testing this component first is a good idea.
It’s usually located under the back panel of the oven. However, refer to your user manual for its exact location. Here are the steps to test it:
- Double-check the oven is unplugged or switched off at the circuit breaker.
- Pull the oven away from the wall to access its back panel.
- Take off the back panel by unscrewing the screws holding it in place.
- Locate the temperature sensor and disconnect its wire harness by pressing the tab.
- Inspect the terminals on the sensor for rust or corrosion.
- Use a multimeter set to ohms to test the sensor. The normal reading is around 1,100 ohms at room temperature.
- If the reading deviates significantly from this or shows no resistance, replace the sensor with a new one.
To replace the temperature sensor, simply unscrew the mounting holding the old sensor in place, pull it out, and then insert the new sensor, screw it in place, and reconnect the wire harnessing.
Then, put the back panel back on and screw it in place, turn the power to the oven back on, and test the oven to see if it’s working. If the F2 error code is still unresolved, move on to the next test.
Inspect and test the control board
The control board is usually located directly behind the control panel, but to access it, you will need to remove the back panel again. However, refer to your user manual for its exact location. Here are the steps to check it:
- Double-check the oven is unplugged or switched off at the circuit breaker.
- Pull the oven away from the wall to access its back panel.
- Take off the back panel by unscrewing the screws holding it in place.
- Locate the control board. It’s usually toward the top of the oven.
- Look for visible signs of damage like burn marks or melting.
- If there are signs of damage, it will need replacing.
- If there are no signs of damage, test it with a multimeter. You will need to turn the power back on temporarily to do this. Be careful not to touch any wires or circuitry while it’s turned on.
- Set a multimeter to volts AC, then carefully test the voltage at the board’s power input terminals.
- The correct reading should be around 120 volts. If the reading deviates significantly from this or shows no voltage, the control board will need replacing.
Replacing the control board can be expensive, so you must consider whether it’s worth the investment versus purchasing a new oven.
To replace the control board, first switch off the power again. Remember to take a photo before removing it for ease of reinstallation. Carefully disconnect the wires, unthread any screws holding it in place, and remove the old board. Then, install the new control board and reconnect it according to the photo you took.
Finally, put the back panel back on, power the oven back up, and test it to see if it’s working. If the F2 error code remains unresolved, try the next test.
Check the associated wiring
The final check is to carefully inspect all the wiring connected to the temperature sensor and control board. Before you start, ensure the oven is unplugged or switched off at the circuit breaker.
Remove the back panel as you did before, then check each wire coming to and from the temperature sensor and control board for signs of damage, burns, or fraying. Then, check the connections to make sure everything is tight and secure. Also, look for any loose wires or disconnected terminals.
If you come across any damaged wires, they will need replacing. Any loose connections will need tightening. And any disconnected terminals will need reconnecting. If you are confident with electrics, you may be able to do this yourself. If not, please contact a qualified technician to do it for you.

How to Fix the Whirlpool Washer F9 E1 Error Code
How to Solve Frigidaire Dishwasher Lights Blinking
Resolving the LG Washer UE Error Code (3 Easy Fixes)
Replacing an Over-the-Range Microwave with a Range Hood
How to Get Burnt Smell Out of Microwave (In 2 Easy Steps)

7 Reasons Why Your Bosch Ice Maker Is Not Working
Why Does Your Self-Cleaning Oven Smell?
Why Is Your Whirlpool Cabrio Washer Not Spinning?
Why Does My Refrigerator Make Noise?

Troubleshooting the F2 Error Code on a Whirlpool Oven
Rust Inside Microwave: Causes, Fixes, and Prevention Tips

4 Ways to Get Smell Out of Dishwasher
7 Steps to Fix a Whirlpool Oven Not Heating
What to Do When Your Washing Machine Smells Like Rotten Eggs
