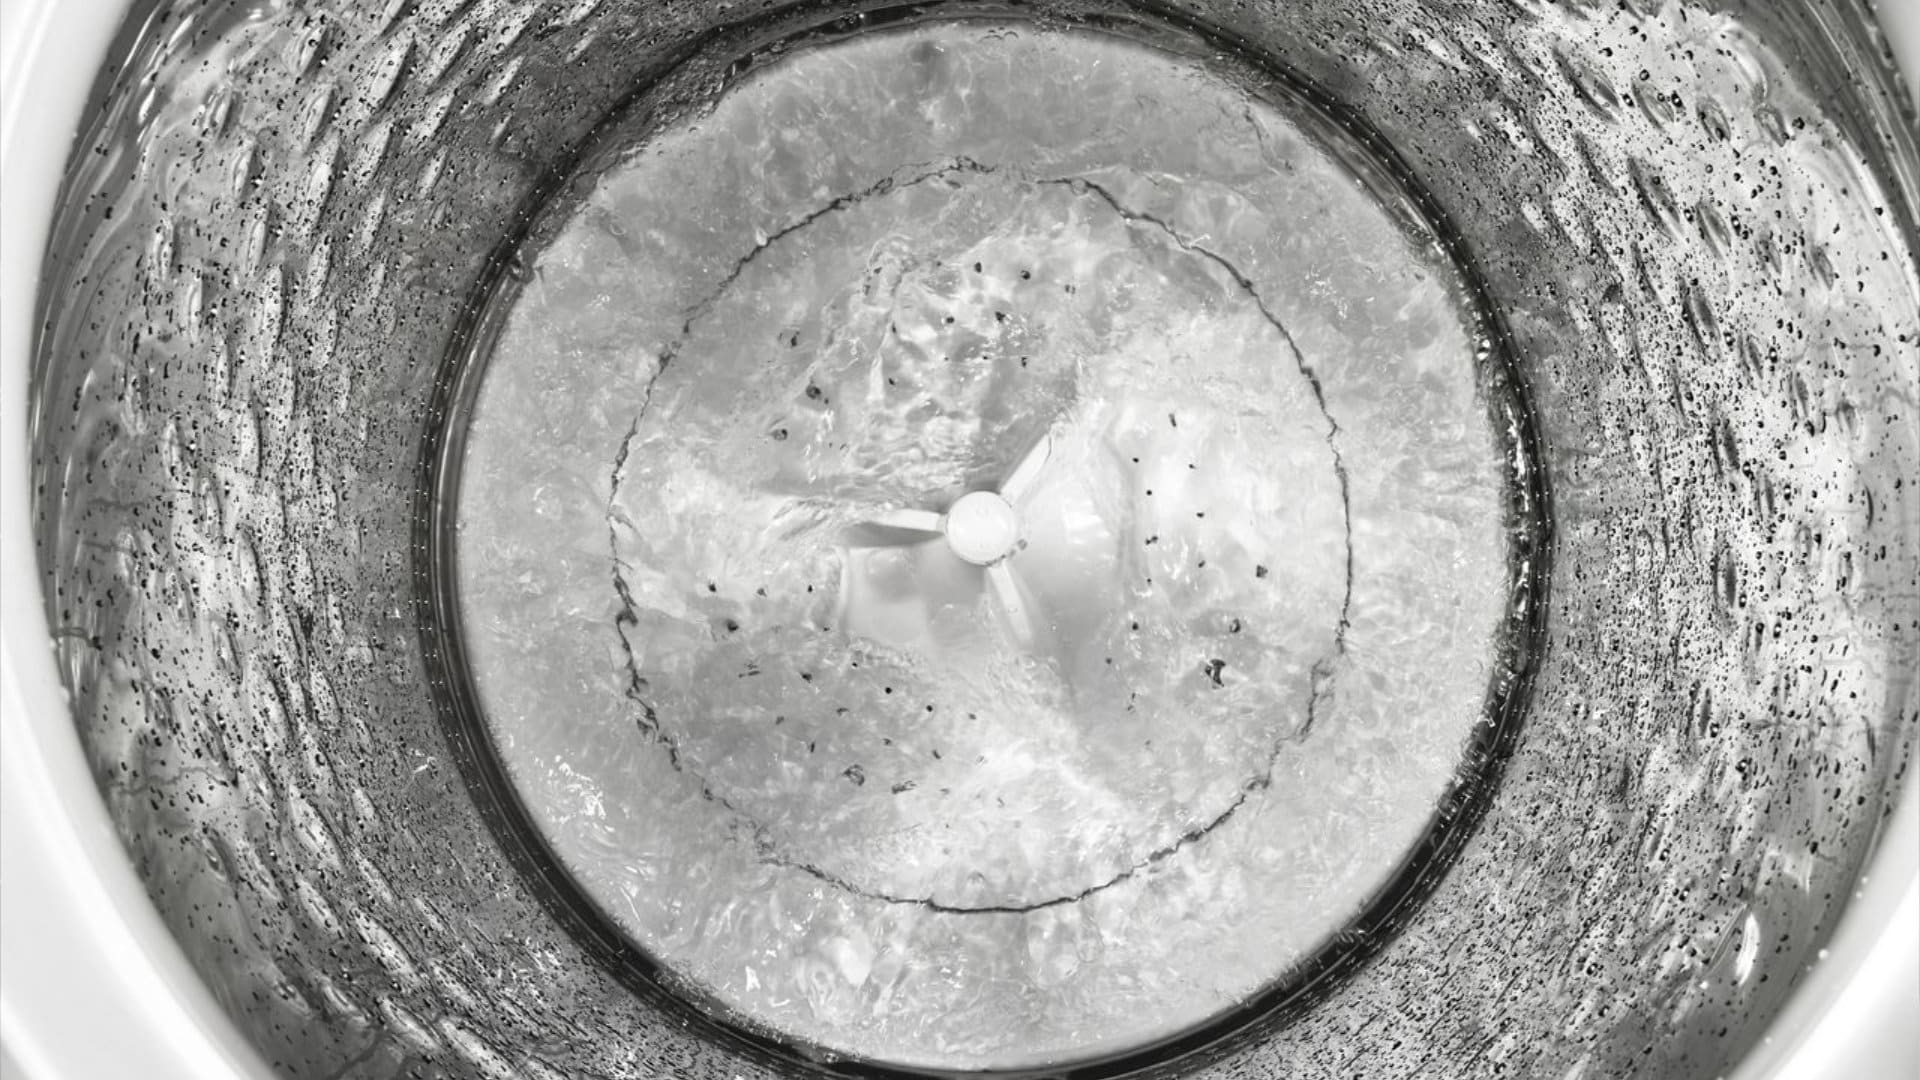
The agitation cycle is one of the most important parts of the laundry process. Agitation helps to free all the dirt particles from the fibers of your clothes, without it your clothes would come out of the washer still dirty. If you’ve noticed a problem with the agitation cycle of your Whirlpool washer, don’t go out and buy a brand new appliance just yet! There are quite a few causes and solutions that are within the reach of a dedicated DIYer. Read on to find out what you can do!
This article covers all main models of Whirlpool washers, including:
2LA5700XMW0
2LA5700XMW1
2LSR5233BN0
2LSR5233BQ1
2LSR5233BW0
2LSR5233BZ1
3CA2000XMW0
GHW9100LW1
GHW9100LW2
GHW9150PW0
GHW9150PW4
GHW9200LW0
LSQ8243HQ0
LSR7233EQ0
LSR8233EQ0
LXR9245EQ1
WFW72HEDW0
WFW9150WW00
WTW4800XQ2
WTW4800XQ4
WTW5000DW1
Lid switch not engaging
If your Whirlpool washer isn’t agitating, it could be due to the lid switch not engaging properly. The lid switch ensures that the washer operates only when the lid is closed.
To fix this issue:
- Unplug the washer – this always applies before attempting any repairs or inspections.
- Consult your washer’s user manual to find the exact location of the lid switch. It’s typically near the hinge or under the lid.
- Check the switch for any visible damage or wear. Press it manually to see if it clicks when engaged. If it doesn’t, it is likely faulty and needs replacing. You can purchase a new part online.
- Follow your user manual’s instructions to access and remove the lid switch. You may need a screwdriver or other tools to remove any screws or clips holding it in place.
- Align the new switch in the same position as the old one, and secure it using screws or clips. Reconnect any wires, making sure they’re correctly connected.
- Plug in the washer and run a small test cycle. If the agitator is now working, congratulations! You’ve successfully fixed the issue with the lid switch.
Damaged motor coupling
If you suspect a damaged motor coupling is causing your Whirlpool washer to stop agitating, follow these steps to diagnose and solve the issue:
- Ensure the washer is unplugged.
- Refer to the appliance’s user manual to locate the motor coupling, which typically sits between the motor and transmission.
- Visually inspect the motor coupling for signs of wear, breakage, or damage. If it looks compromised, you’ll need to purchase a replacement part online or from a local store.
- Use the user manual’s guidance to access and disassemble the motor coupling. Have tools like a screwdriver, wrench, or pliers on hand to remove screws, clips, or fasteners as needed.
- Install the new motor coupling, aligning it with the original position, and fasten it securely. Double-check that wires are properly reconnected.
- Plug the washer back in and initiate a brief test cycle. If the agitator now operates as expected, you’ve successfully addressed the motor coupling problem.
Faulty motor
If the motor coupling was not the issue, your problem could be with the motor itself. Follow these steps to identify and resolve a motor issue:
- Disconnect the washer.
- Refer to the appliance’s user manual to pinpoint the motor’s location, which can usually be found near the base of the washer.
- Look for signs of overheating, burning smells, or damage on the motor. Listen for unusual sounds during operation, which could indicate motor trouble.
- Test the motor using a multimeter to measure resistance or continuity, as per the user manual’s guidance. If the motor fails the test, you’ll need a replacement, which can be ordered online.
- Access and remove the faulty motor by following the user manual’s instructions. Keep necessary tools like a screwdriver, wrench, or pliers nearby for detaching screws, clips, or fasteners.
- Position the new motor in the designated spot, aligning it as the original was, and secure it using the appropriate hardware and tools. Reconnect wires carefully to ensure proper electrical connections.
- Reestablish the power connection and initiate a short test cycle. If the agitator functions correctly, you’ve fixed your problem!
Worn agitator dogs
Yes, you read that right, dogs, but not the ones that bark! Agitator dogs are small plastic components found within the top portion of the agitator assembly in many top-loading washing machines. Their primary function is to help the agitator grip and turn during the wash cycle, allowing for effective movement and proper cleaning of the clothes. If they wear out, your agitator won’t move effectively.
- After turning off the power, detach the agitator by referring to the user manual’s instructions. This typically involves removing a cap or dispenser and unscrewing a bolt to release the agitator from its base.
- Inspect the agitator dogs for signs of wear, breakage, or damage. If they appear worn, you’ll need to purchase new ones from a store or online.
- Utilize the user manual’s guidance to remove the old agitator dogs and replace them with the new ones. Ensure they are positioned correctly within the agitator assembly.
- Reassemble the agitator, fastening it securely to its base. Double-check that all components are in their proper positions.
- Restore power to the washer and run a brief test cycle. If the agitator operates as intended, you’ve successfully resolved the issue!
Damaged drive belt
A drive belt in a washing machine is a crucial component that connects the motor to the drum or transmission, depending on the washer’s design. The belt is typically made of rubber, reinforced with fabric or other materials for added strength and durability. In a washer, the drive belt plays a vital role in transferring power from the motor to the drum, enabling the drum to rotate during the wash and spin cycles. Over time this belt can get worn, meaning that your washer won’t spin or agitate correctly.
To fix this issue:
- After disconnecting from the power source, access the drive belt by following the user manual’s instructions, which may involve removing the back, front, or side panel of the washer.
- Inspect the drive belt for signs of wear, fraying, or breakage. If it appears damaged, you’ll need to acquire a replacement from a store or online.
- Refer to the user manual’s guidance to detach the old drive belt from the motor and drum pulleys. Keep necessary tools like a screwdriver or wrench nearby for loosening any fasteners.
- Install the new drive belt, ensuring it’s properly aligned and tensioned around both the motor and drum pulleys.
- Reattach the washer’s panel that you removed, making sure all components are securely fastened and in their correct positions.
- Reconnect the washer to the power source and initiate a short test cycle. The agitator should now be working properly once again!

How to Fix the Whirlpool Washer F9 E1 Error Code
How to Solve Frigidaire Dishwasher Lights Blinking
Resolving the LG Washer UE Error Code (3 Easy Fixes)
Replacing an Over-the-Range Microwave with a Range Hood
How to Get Burnt Smell Out of Microwave (In 2 Easy Steps)

7 Reasons Why Your Bosch Ice Maker Is Not Working
Why Does Your Self-Cleaning Oven Smell?
Why Is Your Whirlpool Cabrio Washer Not Spinning?
Why Does My Refrigerator Make Noise?
Troubleshooting the F2 Error Code on a Whirlpool Oven
Rust Inside Microwave: Causes, Fixes, and Prevention Tips

4 Ways to Get Smell Out of Dishwasher
7 Steps to Fix a Whirlpool Oven Not Heating
What to Do When Your Washing Machine Smells Like Rotten Eggs
