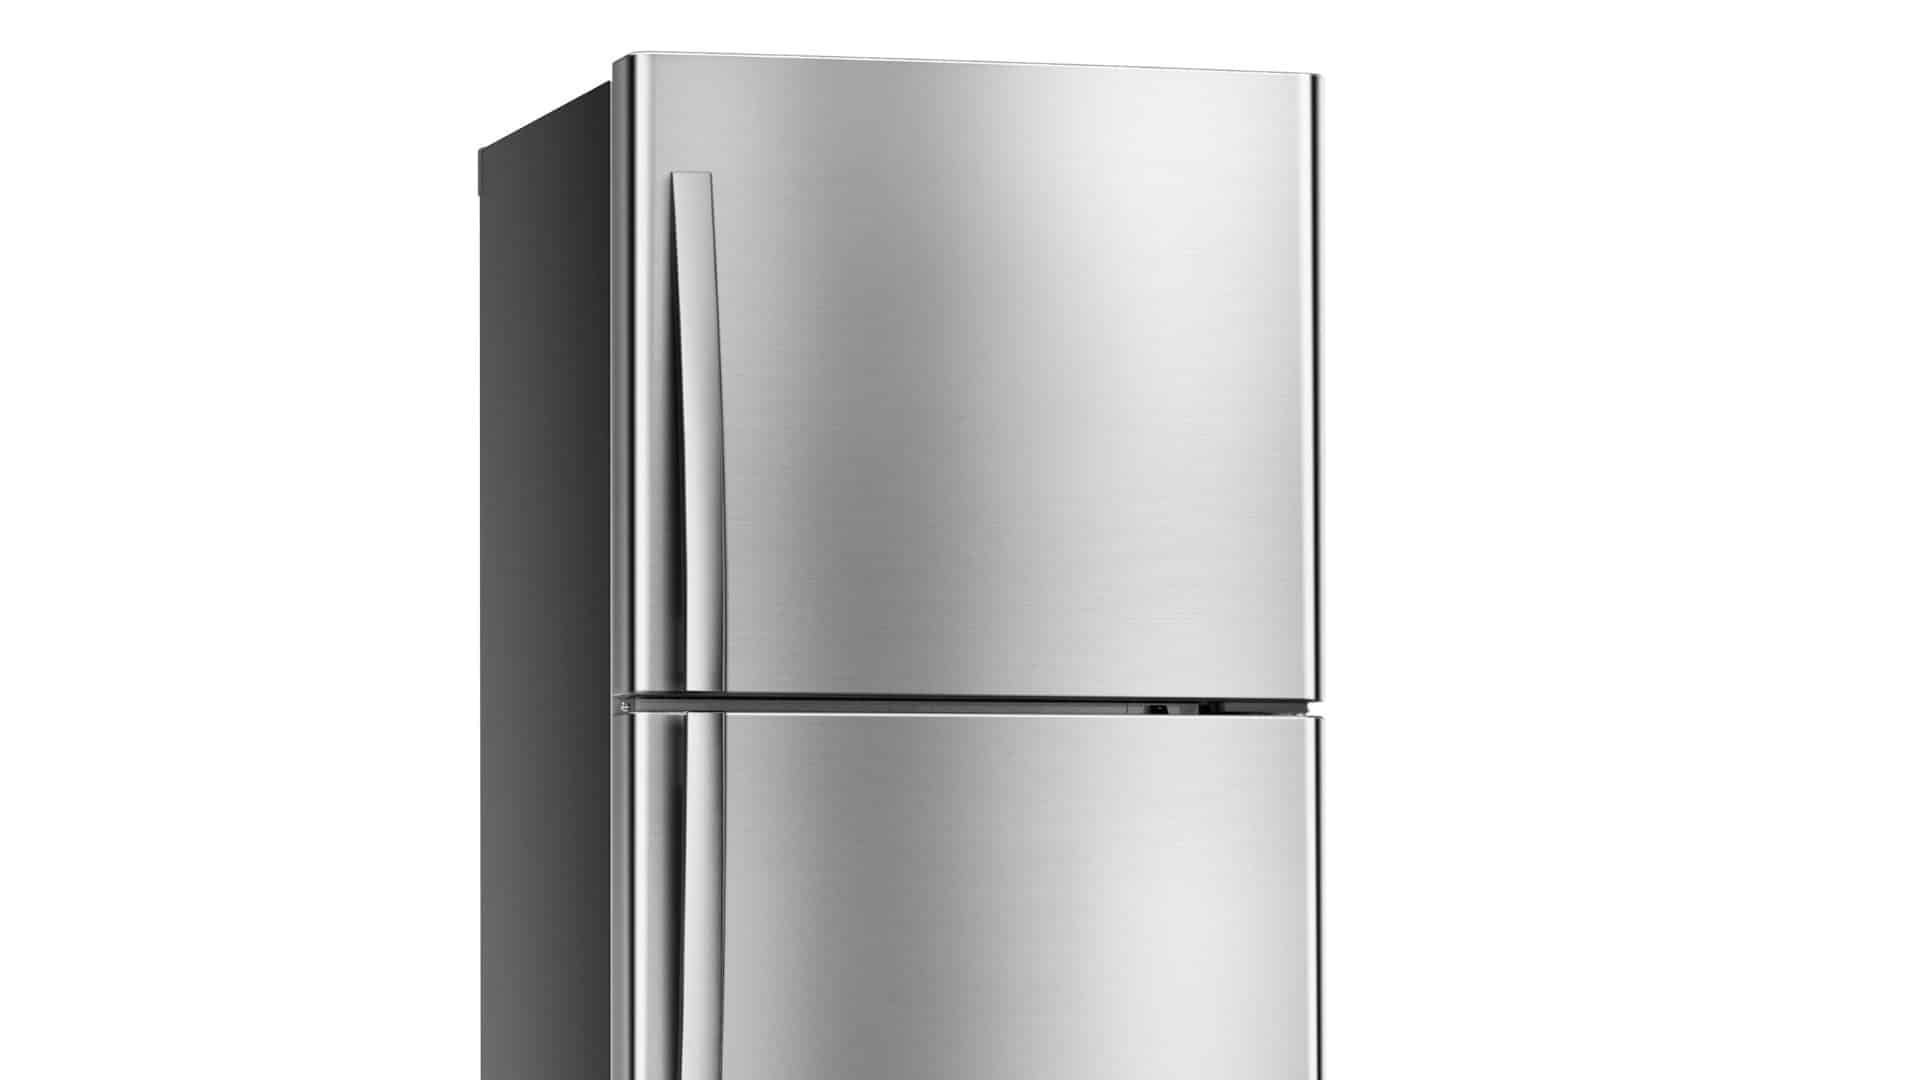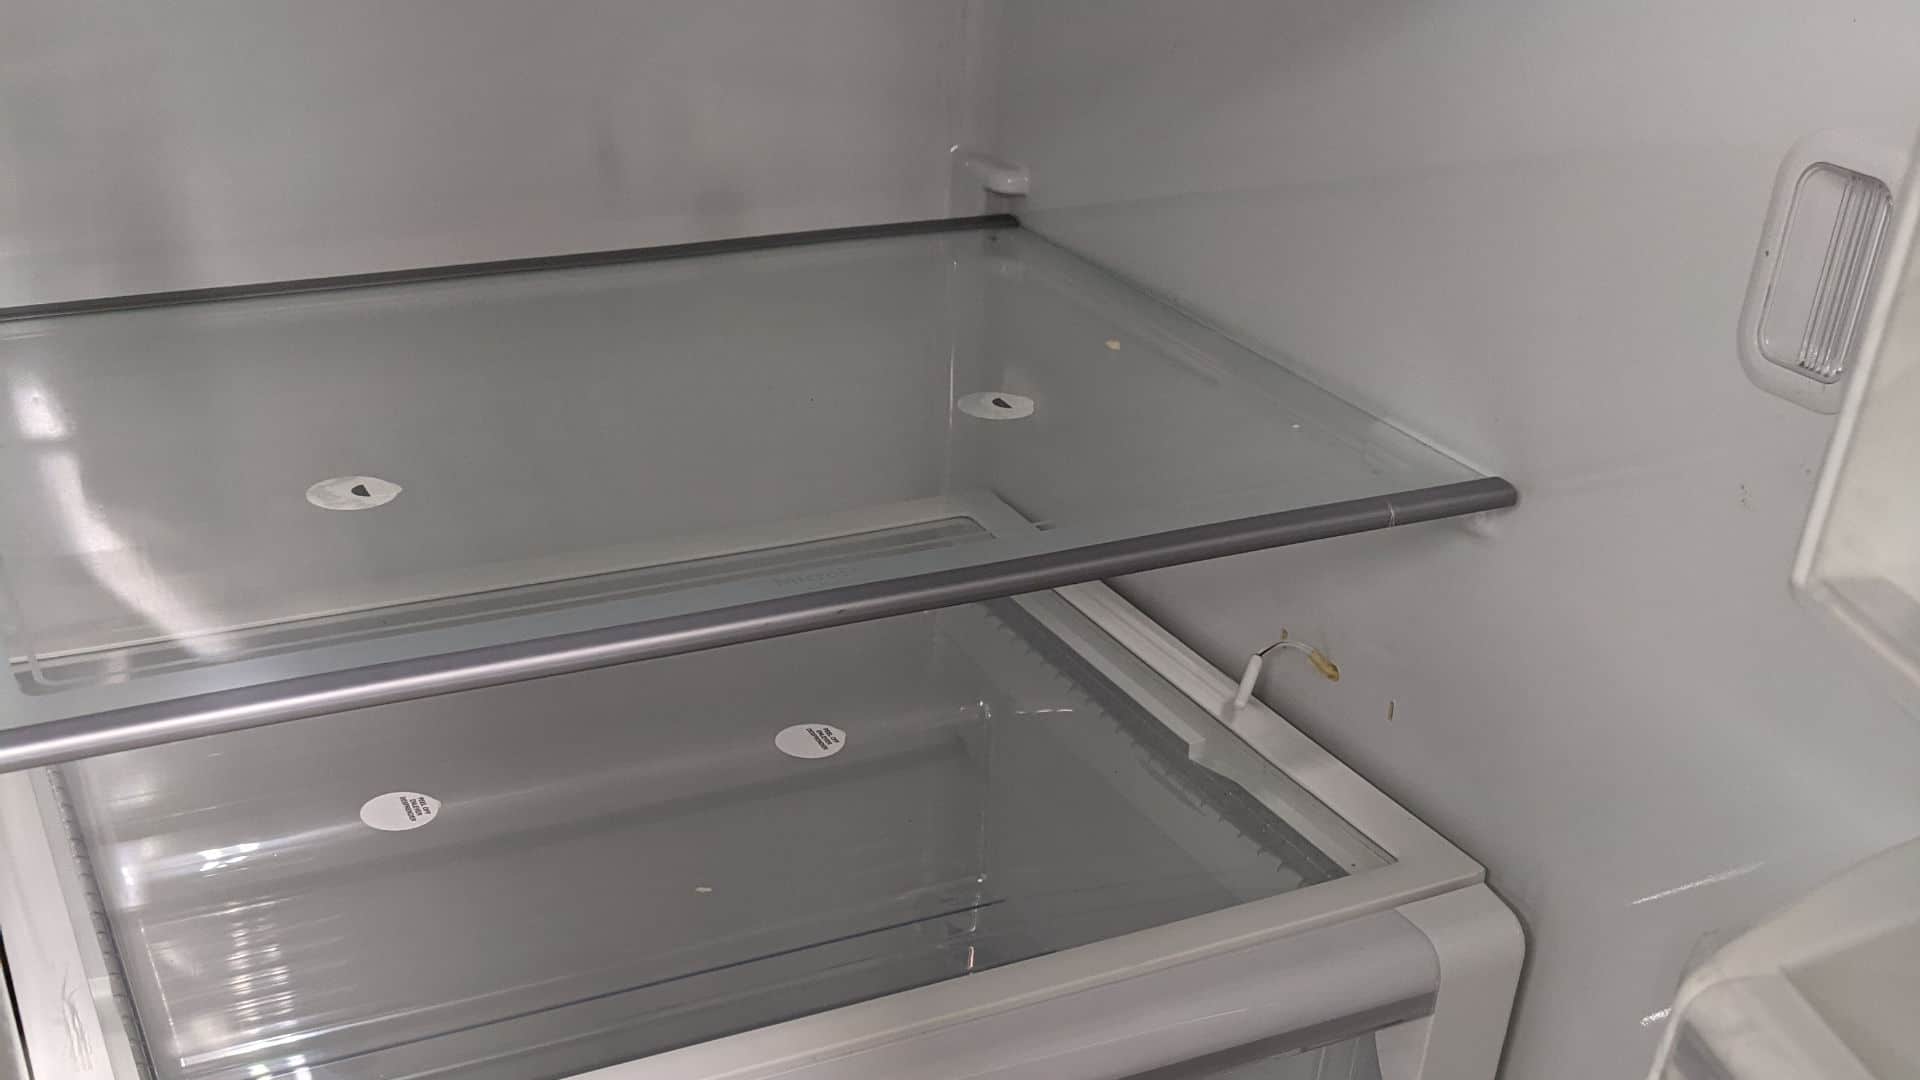
Does your refrigerator keep running? Then this is the article for you.
To find the cause of the problem and fix it, simply check all of the components listed in this article, and hopefully you will find the cause and be able to fix it.
Let’s get started.
Step 1 – Check the Freezer Temperature
The best place to start is to check the temperature of your freezer. If the temperature is set to the wrong level in your freezer (above 10 degrees Fahrenheit or -12 degrees Celsius), this can adversely affect your refrigerator, as it’s much harder for it to keep cool, and it will keep running.
To check the temperature is set correctly, you simply need to:
- Open your freezer door and locate the temperature control.
- Check that the freezer temperature is set between 0 and 5 degrees Fahrenheit (-18 and -15 degrees Celsi); if not adjust the setting.
- Over the next few hours, check to see if this solves the problem. If not or if the temperature is set correctly, move on to step 2.
Step 2 – Check the Condenser Coils
The next step is to check the condenser coils to see if they are dirty. The purpose of the condenser coils is to help dissipate heat from the refrigerator while it is running. If the coils become dirty or become covered in ice, this can stop them from being able to function correctly, which makes your fridge stay on continuously.
To check the condenser coils, you need to:
- Switch the refrigerator off at the wall.
- Pull your refrigerator out from the wall.
- Locate the condenser coils (you will probably have to remove the bottom panel).
- Check if the coils are covered in ice, and if so, leave them to defrost for an hour or so before giving them a good clean and then turning your refrigerator back on.
- If the coils aren’t covered in ice, give them a good clean using a vacuum cleaner to remove all the dirt and dust on them. Once clean, turn your refrigerator back on and check if the problem has been solved. If not, move on to the next step.
Step 3 – Inspect the Condenser Fan
The next step is to check the condenser fan. The purpose of the condenser fan is to help push air over the coils so they can cool down. When the fan stops working, your refrigerator will work continuously because the coils are too hot.
To check the condenser fan motor:
- Ensure that the refrigerator power is still turned off.
- Find the condenser fan—it is usually located at the back of the refrigerator, underneath it (check your manual if you’re not sure).
- Take the access/safety panel off that is around the fan.
- Test to see if you can manually turn the fan around and that nothing is obstructing it.
- If something is obstructing it, you will need to remove the object that is obstructing it or replace the fan.
- Test the condenser fan motor with a multimeter. If it doesn’t have continuity the motor will need to be replaced.
- Once replaced or repaired, check to see if the problem has been solved. If not, move on to the next step.
Step 4 – Check the Defrost Heater
The next step is to check the defrost heater. The purpose of the defrost heater is to help melt frost or ice that builds up on the condenser coils. If it becomes defective, your refrigerator might stop working correctly.
To check the defrost heater, you need to:
- Make sure the refrigerator is still turned off.
- Locate the defrost heater (check your manual if necessary).
- Use a multimeter to test the heater for continuity.
- If the test shows continuity, it is working fine, and if not, replace it.
- Once replaced, check if the problem has been solved. If not or if it is working fine, you can move on to the next step.
Step 5 – Check the Defrost Thermostat
The next step is to check the defrost thermostat. The purpose of this component is to tell the defrost heater to turn on when it needs to so that it can help melt any frost or ice in the refrigerator unit. If it stops working, your refrigerator will keep running.
To check the defrost thermostat, you need to:
- Make sure that the refrigerator power is still switched off.
- Locate the defrost thermostat and use the multimeter to check it for continuity.
- The test should show that the defrost thermostat has continuity when the thermostat reaches the lowest level of its operating range.
- If the test shows no continuity, replace the defrost thermostat. If it is working fine, move on to the next step.
- Once replaced, check if the problem is solved. If not, move on to the next step.
Step 6 – Check the Door Gasket
The next step is to check the door gasket/seal. The door gasket/seal ensures your refrigerator door is shut properly. When it becomes defective, your refrigerator will need to work continuously to keep it at the right temperature.
To check the gasket, you simply need to:
- Locate the gasket (on the door) and inspect it for any signs of wear and tear. Make sure you look into all of the hard-to-reach parts of the gasket.
- To ensure the gasket is working, you can place a piece of paper between the door and the seal and then firmly shut the refrigerator door. You can then try to pull the piece of paper out, and if it easily comes out, this means the gasket is defective and needs to be replaced. If the piece of paper rips or cannot be easily pulled out, move on to the next step.
- Once replaced, check to see if your refrigerator now works correctly. If not, move on to the next step.
Step 7 – Check the Defrost Timer
The next step if your refrigerator keeps running is to check the defrost timer. The purpose of the defrost timer is to inform the defrost heater when it needs to turn on and off. When it becomes faulty, your refrigerator might keep running.
To check the defrost timer:
- Locate the defrost timer.
- Monitor the timer and check that when it advances to defrost the heater turns on. If not, it will need to be replaced.
- Once replaced, check to see if the problem is solved, and if not, move on to the final step.
Step 8 – Replace the Main Control Board
The final step if you still haven’t fixed your refrigerator is to replace the main control board. The control board is very difficult to check, so your best bet is to simply replace it and then check if the problem is solved. However, since it is an expensive repair to make, you might want to consider buying a new refrigerator instead.

How to Fix the Whirlpool Washer F9 E1 Error Code
How to Solve Frigidaire Dishwasher Lights Blinking
Resolving the LG Washer UE Error Code (3 Easy Fixes)
Replacing an Over-the-Range Microwave with a Range Hood
How to Get Burnt Smell Out of Microwave (In 2 Easy Steps)

7 Reasons Why Your Bosch Ice Maker Is Not Working
Why Does Your Self-Cleaning Oven Smell?
Why Is Your Whirlpool Cabrio Washer Not Spinning?
Why Does My Refrigerator Make Noise?
Troubleshooting the F2 Error Code on a Whirlpool Oven
Rust Inside Microwave: Causes, Fixes, and Prevention Tips

4 Ways to Get Smell Out of Dishwasher
7 Steps to Fix a Whirlpool Oven Not Heating
What to Do When Your Washing Machine Smells Like Rotten Eggs
