


December 5, 2022
Oven Repair
If you want to put your GE oven on a self-cleaning cycle but aren’t sure how, you’re in the right place!
The self-cleaning function means you can clean your oven without having to get your hands dirty. But before you put it on a cleaning cycle, make sure you read our step-by-step guide below to ensure you get the best results and stay safe.
This guide covers all major GE ovens, including:
4132990
42069
4242590
4252990
4352590
ABS300J1WW
BP76GS1
CGS980SEM1SS
JB250DF1WW
JBP23DN1WW
JBP24BB4WH
JBP24WB4WW
JBP26GV3
JBP26WB4WW
JBP64BB4WH
JBS55DM2WW
JGBS66REK1SS
JGP329SET1SS
JGP336BEV2BB
JGP336WEV4WW
JGP633SET1SS
Step 1 – Prepare your kitchen
The first step is to prepare your kitchen. This involves opening any windows and turning on your extractor fan (on low) to provide some ventilation for your kitchen. This is important because when you use the self-cleaning function, the oven gets very hot, which produces smoke and a burning smell that you don’t want to linger in your kitchen.
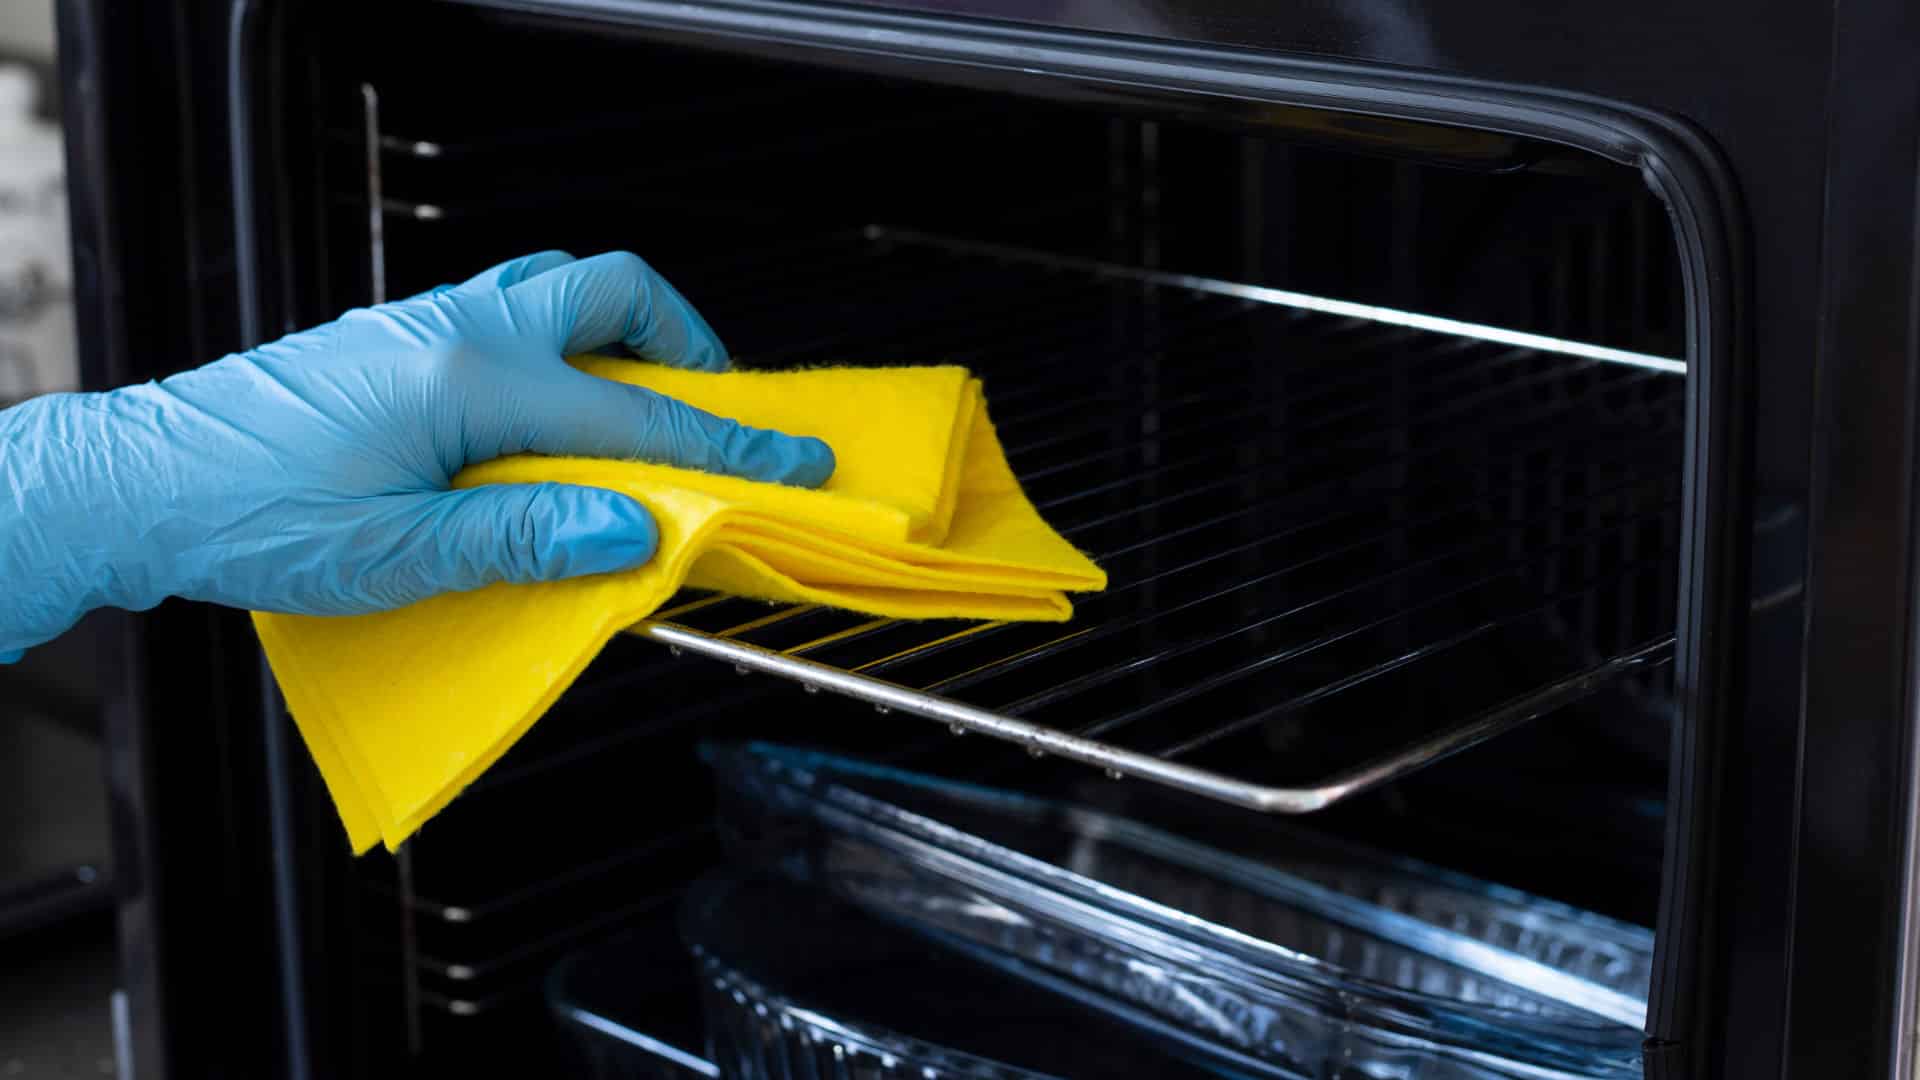
Step 2 – Remove the oven racks if necessary
Once the ventilation is sorted, the next step is to remove all metal racks from your oven. These are best washed separately. If you have porcelain racks they can stay in the oven. Once the racks have been removed, place them in a sink and cover them in hot soapy water if they can fit in the sink comfortably. Leave them to soak for a while to let the soap attack the grease and grime. If your oven racks are too large for the sink, skip to step 3.
Step 3 – Clean the oven exterior
Before putting your GE oven onto a self-cleaning cycle, it’s a good idea (but not necessary) to give the exterior of your oven a quick clean. Simply spray and wipe the door and the rest of the front of your oven and the top of the appliance if possible. Once clean, wipe it dry.
Step 4 – Turn your oven on a self-cleaning cycle
Here’s how to turn your oven onto a self-cleaning cycle:
- For GE ovens that have a latch release button, push and hold the latch release while sliding the oven latch to “clean.” You can then turn the oven SET and TEMPERATURE knobs to “clean.” If you don’t have a “clean” position, you can simply turn the knob to any temperature.
- Next, turn the “STOP” dial forward from the current time to set the cycle. Turn 2 hours forward for light soil cleaning or 3 hours for heavy soil cleaning. For example, if the current time is 10:00 turn it to 13:00 for a three-hour heavy soil clean.
- Once the cycle begins, the clean light will come on to let you know the cleaning cycle has begun. After about 30 minutes a lock light will come on.
- Once the self-cleaning cycle finishes, the clean light will turn off.
- Within 30 to 40 minutes after the cleaning cycle ends, the clean light will go out and the lock light should also turn off. This indicates your oven has cooled enough for you to open the door. To open the door, push and hold the latch button and at the same time slide it to the “cook” position.
- Finally, move the oven SET knob to “off.”
Step 5 – Clean the oven racks
While your GE oven is running through its self-cleaning cycle, finish cleaning the oven racks and then let them air dry. Use a steel-wool scrubber if required to get all the grease and grime off the racks.
Step 6 – Finish up
Once the cycle ends, open the oven door and wipe up any excess ash and other debris that has accumulated on the bottom of your oven. You can then put the oven racks back into your appliance. Your oven should now be nice and clean and ready to use again!
GE self-cleaning oven safety tips
Remove pans before cleaning
Before using the GE self-cleaning cycle, remove all the racks and pans from inside the oven. Metal racks can discolor when heated to a very high temperature. For this reason, it’s best to clean them separately in your sink with hot soapy water.
Ventilate your kitchen
It’s a good idea to open any windows in your kitchen and/or turn the extractor fan on low during the self-cleaning cycle. This is because a small amount of smoke might exit your oven during the cycle, which can contain dangerous chemicals and cause a bad odor.
Lock the oven door
When running a self-cleaning cycle, make sure the oven door is locked. This is important because the oven gets extremely hot during the cleaning cycle so you don’t want to run the risk of anybody opening or touching the door.
Remove large food debris
Before running a self-cleaning cycle make sure you remove any large food debris from your oven. When the oven self-cleans it gets very hot so any large food debris will produce a lot of smoke.
Let the oven cool down completely
Before opening the oven door after a self-cleaning cycle, make sure you let the oven fully cool down. Your oven gets up to a very high temperature so will need some time to drop down to a safe temperature. Leave it for about an hour to be safe.
(323) 284-6780Give us a call!

Apr. 09, 2024
How to Fix the Whirlpool Washer F9 E1 Error Code

Apr. 09, 2024
How to Solve Frigidaire Dishwasher Lights Blinking

Apr. 09, 2024
Resolving the LG Washer UE Error Code (3 Easy Fixes)

Mar. 06, 2024
Replacing an Over-the-Range Microwave with a Range Hood

Mar. 06, 2024
How to Get Burnt Smell Out of Microwave (In 2 Easy Steps)

Mar. 06, 2024
7 Reasons Why Your Bosch Ice Maker Is Not Working

Feb. 05, 2024
Why Does Your Self-Cleaning Oven Smell?

Feb. 05, 2024
Why Is Your Whirlpool Cabrio Washer Not Spinning?

Jan. 03, 2024
Why Does My Refrigerator Make Noise?

Jan. 03, 2024
Troubleshooting the F2 Error Code on a Whirlpool Oven

Jan. 03, 2024
Rust Inside Microwave: Causes, Fixes, and Prevention Tips

Dec. 11, 2023
4 Ways to Get Smell Out of Dishwasher

Dec. 11, 2023
7 Steps to Fix a Whirlpool Oven Not Heating

Dec. 11, 2023
What to Do When Your Washing Machine Smells Like Rotten Eggs

Nov. 06, 2023