Has your microwave stopped working? Then this article is for you.
Simply follow our step-by-step instructions, and you will hopefully find the cause of the problem and then be able to fix it.
Let’s get started.
Step 1 – Check the Power Source
The best place to start is to check the power source. If your microwave won’t turn on at all, then it might be that the power source is the cause of the problem. If the power is working, move on to step two.
To check the power source, you need to:
- Locate the household fuse box and check that the circuit breaker that distributes power to your kitchen is on; if not, turn it back on and then check if the microwave works.
- If it still doesn’t work, you’ll need to check the fuses to see if any have blown. If you find a blown fuse, it will need to be replaced. Once replaced, check if the microwave works.
- If it still doesn’t work, check if the power socket is working correctly by trying another power socket. If the microwave works in another power socket, the original power socket will need to be repaired or replaced.
Step 2 – Check the Turntable
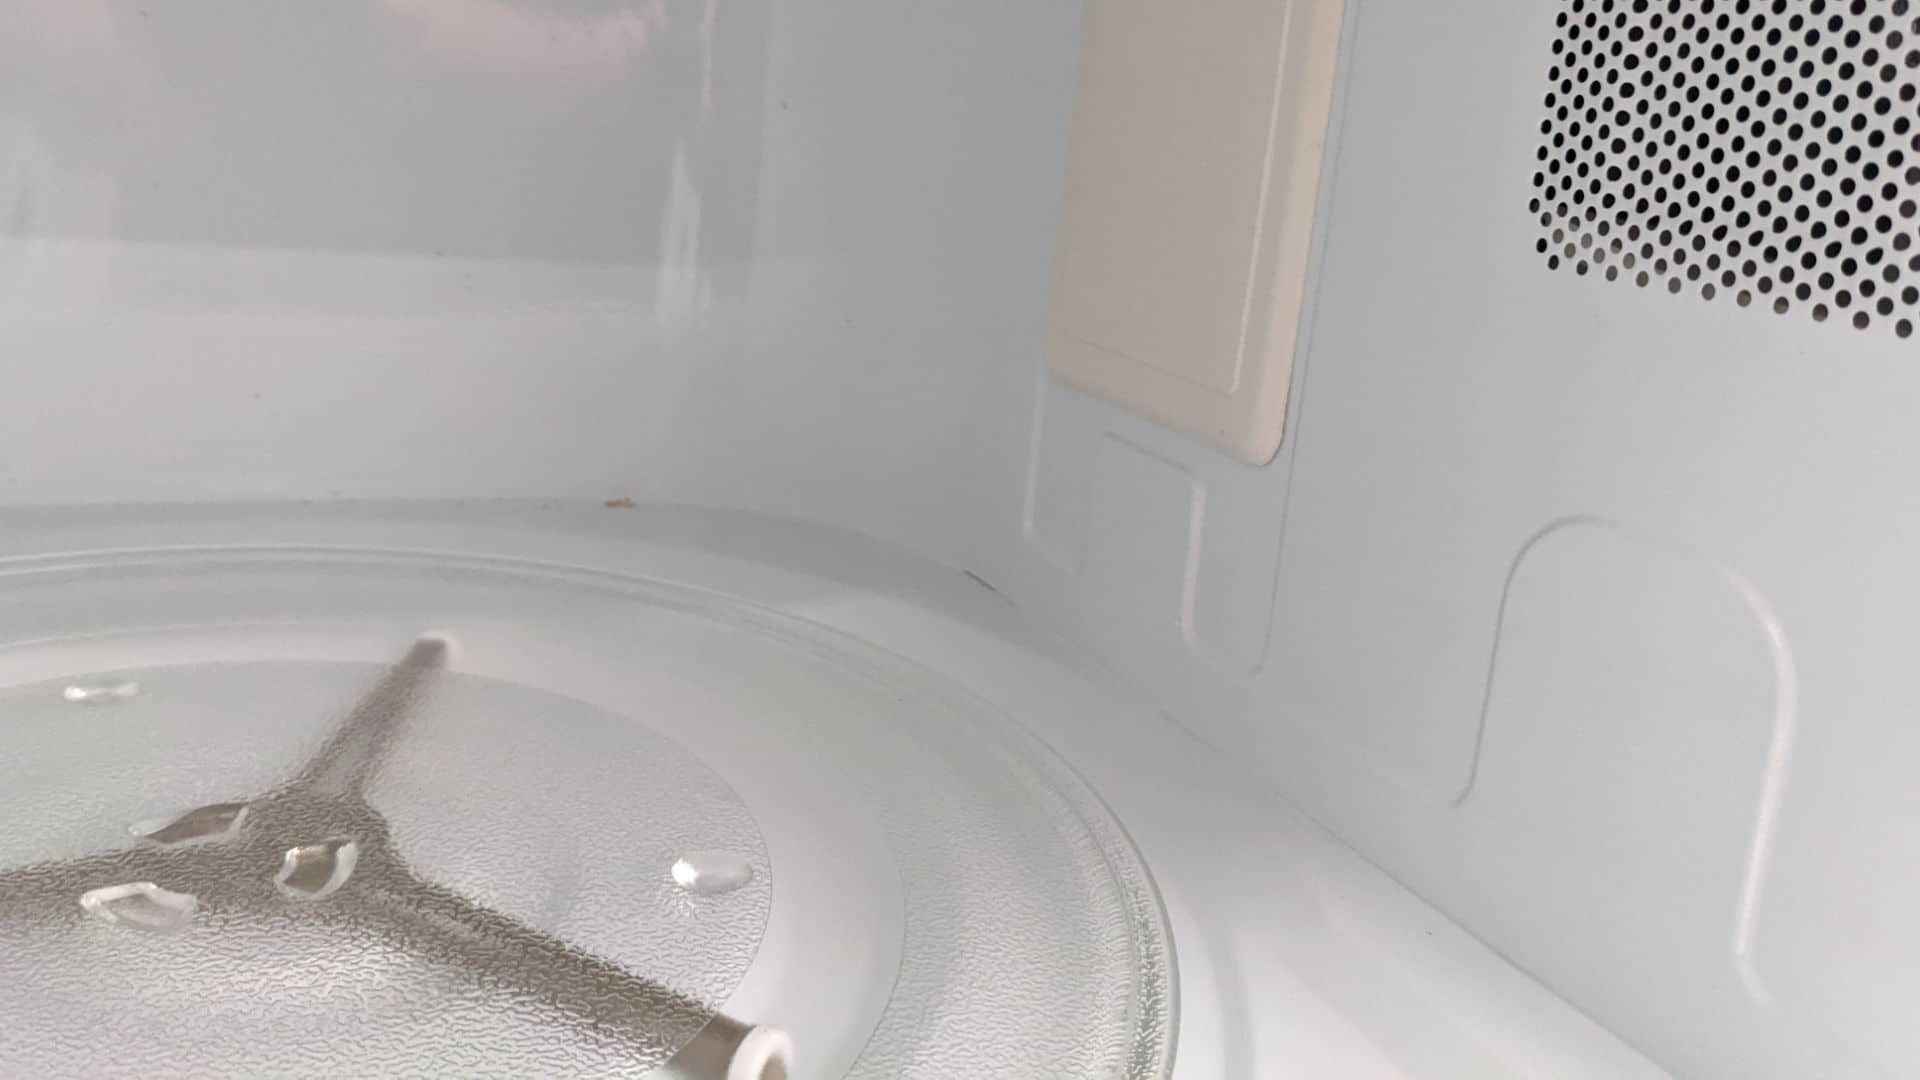
If the microwave can turn on, the best place to start is to check the turntable. If the turntable doesn’t rotate correctly, your microwave won’t work.
To check the turntable, you need to:
- Turn your microwave on and then put it onto a cycle (any one will do).
- Check if the turntable is moving/rotating. If it is rotating, this means that the turntable is working properly, and you can move on to step 3.
- If the turntable doesn’t rotate, you need to open the microwave door and remove the turntable and the rollers that it sits on.
- Give all of the components a good clean, place them back into the microwave, and check if it is now working. If not, move on to step 3.
Step 3 – Check the Display
The next step is to check if the display screen is showing any codes or if it is showing that the microwave is locked. If you have an error code or the microwave is locked, your microwave won’t work.
Here’s how to check the display screen:
- Check the display screen to see if it is showing the “locked” sign. If so, unlock your microwave by pressing the “off” key for a few seconds. In some other models, you press the “lock” button—if you’re not sure, check your manual.
- Reset the clock, which can be done by pressing the “clock” button and then using the number keys to set the clock.
- Once you’ve done steps 1 and 2, you can check if the microwave is now working. If not, move on to step 4.
Step 4 – Check the Line Fuse
Now that you’ve checked the easy fixes, you need to check the internal components. However, you shouldn’t attempt any of these repairs unless you are experienced working with electronics. This is because microwaves are extremely hazardous to repair, as there is a high risk of electric shocks occurring. If you’re not experienced working with electronics, you should take your microwave to a repair store or call a qualified technician to come and look at it.
The first internal component to check is the line fuse, which can sometimes blow if too much current passes through the circuit.
Here’s how to check the line fuse:
- Cut the power to the microwave.
- Unscrew and then remove the microwave cabinet.
- Locate the line fuse (consult your manual if you’re not sure where it is).
- Check the fuse for continuity with a multimeter.
- If the test shows it has continuity, it is working properly, and if not, it will need to be replaced.
- Once replaced, check if the problem is solved, and if not, move on to step 5. If the fuse is working properly, you can also move on to the next step.
Step 5 – Check the Thermal Fuse
The next step is to check the thermal fuse. The thermal fuse cuts the power off to the microwave when it overheats. If the fuse is blown or is faulty, your microwave won’t work correctly.
Here’s how to check the thermal fuse:
- Turn the power off to the microwave if you haven’t already.
- Locate the thermal fuse (check your manual if you’re not sure where it is).
- Test the thermal fuse with a multimeter to see if it has continuity.
- If it doesn’t have continuity, it will need to be replaced. If it does have continuity, it is working properly, and you can move on to the next step.
- Once replaced, check if the microwave is now working, and if not, move on to the next step.
Step 6 – Check the Thermoprotector
The next step is to check the thermoprotector. The thermoprotector cuts off voltage to the microwave if it overheats. If this happens, your microwave will not be able to function correctly.
To check the thermoprotector, you need to:
- Ensure the microwave is still turned off.
- Locate the thermoprotector (consult your manual if required).
- Test the thermoprotector with a multimeter.
- If the thermoprotector has continuity, it is working fine, and you can move on to the final step. However, if it doesn’t have continuity, it will need to be replaced.
- Once replaced, check to see if your microwave is now working, and if not, move on to the final step.
Step 7 – Replace the Main Control Board
The final step is to consider replacing the main control board. This should only be considered if you’ve checked all of the other components above, since the main control board doesn’t become faulty very often. Replacing the control board is expensive and is not guaranteed to work, so you might be better off at this point to purchase a brand new microwave instead.

How to Fix the Whirlpool Washer F9 E1 Error Code
How to Solve Frigidaire Dishwasher Lights Blinking
Resolving the LG Washer UE Error Code (3 Easy Fixes)
Replacing an Over-the-Range Microwave with a Range Hood
How to Get Burnt Smell Out of Microwave (In 2 Easy Steps)

7 Reasons Why Your Bosch Ice Maker Is Not Working
Why Does Your Self-Cleaning Oven Smell?
Why Is Your Whirlpool Cabrio Washer Not Spinning?
Why Does My Refrigerator Make Noise?
Troubleshooting the F2 Error Code on a Whirlpool Oven
Rust Inside Microwave: Causes, Fixes, and Prevention Tips

4 Ways to Get Smell Out of Dishwasher
7 Steps to Fix a Whirlpool Oven Not Heating
What to Do When Your Washing Machine Smells Like Rotten Eggs
