


October 19, 2020
Dryer Repair
Lint is one of those interesting side-effects of modern convenience. Once, we washed clothes by hand. Little bits of thread and fluff wash away in the water or blow away in the clothesline breeze. But once we enclosed our laundry into all-in-one machines, that lint gets trapped and it has to go somewhere. What we discovered is that lint becomes the biggest problem when trying to tumble-dry clothes with hot air and motion. The hot air picks up moisture and carries it out through a duct, as intended. But a whole lot of lint comes with the moisture. So dryers are built to deal with both lint and removing moist air in the same system.
Ideally, your dryer neatly carries the hot air out through the duct and catches most of the lint in the trap. You empty the trap between loads and all is well. Except when it isn’t. Is your dryer spewing linty, humid air into the laundry room? Are your clothes linty when they come out of the dryer? These and other lint-related problems can be solved with just a little applied troubleshooting.
Clothes are Too Linty
When you open the dryer and retrieve your clothes, are they still covered in little bits of lint or threaded with long hair? Or maybe it’s only your towels that have a post-drying lintiness problem. This means that the lint can’t escape and isn’t flowing freely out of your dryer. It may also be accompanied with slow drying and heavy items damp when the cycle is done.
Solution 1: Empty the Lint Trap
Start by emptying the lint trap. Not everyone has a good lint-trap routine. You or other household members may let that trap layer until you could insulate a coat or press a hat out of what you pull off that screen. Layers and layers of lint are as good as a blanket for stopping airflow and especially for stopping the escape of other lint.
So clear the trap between every dryer load, or every time it’s thick enough to pull up with your fingertips.
Solution 2: Use a Dryer Sheet
Sometimes, the answer is static electricity. If your clothes tend to be staticky (more common in a dry environment) then it might hold more tightly to its own lint. The lint doesn’t shake free, it can’t exit with the moist air. A dryer sheet contains a special chemical mix that neutralizes static electricity. This allows the lint to shake free and also helps to keep hair moving through the lint system instead of threading through your clothes.
Solution 3: Check the Exhaust Assembly
The last possibility is that your dryer’s exhaust assembly is not sealed. The lint and exhaust system do not need to be sealed with gaskets, but it helps if all the pieces fit together so that air travels in the right direction at all times. So take a look at the assembly. Remove the lint trap and peer inside, see if the top panel and chute look right. You can then remove the two screws in the lint assembly top and remove it. Fit everything together, check for bends or gaps, and put it back together.
Then check from the duct-side. Remove one end of the duct to ensure the dryer-side vent is in good condition and everything looks OK inside.
Lint Vent Constantly Clogged
If your clothes dry slowly, there’s a chance that your lint dryer assembly, vent, or duct are regularly clogged. This can happen over and over or be an ongoing problem that you have yet to solve.
Solution 1: Vacuum the Flexible Duct
Start by removing one end of your flexible dryer duct. Get your vacuum hose attachment and use it to clean out the inside of the duct. This is much more effective than scooping or using brushes because you can remove a great mass of built-up lint. Be sure to empty your vacuum bag or tank when it fills if the job takes more than one vacuum capacity.
Solution 2: Clear the Dryer Exhaust Assembly
There’s also a chance of a clog inside the dryer assembly itself, between the lint trap and the vent that attaches to the duct. Use a long brush or another gentle, flexible object to clear out the entire exhaust assembly path.
Solution 3: Check Every Vent-Point
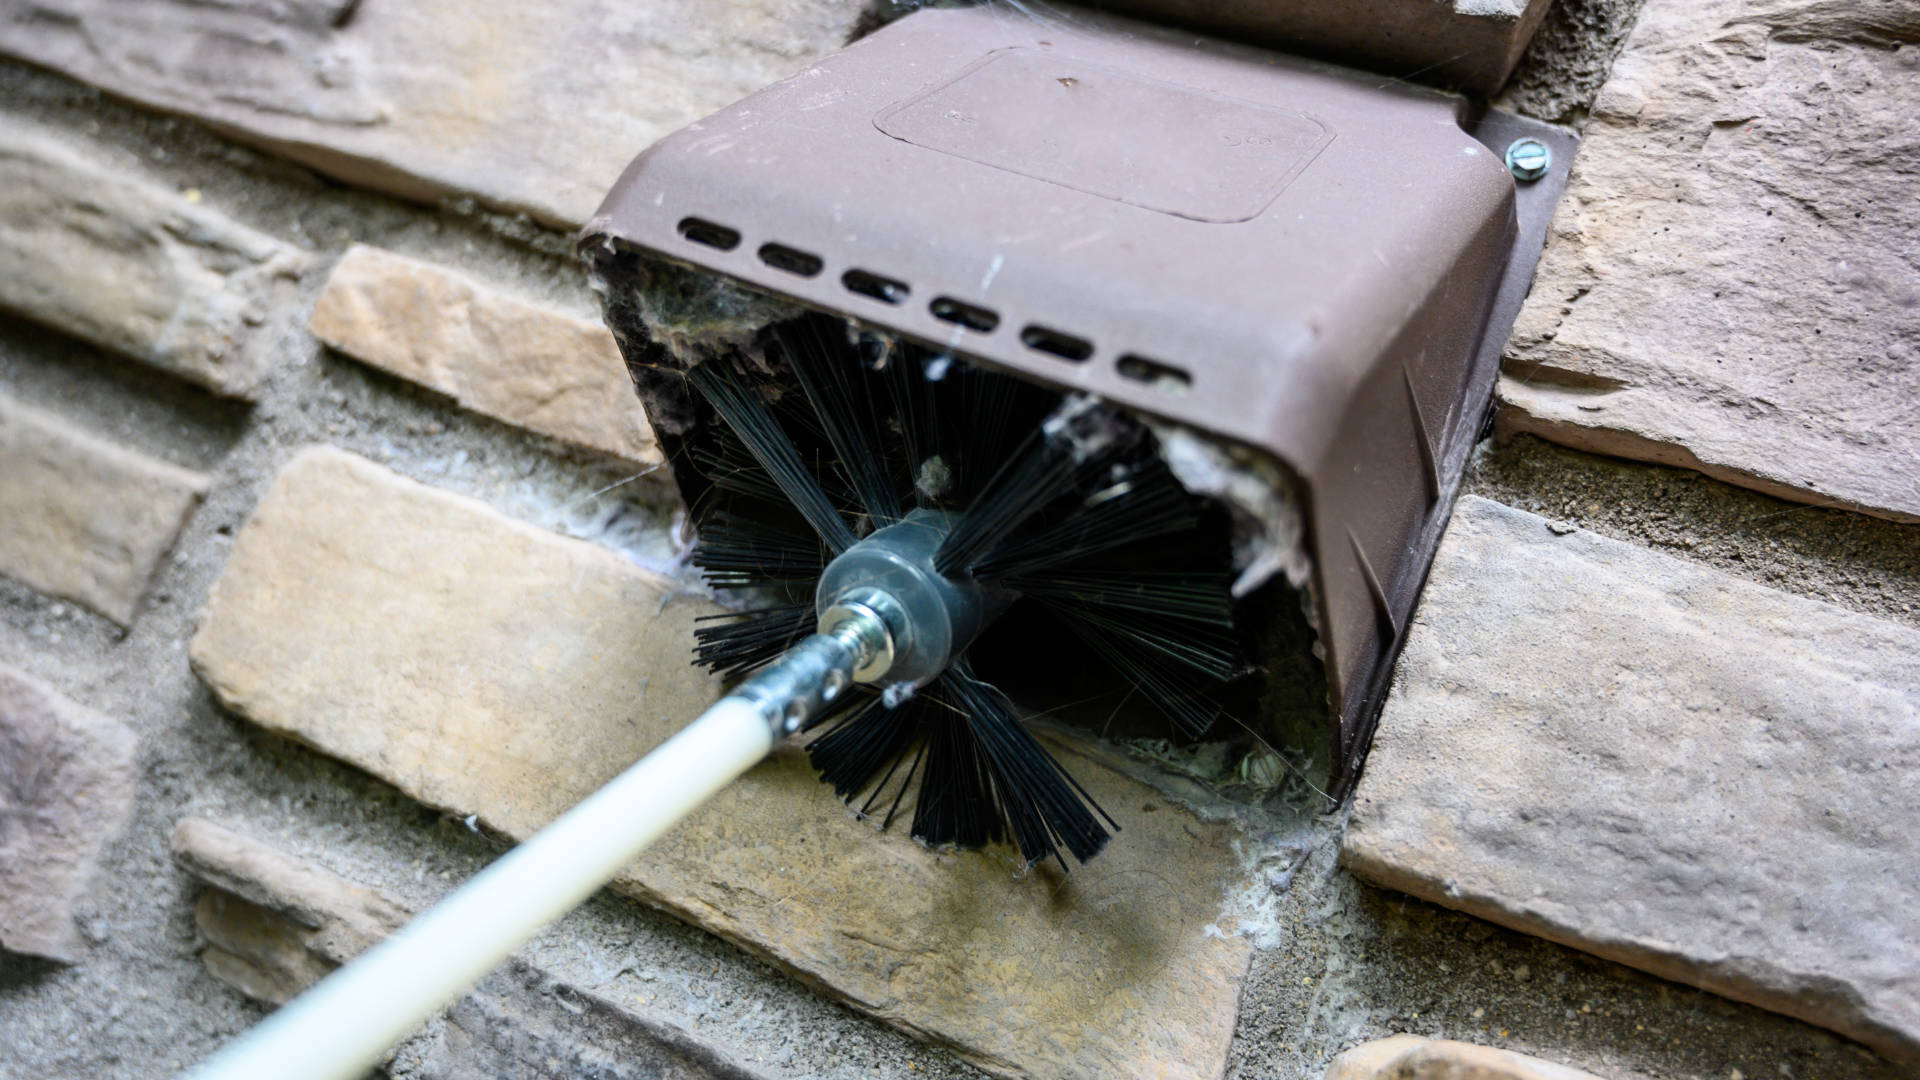
There are three essential vent points when it comes to removing lint from drying clothes. The first is the dryer to the flexible duct. The second is the flexible duct to the wall. The third is the house-duct to the outside, where the moist air should be released. If any of these ducts are clogged, the system fails. The final duct, the outside duct, is the most likely to be forgotten or clogged by outside elements.
Solution 4: Uncurl the Flexible Duct
Finally, don’t forget to check that the flexible duct is clear. If it is curled, bent, crushed, or pinched, then air can’t flow and lint can’t escape. Stretch out the duct and make sure it is uncurled so air can pass through.
Flexible Duct Always Curled or Crushed
Solution 1: Give it Room
First, make sure there’s some room between the wall and the back of your dryer. The flexible duct needs room to not be crushed, so your dryer cannot sit directly back against the wall.
Solution 2: Stretch It Out
Shake out the flexible duct and lay it in a way that isn’t curled. Then place the dryer to protect the stretched-out duct.
Solution 3: Hang it On Something
One of the best ways to help stretch out your duct (and keep it stretched) is to hang it over something. A small shelf or a peg is all you need to keep your dryer duct out of trouble.
Solution 4: Shorten the Duct
Often, your flexible duct is much longer than it needs to be. The duct needs to be long enough to pull your dryer out for maintenance, but no longer. It’s OK to clip your duct shorter and reattach it to help keep it from tangling.
Solution 5: Stabilize the Dryers
Dryers sometimes crush their own ducts by wobbling during the spin and ‘walking’ backward toward the wall. Keep this from happening by leveling the feet and placing no-slip pads under your dryer feet.
Linty or Humid Laundry Room
Finally, we know that some dryer duct problems result in a laundry room that is always humid, and your things may be constantly covered in lint paste. This is because your duct is open or damaged and is spewing the linty-moist air just removed from your laundry into the room.
Solution 1: Tighten Your Ring Brackets on Vents
Start at the vents. Your vents and duct are attached with ring brackets that tighten with a ratcheting screw. Position the duct back over the vent and tighten the bracket until it holds firm again.
Solution 2: Replace the Flexible Duct
If your flexible duct is torn or the ends are damaged, that’s not the end. Because most flexible ducts are longer than necessary, you can often do a quick repair by clipping the damaged section. Then use your ring bracket to re-attach the freshly clipped end.
(323) 284-6780Give us a call!

Apr. 09, 2024
How to Fix the Whirlpool Washer F9 E1 Error Code

Apr. 09, 2024
How to Solve Frigidaire Dishwasher Lights Blinking

Apr. 09, 2024
Resolving the LG Washer UE Error Code (3 Easy Fixes)

Mar. 06, 2024
Replacing an Over-the-Range Microwave with a Range Hood

Mar. 06, 2024
How to Get Burnt Smell Out of Microwave (In 2 Easy Steps)

Mar. 06, 2024
7 Reasons Why Your Bosch Ice Maker Is Not Working

Feb. 05, 2024
Why Does Your Self-Cleaning Oven Smell?

Feb. 05, 2024
Why Is Your Whirlpool Cabrio Washer Not Spinning?

Jan. 03, 2024
Why Does My Refrigerator Make Noise?

Jan. 03, 2024
Troubleshooting the F2 Error Code on a Whirlpool Oven

Jan. 03, 2024
Rust Inside Microwave: Causes, Fixes, and Prevention Tips

Dec. 11, 2023
4 Ways to Get Smell Out of Dishwasher

Dec. 11, 2023
7 Steps to Fix a Whirlpool Oven Not Heating

Dec. 11, 2023
What to Do When Your Washing Machine Smells Like Rotten Eggs

Nov. 06, 2023