If your Kenmore Elite dryer is not heating, this guide tells you exactly how to get your dryer back in action. We’ll walk you through the common reasons behind the heating problem and provide step-by-step instructions to help you diagnose and fix it.
Please note that while the first few steps can be done easily and without any specialist tools, the other steps require a multimeter and some experience working with electrical components.
Step 1 – Check the Cycle Settings
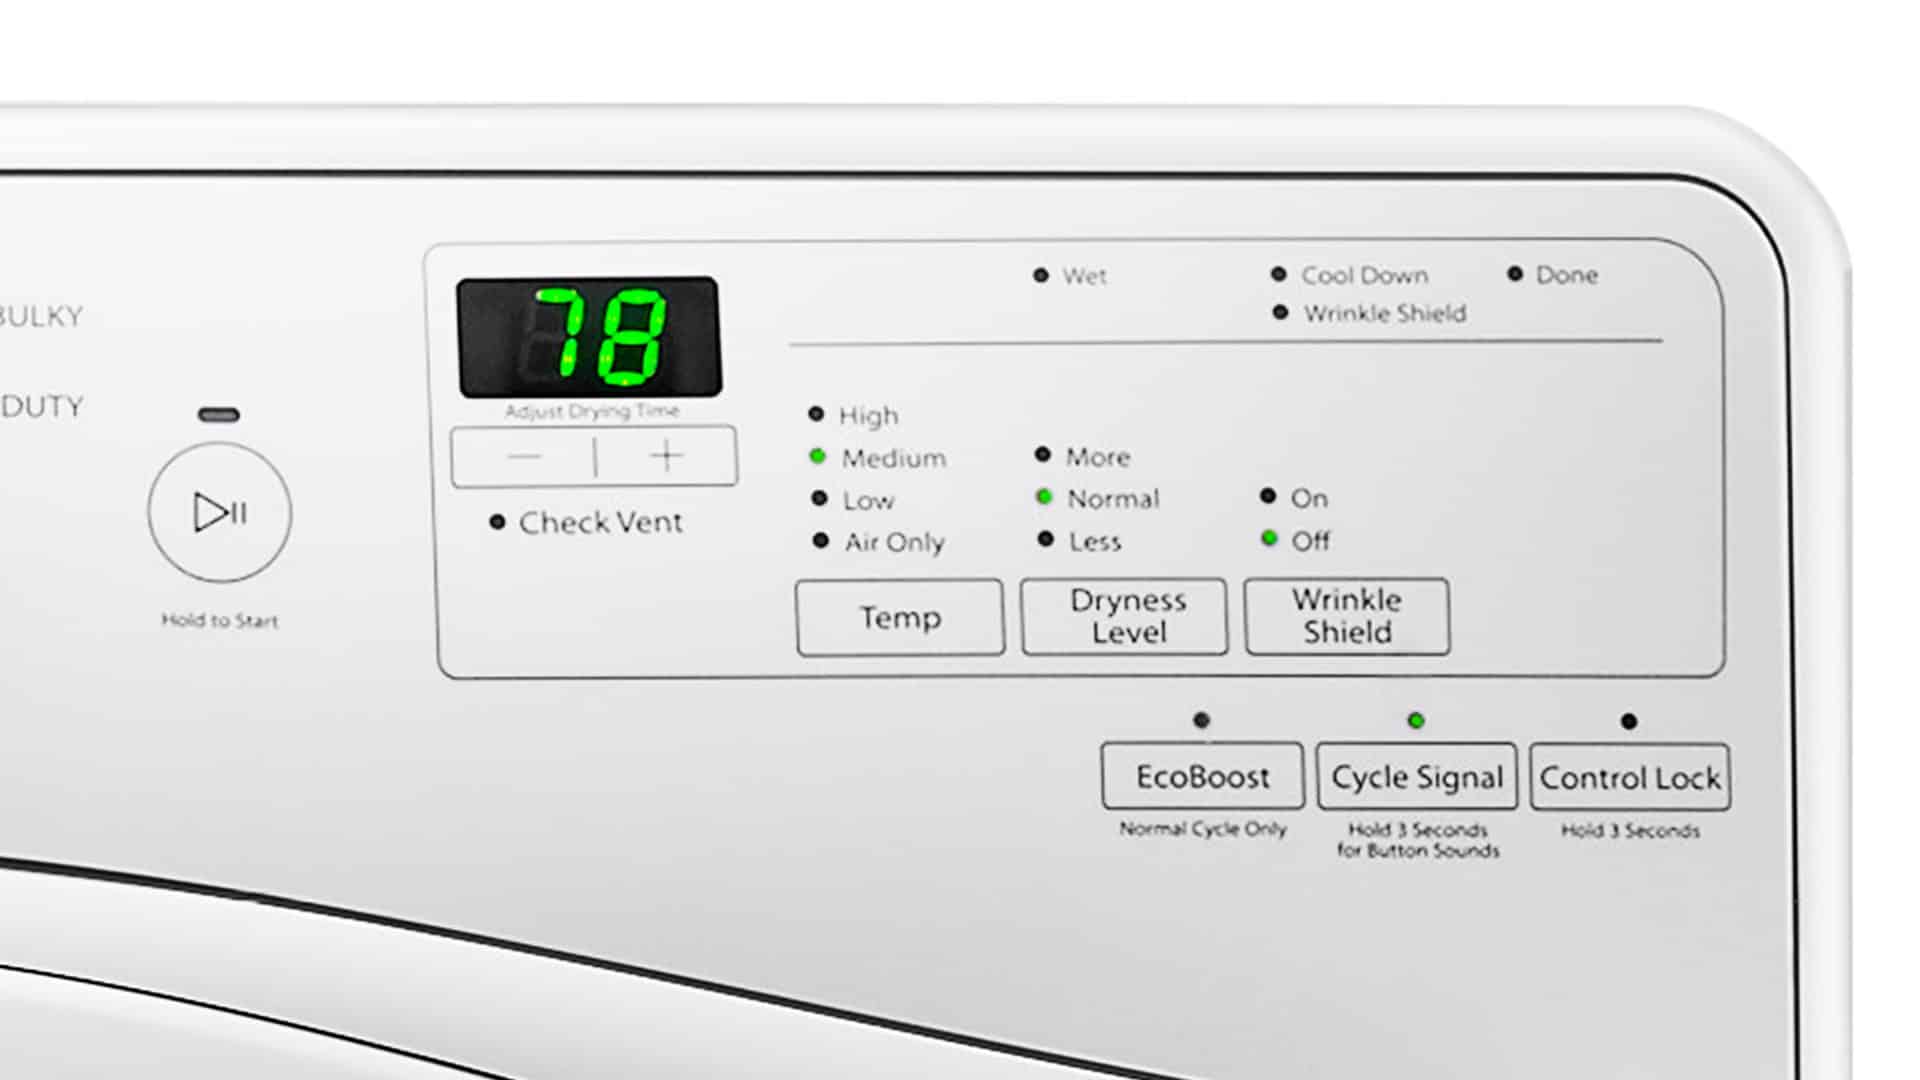
Before you do anything else, double-check that the dryer is configured to the correct heat setting. The setting may have been accidentally set wrong, and a quick change will get your dryer heating again correctly. If the settings are set correctly, proceed to the next step.
Step 2 – Empty the Lint Trap
Another simple action you can take to get your Kenmore Elite dryer heating correctly again is to clean out the lint trap and the vent. When these components get blocked up with lint, the airflow can be restricted, and your dryer will not heat. To clean the lint trap, remove it from the dryer and empty any lint from it. You can also clean the vent by disconnecting the hose and cleaning it out. Once clean, turn your dryer on and see if the heating problem has been fixed. If not, proceed to the next step.
Step 3 – Reset Your Dryer
The next step is to do a hard reset of your dryer. This can be done by switching the power off to your Kenmore dryer for 5 minutes before turning it back on. Once the dryer starts back up, check if it can now heat properly. If it still doesn’t heat, proceed to the next step.
Step 4 – Check the Power Setup
The next step is to ensure the power supply to your dryer is set up correctly. Your dryer needs a dedicated circuit as it uses a lot of energy. If necessary, an electrician will need to adjust your power setup. If the power supply is set up correctly, or if changing the setup doesn’t fix the problem, proceed to the next step.
Step 5 – Check the Thermal Fuse
The thermal fuse is a safety feature designed to safeguard your dryer from overheating, preventing damage to your appliance and reducing fire risk. The thermal fuse can, in rare cases, blow when it shouldn’t, and your dryer will stop heating.
To inspect the thermal fuse, follow these steps:
- Switch the power off to your dryer.
- Locate the thermal fuse. It can be found on the blower housing or near the heating element.
- To assess the functionality of the thermal fuse, employ a multimeter to test its continuity. No continuity means it must be replaced. If it has continuity, you can proceed to the next step.
- Please note that when replacing a blown thermal fuse, inspecting and clearing any restrictions within the dryer venting system is imperative to prevent further complications and ensure safe and efficient dryer operation. Once replaced, ensure your dryer can now heat. If not, proceed to the next step.
Step 6 – Check the Heating Element
The heating element is responsible for heating the air in your dryer during a cycle. Like any other element, it can burn out over time and require replacement.
To inspect the heating element, follow these steps:
- Switch the power off to your dryer.
- Locate the heating element (consult your owner’s manual if unsure of its location).
- To assess the functionality of the heating element, employ a multimeter to test its continuity. No continuity means it must be replaced. If it has continuity, you can proceed to the next step.
- Once replaced, ensure your dryer can now heat. If not, proceed to the next step.
Step 7 – Check the Thermistor
The thermistor serves the crucial role of constantly monitoring the temperature within the heater housing, ensuring that it halts the heating process once the desired temperature is reached. In the event of a malfunctioning thermistor, your dryer may become entirely inoperative.
To inspect the thermistor, follow these steps:
- Switch the power off to your dryer.
- Locate the thermistor (consult your owner’s manual if you’re unsure of its location).
- To assess the functionality of the thermistor, employ a multimeter to test its continuity. No continuity means it must be replaced. If it has continuity, you can proceed to the next step.
- Once replaced, ensure your dryer can now heat. If not, proceed to the next step.
Step 8 – Check the Cycling Thermostat
The cycling thermostat regulates the temperature in your dryer during a cycle. If it becomes faulty or stops working altogether, your dryer will not be able to heat correctly.
To inspect the cycling thermostat, follow these steps:
- Switch the power off to your dryer.
- Locate the cycling thermostat (consult your owner’s manual if you’re unsure of its location).
- To assess the functionality of the cycling thermostat, employ a multimeter to test its continuity. No continuity means it must be replaced. If it has continuity, you can proceed to the next step.
- Once replaced, ensure your dryer can now heat. If not, proceed to the next step.
Step 9 – Check the Timer
The next step is to check the timer. The timer monitors the cycle and tells the main control board when to end the cycle. If defective, your Kenmore Elite dryer might not heat correctly.
To inspect the timer, follow these steps:
- Switch the power off to your dryer.
- Locate the timer (consult your owner’s manual if you’re unsure of its location).
- To assess the functionality of the timer, employ a multimeter to test its continuity. No continuity means it must be replaced. If it has continuity, you can proceed to the next step.
- Once replaced, ensure your dryer can now heat. If not, proceed to the next step.
Step 10 – Check the Control Board
The control board ensures every component within your dryer gets the correct amount of voltage at the right time. If faulty, your dryer will fail to heat correctly. It’s very rare for the control board to become defective. Still, if every other component is working, consider replacing the control board or getting a qualified technician to come and give you a second opinion.

How to Fix the Whirlpool Washer F9 E1 Error Code
How to Solve Frigidaire Dishwasher Lights Blinking
Resolving the LG Washer UE Error Code (3 Easy Fixes)
Replacing an Over-the-Range Microwave with a Range Hood
How to Get Burnt Smell Out of Microwave (In 2 Easy Steps)

7 Reasons Why Your Bosch Ice Maker Is Not Working
Why Does Your Self-Cleaning Oven Smell?
Why Is Your Whirlpool Cabrio Washer Not Spinning?
Why Does My Refrigerator Make Noise?
Troubleshooting the F2 Error Code on a Whirlpool Oven
Rust Inside Microwave: Causes, Fixes, and Prevention Tips

4 Ways to Get Smell Out of Dishwasher
7 Steps to Fix a Whirlpool Oven Not Heating
What to Do When Your Washing Machine Smells Like Rotten Eggs
