


March 7, 2023
Dryer Repair
Dryer vents: Everything you need to know
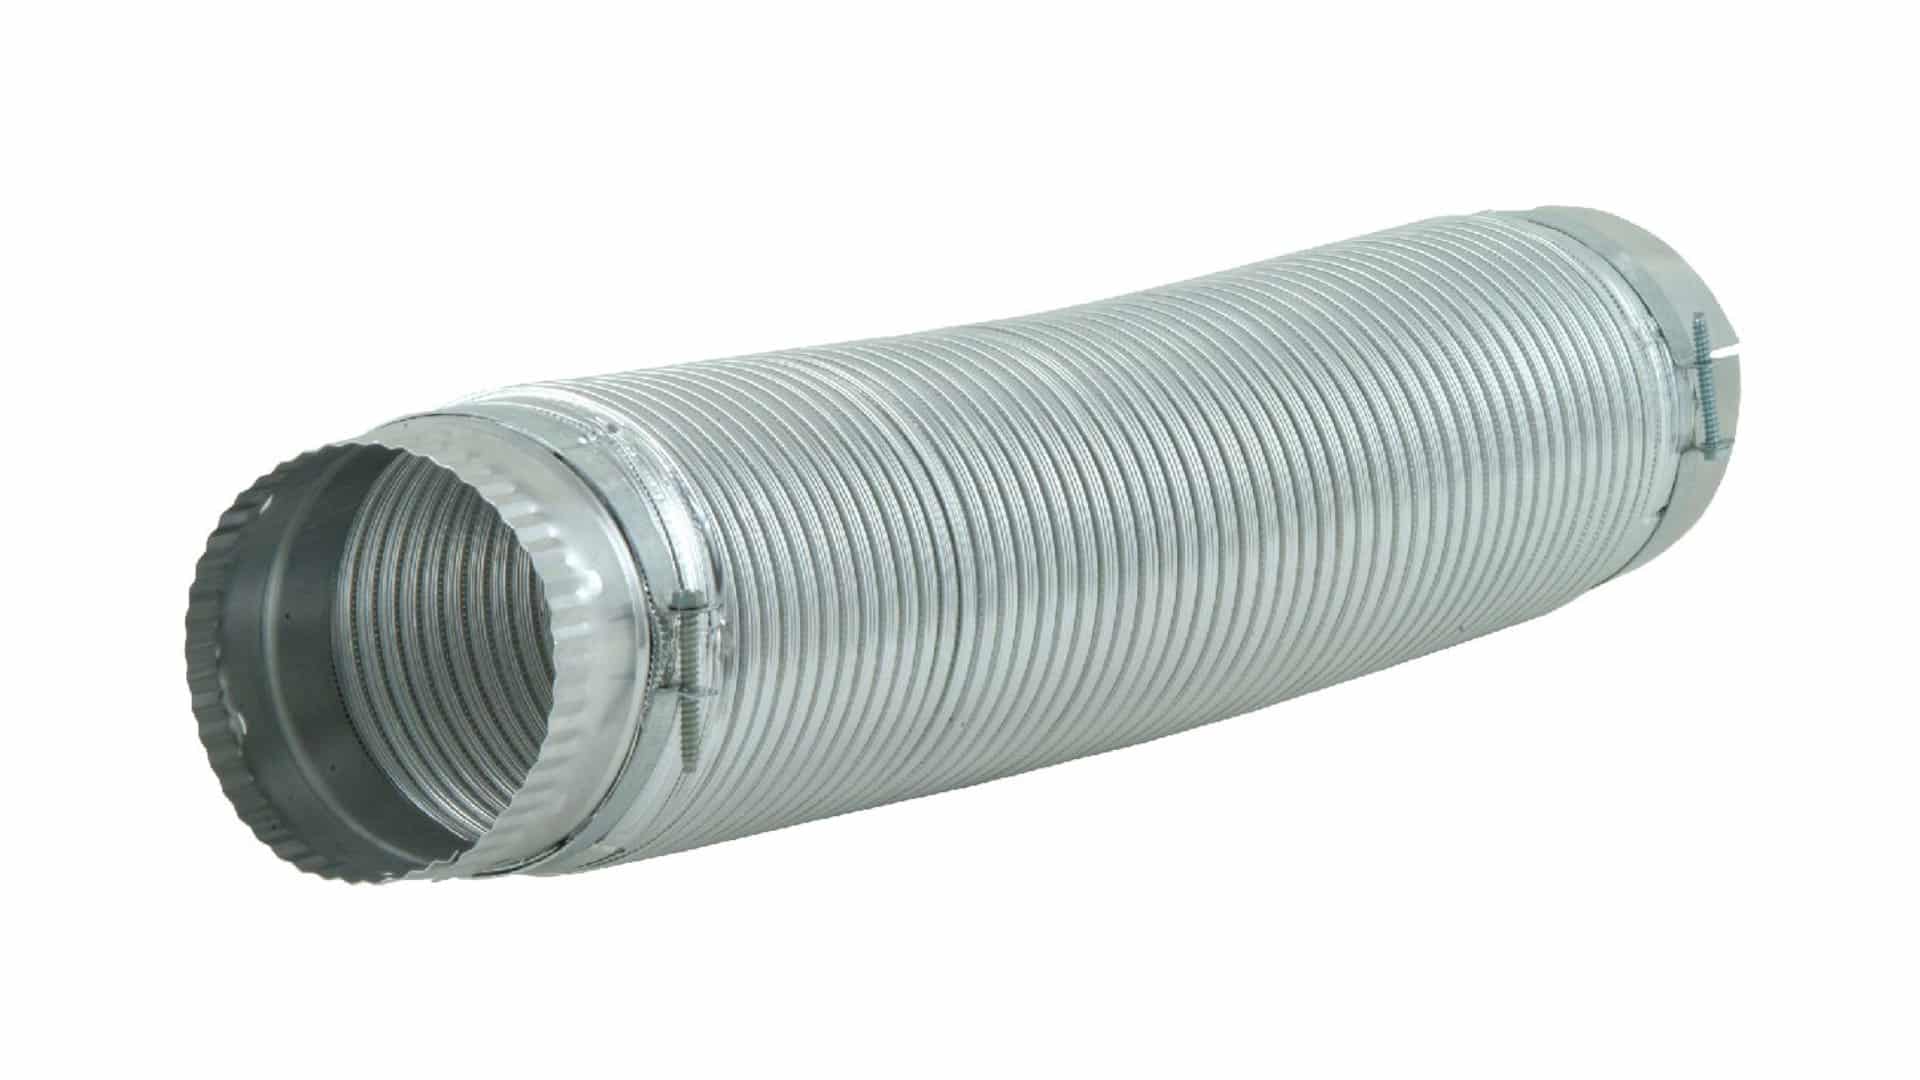
A dryer vent is an essential component found in most dryers. The dryer vent is usually a duct, or a pipe like structure that is connected to the main dryer. When the dryer is operating, it produces warm moist air that is expelled out of the dryer vent. This moist air is usually expelled through the duct, to the outdoors.
The vent also has the important role of creating a safe environment for the dryer to operate in. By ensuring the dryer is adequately ventilated, it ensures that there is no build up of humid hot air or lint that can be potentially dangerous when not removed safely.
If the dryer vent is broken or missing, it will need to be replaced before the dryer is used — in order to protect you and your home.
Signs of a defective whirlpool dryer vent
If your dryer vent is broken, it is not always obvious. Unless your dryer vent is visually damaged or is not attached, you may have to look out for more subtle signs. Other less obvious signs that indicate the dryer vent is defective include:
- Overheating: If your dryer is becoming hotter than usual, then it is a sure sign that your dryer vent needs to be replaced. Your dryer vent expels the hot air that the dryer creates. If it is broken, this hot air will build up and cause the dryer to overheat.
- Long drying times: If the moist air is not being expelled from the dryer through the vent, it will take a long time for your clothes to dry properly. This is most commonly caused by a blocked or broken dryer vent.
- Moisture build up: Another common sign that your drying vent is obstructed or broken is that moisture is building up in the room that the dryer is operating in. If the vent is not pumping the moist air out of the room, it will cause it to build up — resulting in a high humidity environment and even wet windows.
Installing a whirlpool dryer vent
1. Cleaning the vent system
The first thing to do when replacing or installing a new dryer vent is to clean the venting system. The venting system is a common place for lint buildup, so it should be regularly cleaned. This can be done by disconnecting the old vent duct from the dryer and wiping it clean with a dry cloth. The remaining debris can be removed using a vacuum cleaner.
2. Take measurements
Next, measure the distance from the dryer to the exhaust, making sure to account for any extra length needed for twists and turns. It is usually best to try to take the shortest course, as any long pipes will complicate the installation and make them more likely to become blocked.
3. Purchase the right venting
There are two options when it comes to venting systems —either rigid or flexible. Flexible options are best if your ventilation system requires turning around corners or tight spaces. Both options will have different benefits. Your user manual will usually advise you on which option is best for your specific dryer model.
4. Trim excess venting
The vent system will work best when the vent hose is short, so that it does not slag when installed to the dryer. Measure your vent hose and compare it to the distance needed to connect it from the dryer to the exhaust. If there is any excess, cut it so there is only about half an inch excess, allowing a snug fit. When cutting the hose ensure you are wearing protective gloves and eyewear.
5. Attach the new dryer vent
There are two methods you can use to attach the dryer vent to the exhaust. You can either use a vent clamp or a foil tape to attach the dryer vent. Both are great options when it comes to installing a whirlpool dryer vent. If you’re using a vent clamp to attach the hose, place it loosely on the edge of the wall outlet, encasing the vent hose.
Next, screw the vent clamp until it is tight using a screwdriver. Repeat this process on the other side of the hose, where it attaches to the dryer. If you opt for using the tape, do the same thing by securing the vent hose to the external exhaust, as well as to the exhaust on the dryer.
It is important to only use tape intended for this purpose, foil tape is the only tape designed to withstand the heat and moisture produced by a dryer.
6. Readjust your dryer
Now that your dryer vent is installed, you can reposition the dryer – making sure that it is level and that the vent pipe does not have any kinks in it. You can test out the vent system by placing an item of damp clothing in the dryer and running it. You should feel warm, moist air coming out of the external exhaust.
Caring for your whirlpool dryer vent
Once you have installed a dryer vent, it is important to take care of it to ensure it does not need to be replaced any time soon. This is best done by cleaning out the lint filter regularly to prevent any lint build up that can clog the exhaust pipe. Next, check the vent hose for any potential bends or blockages that can stop the air from flowing out of the dryer.
You can do this by running the dryer and seeing if the air is escaping the external ventilation system. Once you have checked the pipe, check the external vent cap that sits on the outside of your house. This can become blocked by lint or other debris, like leaves. Make sure it is clear by wiping it down or using a vacuum to remove any smaller debris.
(323) 284-6780Give us a call!

Apr. 09, 2024
How to Fix the Whirlpool Washer F9 E1 Error Code

Apr. 09, 2024
How to Solve Frigidaire Dishwasher Lights Blinking

Apr. 09, 2024
Resolving the LG Washer UE Error Code (3 Easy Fixes)

Mar. 06, 2024
Replacing an Over-the-Range Microwave with a Range Hood

Mar. 06, 2024
How to Get Burnt Smell Out of Microwave (In 2 Easy Steps)

Mar. 06, 2024
7 Reasons Why Your Bosch Ice Maker Is Not Working

Feb. 05, 2024
Why Does Your Self-Cleaning Oven Smell?

Feb. 05, 2024
Why Is Your Whirlpool Cabrio Washer Not Spinning?

Jan. 03, 2024
Why Does My Refrigerator Make Noise?

Jan. 03, 2024
Troubleshooting the F2 Error Code on a Whirlpool Oven

Jan. 03, 2024
Rust Inside Microwave: Causes, Fixes, and Prevention Tips

Dec. 11, 2023
4 Ways to Get Smell Out of Dishwasher

Dec. 11, 2023
7 Steps to Fix a Whirlpool Oven Not Heating

Dec. 11, 2023
What to Do When Your Washing Machine Smells Like Rotten Eggs

Nov. 06, 2023