


July 31, 2023
Dryer Repair
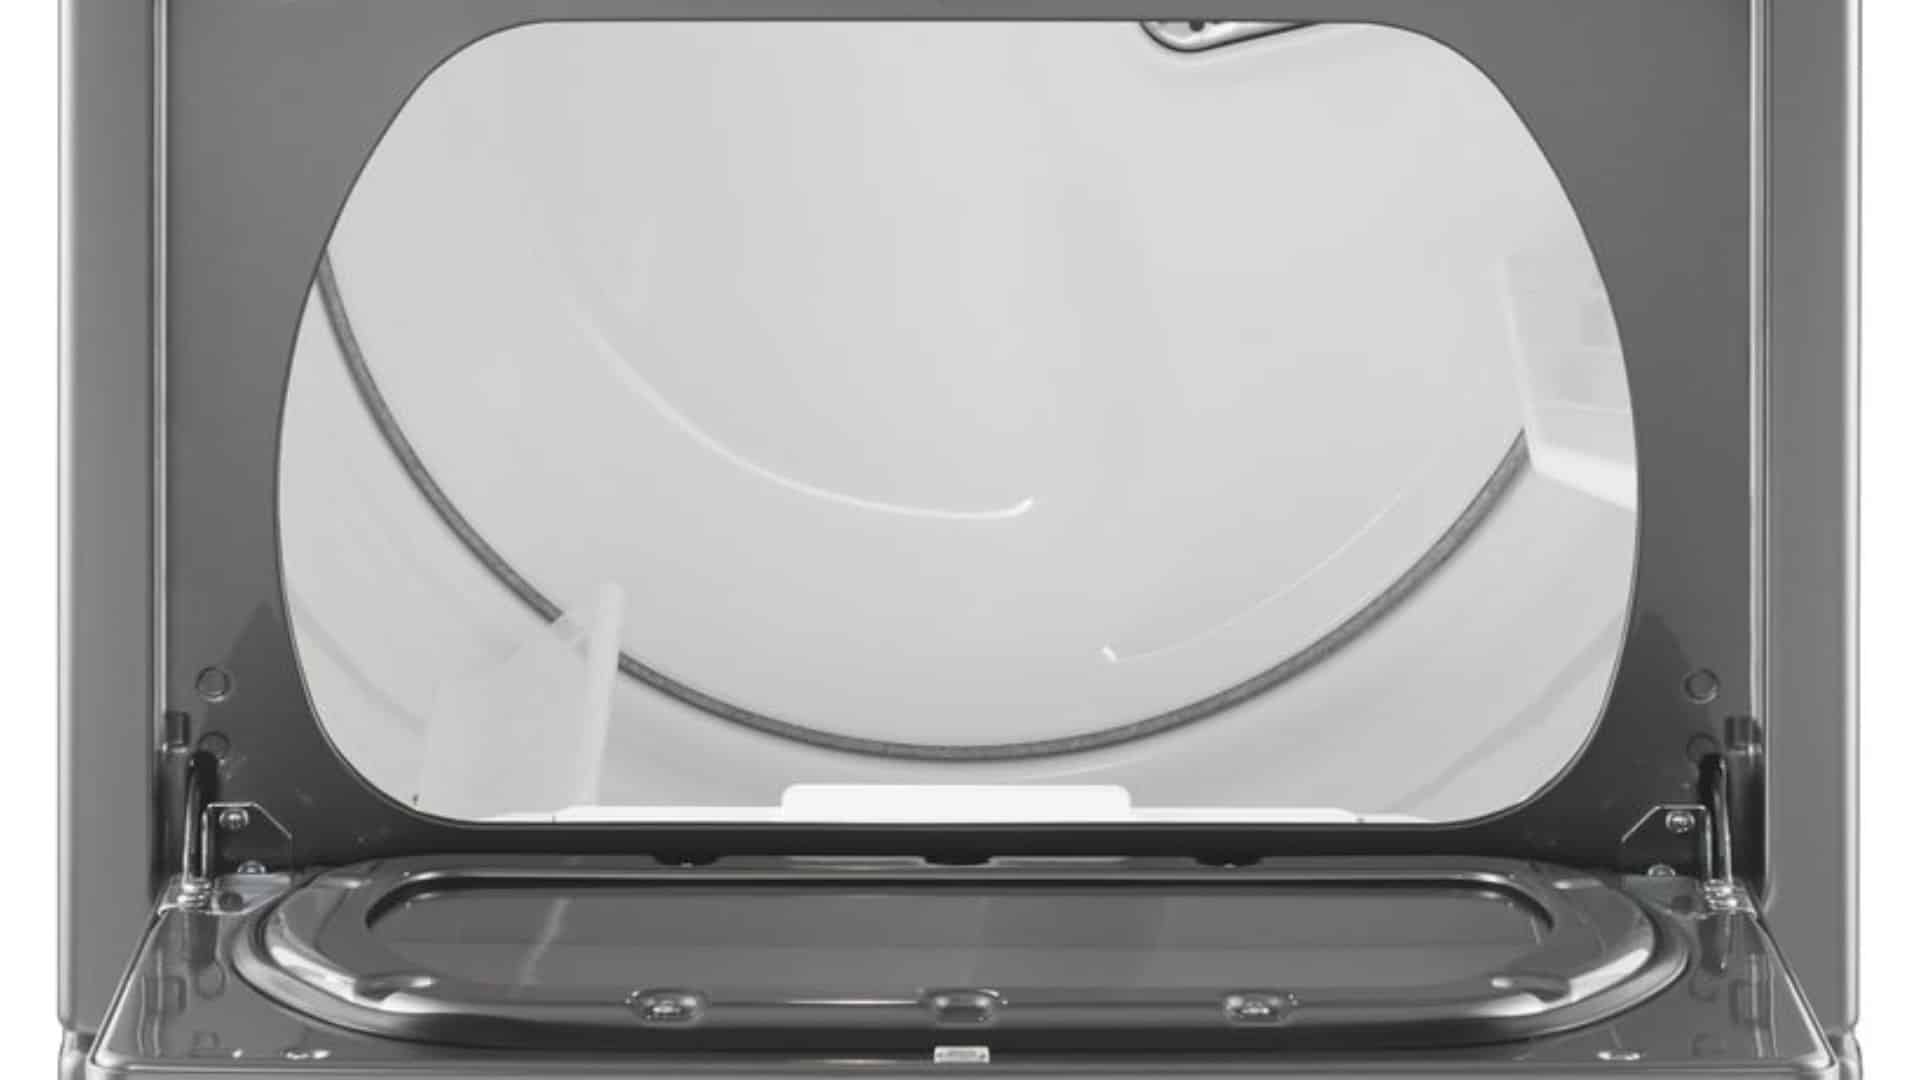
If you’ve ever had a squeaky dryer, you know how annoying it can be. Fortunately, there are a few common causes of this issue that can be easily fixed.
The first step is to identify the source of the noise. This can often be done by simply listening closely while the dryer is running. If the noise seems to be coming from the drum, the problem is likely worn or dirty drum rollers. Cleaning and lubricating these rollers can often solve the problem.
A broken belt may be the culprit if the noise is more of a grinding sound. Replacing or tightening the belt can usually fix this issue. Loose parts can also cause squeaking, so it’s important to check for any loose screws or bolts and tighten them as needed.
By following these simple steps, you can easily fix a squeaky dryer and keep it running smoothly for years to come.
How to Fix Your Squeaky Dryer
1. Identifying the Source of the Noise
Once you’ve determined that your dryer is making a squeaky noise, the next step is to identify the source of the problem. This can be done by listening carefully to the noise and trying to pinpoint where it’s coming from. This can often be done by simply listening closely while the dryer runs.
If the noise seems to be coming from the drum, the problem is likely worn or dirty drum rollers. If the noise is more of a grinding sound, a broken belt may be the culprit. Loose parts can also cause squeaking accompanied by rattling noises.
By taking the time to correctly identify the source of the noise, you can ensure that you’re taking the right steps to fix the problem fast.
2. Cleaning and Lubricating the Dryer Drum Rollers
Cleaning and lubricating the dryer drum rollers is an essential step in fixing a squeaky dryer. Over time, the rollers can accumulate dirt and debris, causing them to become noisy.
To clean them, first, unplug the dryer and remove the front panel. Locate the rollers and remove them from the shaft. Use a cloth or brush to wipe away any dirt or debris, and then apply a small amount of lubricant to the shaft. Reattach the rollers and replace the front panel.
It’s important to note that not all lubricants are suitable for use on dryer parts. Be sure to use a lubricant specifically designed for use on dryer parts. Usually, a silicone-based lubricant is the best choice. By regularly cleaning and lubricating the dryer drum rollers, you can extend the life of your dryer and prevent future squeaking.
3. Replacing or Tightening a Broken Belt
If you’ve followed the previous steps and still hear a squeaky noise coming from your dryer, it’s possible that the belt is broken or loose. Replacing or tightening a broken belt is a bit more complicated than the previous steps, but it’s still a manageable task.
First, unplug the dryer and locate the belt. The belt is usually underneath the access panel on the back of your dryer; use a screwdriver or socket wrench to remove this panel. If the belt looks worn or broken, it will need replacing.
To do this, take note of how the old belt is threaded around pulleys and other components so that you can replicate this when installing your new one. If necessary, take pictures or draw diagrams for reference later on.
To remove the broken belt, loosen the tensioner – a pulley located at the bottom end looped around the motor shaft. This can be done using pliers to pry up against the spring-loaded arm-attached brackets until it slackens enough to slip off the drive motor spindle.
Once you’ve removed the old belt, place the new belt over the drum’s ribbed edge first, then stretch across both pulleys while keeping pressure applied toward the center hub area as much as possible without twisting too tightly.
Lastly, tighten the tensioner again using the same methods described above in reverse order. Re-attach everything else removed earlier, ensuring nothing is left loose, dangling anywhere obstructing the airflow path through the system. Finally, plug into the outlet so the dryer is ready for use.
4. Adjusting and Tightening Loose Parts
Another common cause of a squeaky dryer is loose parts. Over time, screws, bolts, and other components can become loose and cause the dryer to rattle and squeak during operation. To fix this issue, you will need to adjust and tighten any loose parts.
First, unplug the dryer and remove the front panel to access the interior. Then, use a wrench or screwdriver to tighten any loose screws or bolts. You should also check the drum support rollers and idler pulley for any signs of wear and tear. If these components are damaged, you may need to replace them.
By regularly checking and tightening loose parts, you can prevent future squeaks from occurring.
How to Properly Care for a Dryer
While fixing a squeaky dryer is important, it’s equally important to care for it properly to prevent future issues. Regular maintenance can extend the life of your dryer and save you money in the long run.
One important step is to clean the lint filter after every use. A clogged filter can cause your dryer to work harder and potentially overheat. Additionally, make sure to clean the dryer vent and ductwork at least once a year to prevent a fire hazard.
It’s also important to avoid overloading your dryer, as this can cause strain on the drum and other parts.
Finally, be mindful of the items you put in your dryer. Avoid putting in items with heavy zippers or buttons that can damage the drum. By properly caring for your dryer, you can prevent future issues from occurring.
(323) 284-6780Give us a call!

Apr. 09, 2024
How to Fix the Whirlpool Washer F9 E1 Error Code

Apr. 09, 2024
How to Solve Frigidaire Dishwasher Lights Blinking

Apr. 09, 2024
Resolving the LG Washer UE Error Code (3 Easy Fixes)

Mar. 06, 2024
Replacing an Over-the-Range Microwave with a Range Hood

Mar. 06, 2024
How to Get Burnt Smell Out of Microwave (In 2 Easy Steps)

Mar. 06, 2024
7 Reasons Why Your Bosch Ice Maker Is Not Working

Feb. 05, 2024
Why Does Your Self-Cleaning Oven Smell?

Feb. 05, 2024
Why Is Your Whirlpool Cabrio Washer Not Spinning?

Jan. 03, 2024
Why Does My Refrigerator Make Noise?

Jan. 03, 2024
Troubleshooting the F2 Error Code on a Whirlpool Oven

Jan. 03, 2024
Rust Inside Microwave: Causes, Fixes, and Prevention Tips

Dec. 11, 2023
4 Ways to Get Smell Out of Dishwasher

Dec. 11, 2023
7 Steps to Fix a Whirlpool Oven Not Heating

Dec. 11, 2023
What to Do When Your Washing Machine Smells Like Rotten Eggs

Nov. 06, 2023