In many homes, if you are installing a new dishwasher, that will usually mean that you are simply replacing an old one. The infrastructure is already there and it becomes a much more simple process since you do not have to run wires to the circuit breaker. However, if your home has never had a dishwasher due to never wanting one or being built brand new, wiring and setting up a new dishwasher is a much more complex process than you may have thought. It might not be as simple as plug in a cord and some hoses and go. You may need to hardwire it to the circuit breaker.
Unfortunately, while you may be an intrepid do-it-yourselfer, you will want to be aware that mistakes when it comes to wiring a new dishwasher can lead to irreparable damage to the actual appliance. Installing wiring can often go beyond the comfort left of many, so if you need to, do not be afraid to seek the help of a professional appliance installation of the repair technician. However, with the right knowledge and tools, it can be done rather quickly.
Before You Begin
Before installing the wiring for your new dishwasher you will need to make sure you have the right set up and the right tools for the job. Before you begin, you will need:
- 20 Amp Breaker
- 12/2 NM Cable
- Wire Connectors
- Electrical Tape
- Wire Strippers
- Needle Nose Pliers
- Both a Phillips and Flathead Screwdriver
- Voltage Tester
Be sure to check that 20 amps are indeed enough for your new dishwasher before you commit to it.
Installing The Breaker
Due to the high level of power that your dishwasher uses during the cycle, it needs its own power supply so you will need to install a 20 amp breaker in your breaker box. This is typically the most complex part of the installation. You will need to open your breaker box and select a free position to install the breaker. Once the new breaker has been installed, label it and leave it in the off position until the rest of the wiring has been done.
If you have never installed a new breaker in your breaker box, you may want to consider enlisting the aid of an electrician just to make sure it is done right. Installing a breaker isn’t something you need to do every day and having a professional out to do it is often the safer option for everyone involved.
Running the Cable
From the breaker box, you will want to run the 12/2 NM cable to the area where you will be installing the new dishwasher. When running the cable, plan to have at least three feet of extra wiring so that after you wire your new dishwasher you still have room to pull the appliance out for repairs or maintenance later. Extra slack in the wiring can also help if you make mistakes and need to strip extra wire to try again.
Locating and Preparing the Junction Box
Once the wire is run, you will want to find the junction box on your dishwasher. It will most likely be located at the lower rear of the appliance. Once you remove the screws securing the cover and open it, you will find a black wire, a white wire, and depending on your model, either a green grounding wire or a green grounding screw.
In order to run the wires safely and securely inside the junction box, you will need to locate the knockout on the side of the junction box and knock it out with something small and firm like a screwdriver or pliers. Be sure not to nick or damage any of the wirings. Although it is designed to be knocked out, the knockout may require a fair bit of force to remove.
Wiring Your New Dishwasher
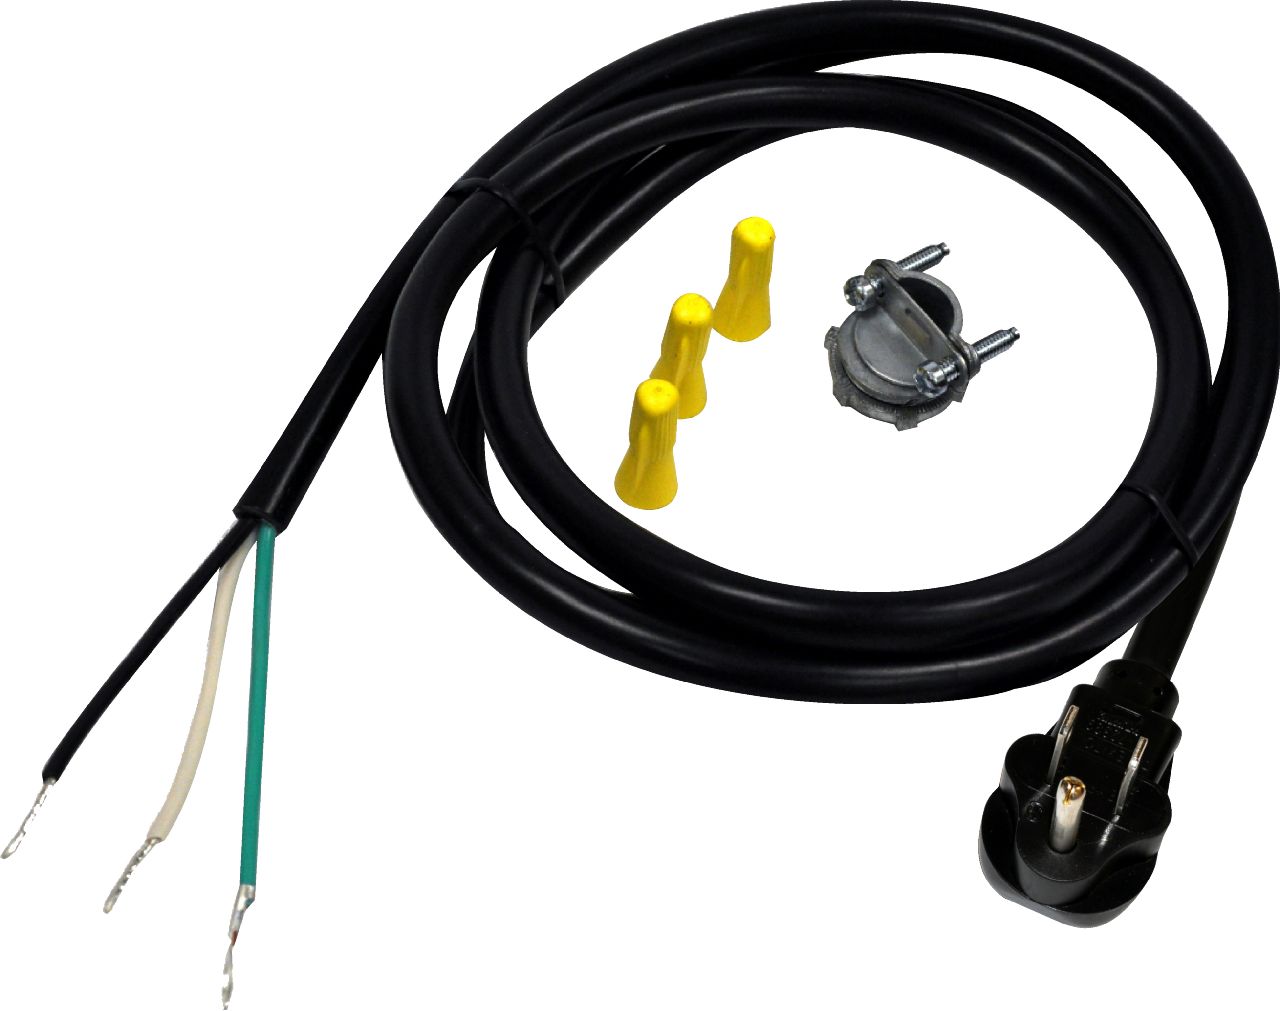
With the knockout removed, you are now free to insert the wire connector through the hole and secure it using the locking nut to make sure that it stays in place. Using your wire stripper, you can remove the tip covering your NM able to expose the black, white, and green wires that are inside of it. Using your wire strippers again, you will want to strip away approximately an inch of insulation on each of the wires so you can attach them to the connector.
Inserting the appropriate wires on the NM cable into the color-coded slots on the wire connector, you will now have to tighten the wire clamps on the connector with your screwdriver. You will want the screws firmly threaded, but be careful not to over tighten them as this can damage the wiring. If you do damage the wires for any reason, you can snip away the damaged parts and strip more of the insulation away for another try at the process. However, be sure that all the wires are even lengths.
Finally, you will want to connect the wires. Start by connecting the green grounding wires first then the others. If your junction box has a green grounding screw, you will need to unthread it, wrap the wire around the screw, and then secure it.
Testing
With all the wires connected and secure, it is time to place the cover back on the junction box to protect those wires. Now, you will need to connect the hoses to the dishwasher as well as the drain hose to the sink, turn on the water to the appliance, and finally flip the breaker to give power to the appliance.
You will want to run a test wash to make sure that everything is properly functioning. Run an empty load to make sure any residue left inside from the manufacturing process is washed away. If you are running the dishwasher and smell any burning smells, hear popping, or even see smoke, you will want to cut power to the appliance at the breaker box. If you catch any problems early, you may be able to save your appliance.

How to Fix the Whirlpool Washer F9 E1 Error Code
How to Solve Frigidaire Dishwasher Lights Blinking
Resolving the LG Washer UE Error Code (3 Easy Fixes)
Replacing an Over-the-Range Microwave with a Range Hood
How to Get Burnt Smell Out of Microwave (In 2 Easy Steps)

7 Reasons Why Your Bosch Ice Maker Is Not Working
Why Does Your Self-Cleaning Oven Smell?
Why Is Your Whirlpool Cabrio Washer Not Spinning?
Why Does My Refrigerator Make Noise?
Troubleshooting the F2 Error Code on a Whirlpool Oven
Rust Inside Microwave: Causes, Fixes, and Prevention Tips

4 Ways to Get Smell Out of Dishwasher

7 Steps to Fix a Whirlpool Oven Not Heating
What to Do When Your Washing Machine Smells Like Rotten Eggs
