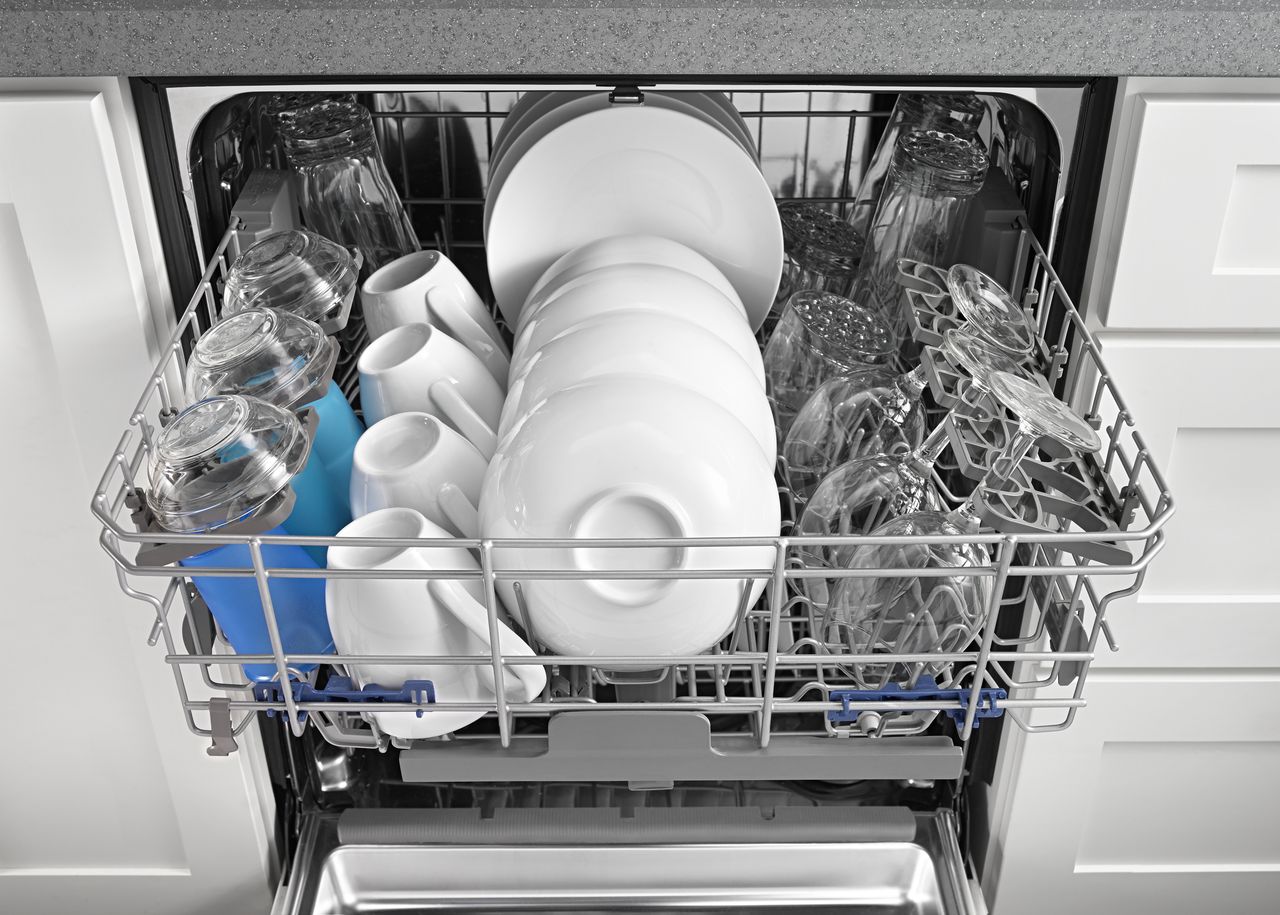
If your dishes are coming out of your Whirlpool dishwasher model WDF520PADB wet, you’re either dealing with an easy to fix maintenance mistake or your appliance is suffering from a component malfunction. Before you begin troubleshooting the cause, we suggest trying out the maintenance tips suggested below. If those don’t work, keep reading to learn which faulty parts commonly lead to wet dishes at the end of a cycle.
Maintenance Tips
- Use Rinse Aid. While the name may cause some confusion, rinse aid’s main purpose is ensuring your dishes come out of your dishwasher dry. Simply put, rinse aid stops water molecules from bonding together, which prevents water droplets from forming and in turn, causes the water to easily slide off your dishes. If you aren’t already using rinse aid, we suggest adding it to your dishwasher to see if it helps resolve your appliance’s drying problem.
- Space Out Your Dishes. How you load your dishwasher can affect how well your appliance dries your dishes. Stacking your plates, bowls, and pots with little to no room between them makes it nearly impossible for your dishwasher to properly dry them. Putting distance between your dishes allows for better air and water circulation, meaning they will come out of your appliance dry and ready to stack in your cabinets
Dishwasher Repair Tips
Before you start repairing your dishwasher, unplug the appliance and turn off its water supply to avoid electrocution. Protect your eyes and hands by wearing safety goggles and work gloves.
The Air Vent
During the rinse cycle your dishwasher uses a vent to release hot, steamy air. If the vent is stuck and won’t open all the way or it doesn’t open at all, the hot air will remain in your dishwasher. Unfortunately, this leads to extra moisture in the appliance, meaning your dishes won’t completely dry. If the air vent is malfunctioning you will need to replace it.
How to Replace the Air Vent in Your Whirlpool Dishwasher
- Open your dishwasher door and take out the screws securing the inner and outer door panels together. Once you’ve removed all the screws, pull the two panels apart.
- Before you can completely separate the panels, you ‘ll need to detach the control board housing from the dishwasher’s outer door panel. To do so, push the retaining clip that supports the housing up and out of the way. Then, using a flat head screwdriver, carefully pull back the control board’s mounting brackets, and remove the component from the outer door panel.
- With a sturdy piece of string, tie the control panel housing to the top of the inner door panel. Tying the control board up means you don’t have to disconnect all the wires that run to the component.
- Now pull the outer door panel off the inner door panel, and place it somewhere safe and out of the way.
- You’ll find the dishwasher air vent on the top, left side of the inner door panel. To remove the defective vent, first rotate the cover, found on the inside of the panel, counterclockwise. Then lift it off the door. With the cover no longer attached you can pull the vent off the inner door panel.
- Before you recycle your old air vent, take off its gasket and install it on the new air vent. With the gasket in place, push the vent into the opening on the inner door panel. You should hear a snap when the component is attached securely. On the opposite side of the inner door panel, install the air vent cover by rotating it clockwise. To make attaching the cover easier, hold the back of the vent in place.
- Now it’s time to reinstall the outer door panel. Start by setting it down on the dishwasher hinges. Then untie the string holding the control board housing to the inner door panel. Once the housing is free, snap it back onto the outer door panel and push the retaining clip down to secure the component.
- Squeeze the outer and inner door panels together and replace all the screws you took out earlier.
- With the new air vent installed and your dishwasher door reassembled, plug your appliance in and turn on its water supply.
The High Limit Thermostat
The high limit thermostat in your dishwasher stops your appliance from getting too hot. A faulty high limit thermostat can cut off the heat prematurely, meaning your dishes won’t get the chance to dry all the way. If you believe a defective thermostat is the cause of your wet dishes, switching it out for a new one should fix the issue.
How to Replace the High Limit Thermostat in Your Whirlpool Dishwasher
- The high limit thermostat is located behind the lower access panel. To reach the part, unthread the screws securing the panel to the dishwasher. Once the screws are loose, pull the access panel off the appliance and set it aside.
- Using a flashlight, peek underneath your dishwasher to locate the high limit thermostat. After you spot it, use your hand to push up on the bracket that holds the component in place. Once you’ve released the thermostat and the bracket you can pull them out from underneath your dishwasher.
- Disconnect the wires that run to the high limit thermostat, and pull the component out of the bracket it sits in.
- Insert the new high limit thermostat into the opening in the bracket, and connect the wires to the proper terminals.
- Now that the new thermostat is secure in its bracket, slide the assembly back underneath your dishwasher. Make sure you move it passed the dishwasher’s mounting bracket. Then, insert the large tab on the thermostat assembly into the opening on the appliance’s mounting bracket. To lock the assembly in place, push forward until you hear a snap.
- After you’re positive your new high limit thermostat is properly installed, reattach the lower access panel and secure it with the screws you took out earlier.
- Plug-in your dishwasher, and turn on the water supply valve. To test whether or not your new high limit thermostat resolves your dishwasher’s inability to dry, load your appliance with dirty dishes and hit the start button.
If the maintenance tips and repairs suggested above don’t help your dishwasher efficiently dry your dishes, please contact us today to schedule an appointment with one of our appliance repair technicians.

How to Fix the Whirlpool Washer F9 E1 Error Code
How to Solve Frigidaire Dishwasher Lights Blinking
Resolving the LG Washer UE Error Code (3 Easy Fixes)
Replacing an Over-the-Range Microwave with a Range Hood
How to Get Burnt Smell Out of Microwave (In 2 Easy Steps)

7 Reasons Why Your Bosch Ice Maker Is Not Working
Why Does Your Self-Cleaning Oven Smell?
Why Is Your Whirlpool Cabrio Washer Not Spinning?
Why Does My Refrigerator Make Noise?
Troubleshooting the F2 Error Code on a Whirlpool Oven
Rust Inside Microwave: Causes, Fixes, and Prevention Tips

4 Ways to Get Smell Out of Dishwasher
7 Steps to Fix a Whirlpool Oven Not Heating
What to Do When Your Washing Machine Smells Like Rotten Eggs
