


February 2, 2022
Dishwasher Repair
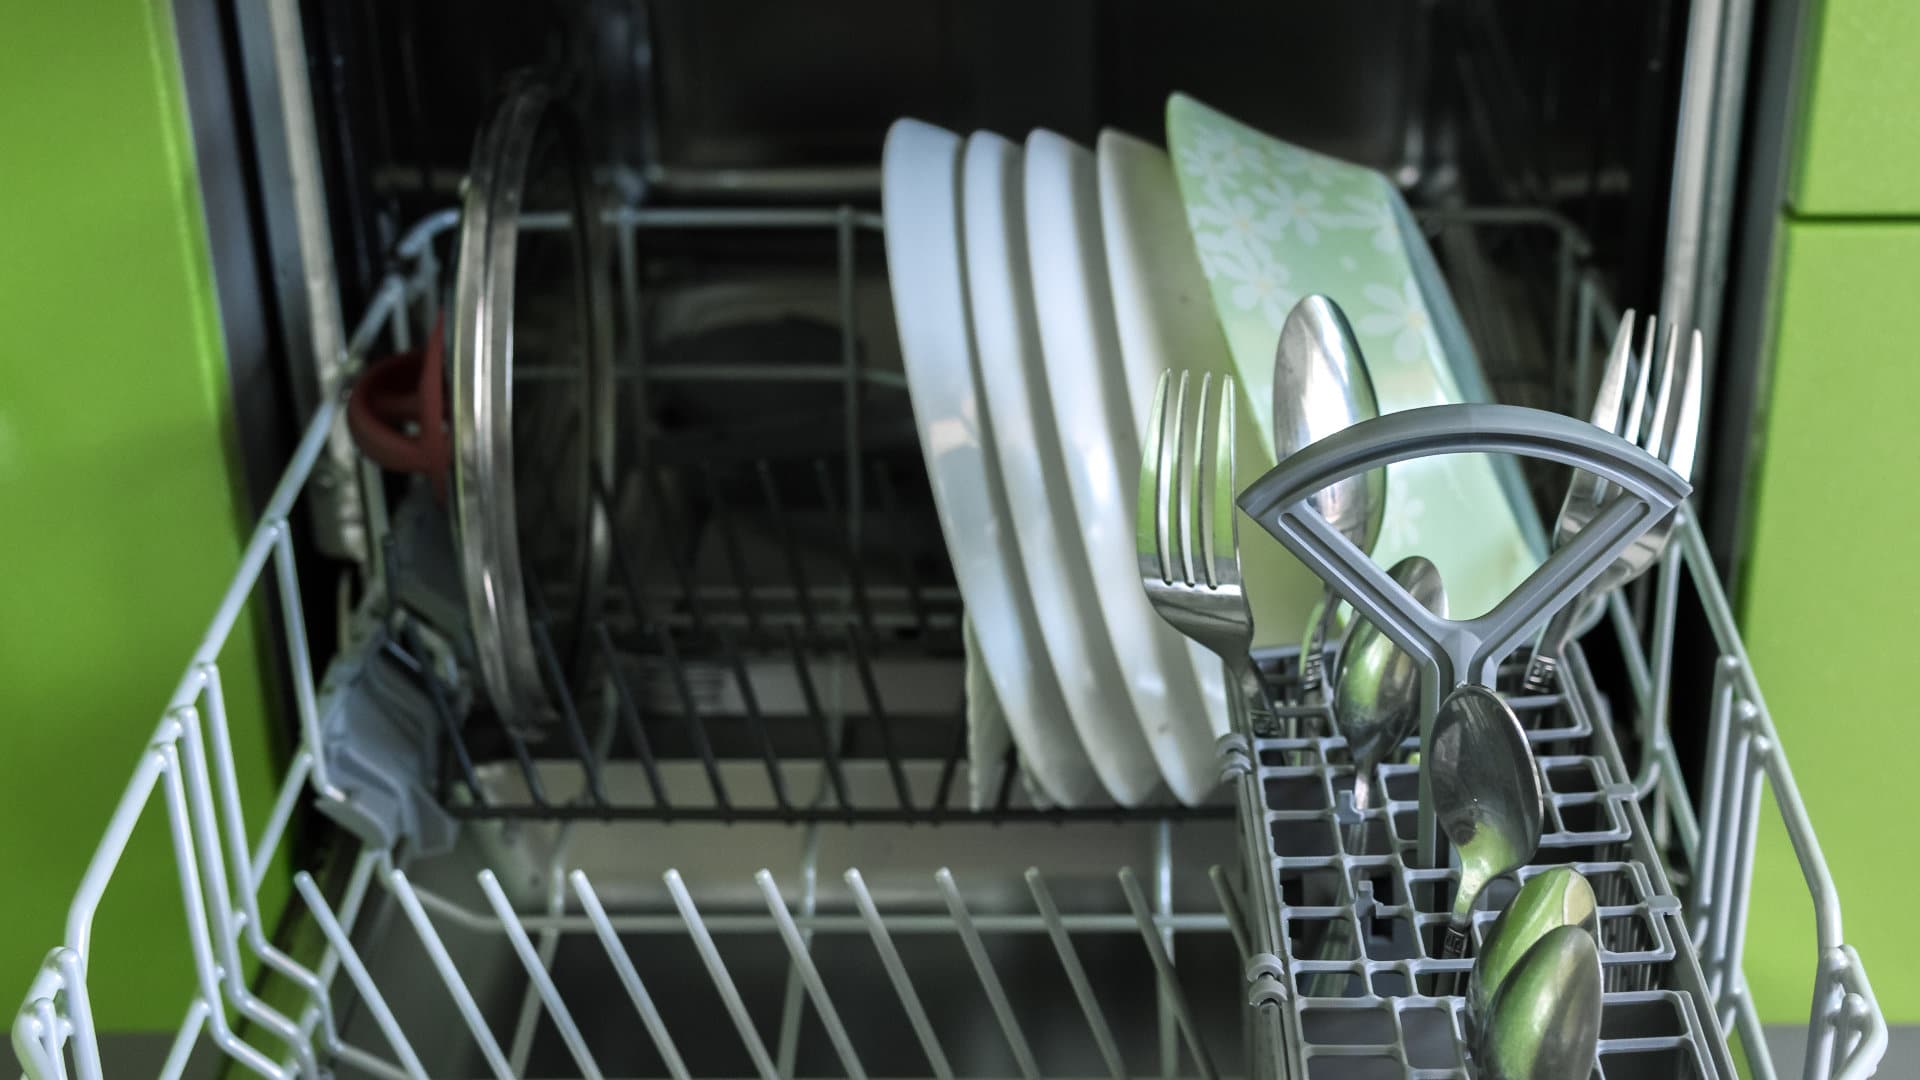
If you’ve opened your dishwasher door and discovered it hasn’t drained, no need to panic—this guide will help you find the cause of the problem so you can fix it.
All you need to do is start with step 1 and work your way down the guide until you find which component in your dishwasher is responsible for it not being able to drain.
Step 1 – Check the drain filter
The best place to start is to check the drain filter to ensure it isn’t blocked. When it becomes blocked, your dishwasher might not be able to drain.
Here’s how to check the drain filter:
- Open your dishwasher door.
- Locate the filter (it’s at the bottom of your dishwasher).
- Remove the filter.
- Give it a good clean and then place it back in the dishwasher.
- Check if your dishwasher can now drain. If not, move on to step 2.
Step 2 – Inspect the drain impeller
When your dishwasher isn’t able to drain, it’s often the result of a faulty drain impeller. The impeller is responsible for helping the water drain out, so if it stops working, your dishwasher won’t be able to drain properly or at all.
The drain impeller is easy to inspect, you simply need to:
- Find the drain impeller (you can find it at the bottom of your dishwasher) and then inspect it for signs of wear and tear.
- If the impeller is damaged, replace it. If it is in good working order, move on to step 3.
- If you install a new drain impeller, you will then need to check that the dishwasher can now drain, and if not, move on to step 3.
Step 3 – Inspect the check valve
The next step is to inspect the check valve. If the check valve becomes defective your dishwasher won’t be able to drain. This is because the purpose of it is to stop water from re-entering the dishwasher once it has drained out.
The check valve is easy to inspect, you simply need to:
- Find the check valve (you can find it at the bottom of your dishwasher) and then inspect it to see if it can open up.
- If the valve is stuck or damaged in any other way, replace it. If it is in good working order, move on to step 4.
- If you install a new check valve, you will then need to check that the dishwasher can now drain, and if not, move on to step 4.
Step 4 – Check the drain hose
The next step is to check the drain hose to make sure it isn’t blocked. If it is, your dishwasher will not be able to drain.
The drain hose is easy to check, you simply need to:
- Find the drain hose (you can find it at the back of your dishwasher) and then disconnect it from both ends. You may need to put something down onto the floor to catch any water that spills out.
- Attempt to run water through the hose to check if it is blocked. If so, unblock the hose and then reattach it. If the hose isn’t blocked, reattach it and move on to step 5.
- Once the drain hose has been unblocked, you will then need to check that the dishwasher can now drain, and if not, move on to step 5.
Step 5 – Inspect the drain solenoid
The drain solenoid helps make the drain valve open up so your dishwasher can drain out at the end of a wash cycle. If the solenoid stops working as required, your dishwasher won’t be able to drain.
The drain solenoid is easy to inspect, you simply need to:
- Find the drain solenoid and then inspect it for signs of wear and tear.
- If the solenoid is damaged, replace it. If it is in good working order, move on to step 6.
- If you install a new drain solenoid, you will then need to check that the dishwasher can now drain and if not, move on to step 6.
Step 6 – Make sure the drain valve isn’t blocked
The drain valve is a valve in your dishwasher that opens up so the dirty water can drain out during and after a wash cycle. If the valve fails to open, your dishwasher will not drain.
The drain valve is easy to inspect, you simply need to:
- Find the drain valve and then inspect it for signs of wear and tear and make sure it can open.
- If the drain valve is damaged, replace it. If the valve is blocked, unblock it. If it is in good working order, move on to step 7.
- If you install a new drain valve, you will then need to check that the dishwasher can now drain and if not, move on to step 7.
Step 7 – Check the drain pump
The next step is to check the drain pump to make sure it is working correctly. If the pump stops working your dishwasher will not be able to drain properly.
The drain pump can be checked by:
- Unplug your dishwasher from the power socket or turn the circuit breaker off.
- Find the drain pump – it will be at the bottom of your dishwasher.
- Remove the pump and then use a multimeter to test the pump motor for continuity.
- If the motor doesn’t have continuity, replace it. If it does have continuity, you can reinstall the pump and move on to the final step.
- If you install a new drain pump, you will then need to check that the dishwasher can now drain, and if not, move on to the final step.
Step 8 – Check your garbage disposal unit
The final step is to check if your dishwasher drains out via the garbage disposer. This is especially important if you have recently installed a new garbage disposal unit. If it does drain out through the garbage disposal unit and not directly out through a drain hose, you’ll need to check if the drain plug that is in the disposal unit has been removed. If the plug is still attached, remove it, and then check if your dishwasher can now drain.
(323) 284-6780Give us a call!

Apr. 09, 2024
How to Fix the Whirlpool Washer F9 E1 Error Code

Apr. 09, 2024
How to Solve Frigidaire Dishwasher Lights Blinking

Apr. 09, 2024
Resolving the LG Washer UE Error Code (3 Easy Fixes)

Mar. 06, 2024
Replacing an Over-the-Range Microwave with a Range Hood

Mar. 06, 2024
How to Get Burnt Smell Out of Microwave (In 2 Easy Steps)

Mar. 06, 2024
7 Reasons Why Your Bosch Ice Maker Is Not Working

Feb. 05, 2024
Why Does Your Self-Cleaning Oven Smell?

Feb. 05, 2024
Why Is Your Whirlpool Cabrio Washer Not Spinning?

Jan. 03, 2024
Why Does My Refrigerator Make Noise?

Jan. 03, 2024
Troubleshooting the F2 Error Code on a Whirlpool Oven

Jan. 03, 2024
Rust Inside Microwave: Causes, Fixes, and Prevention Tips

Dec. 11, 2023
4 Ways to Get Smell Out of Dishwasher

Dec. 11, 2023
7 Steps to Fix a Whirlpool Oven Not Heating

Dec. 11, 2023
What to Do When Your Washing Machine Smells Like Rotten Eggs

Nov. 06, 2023