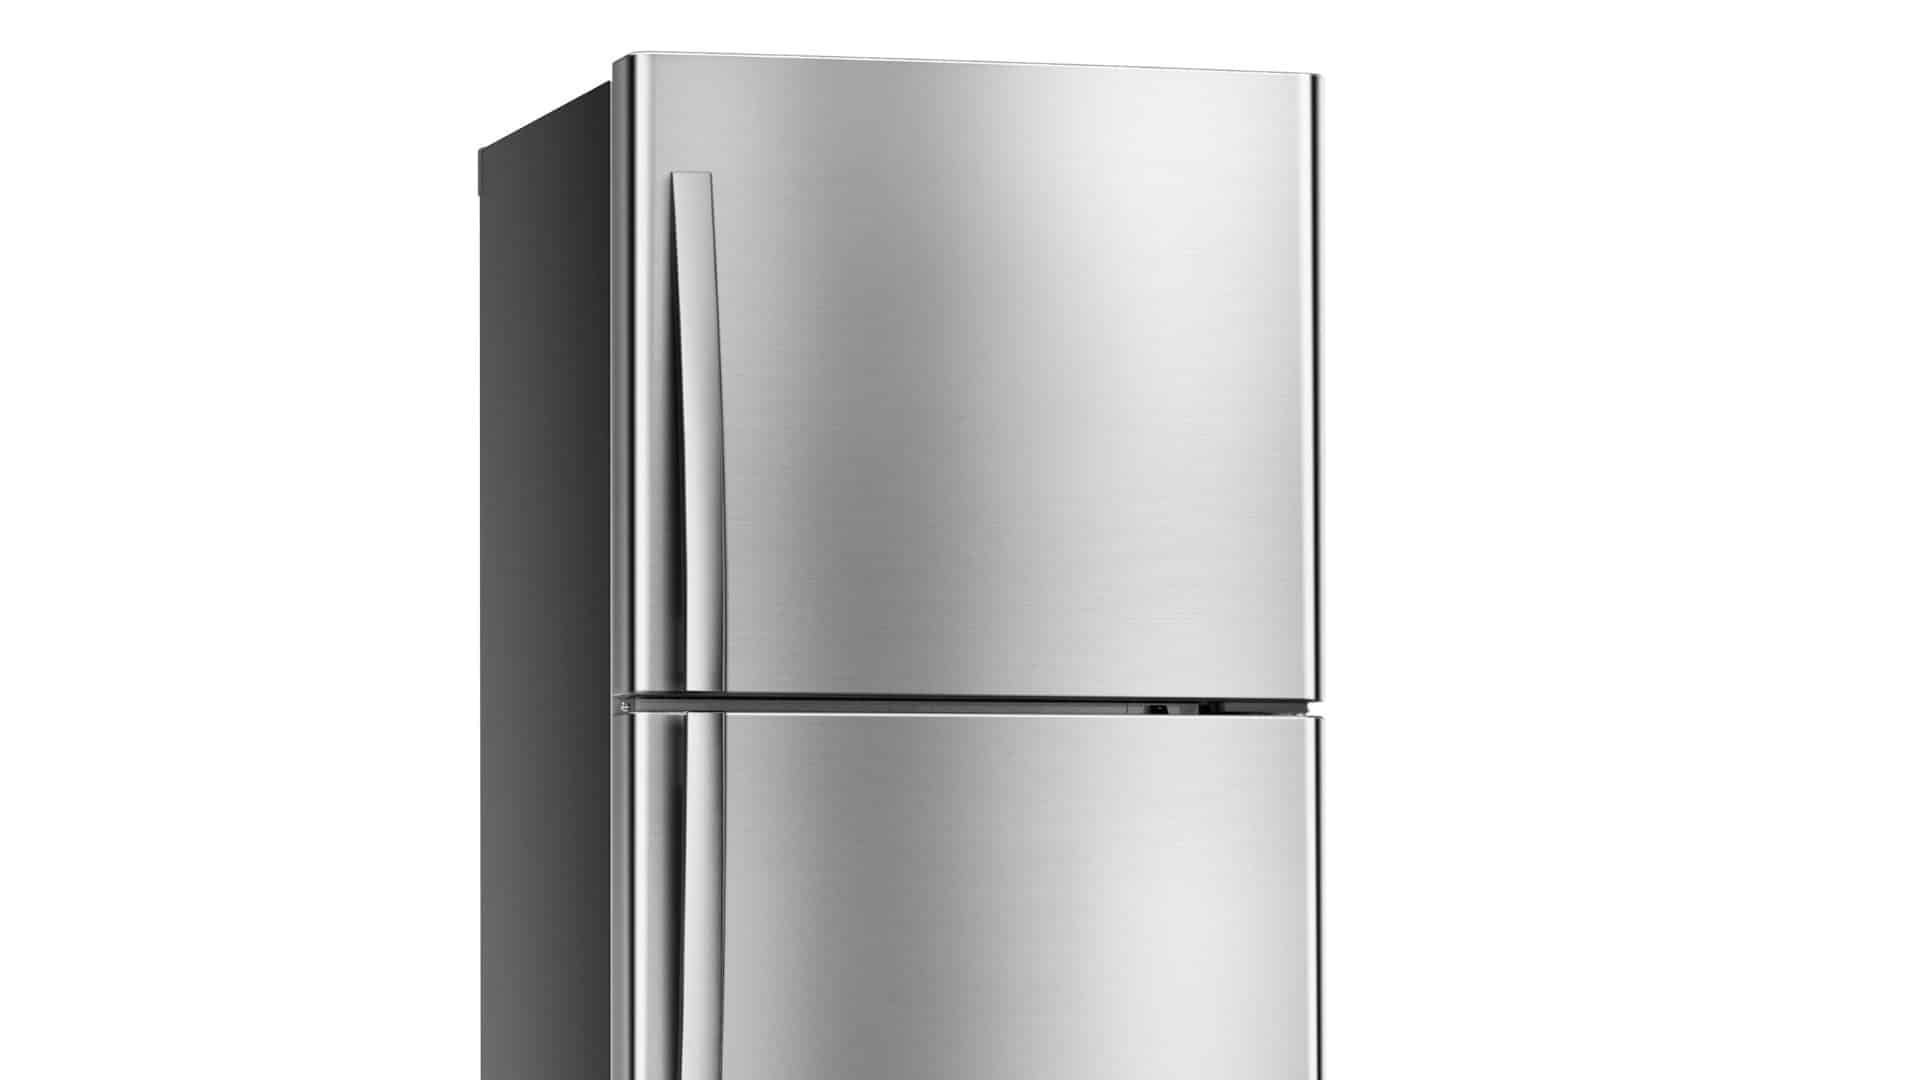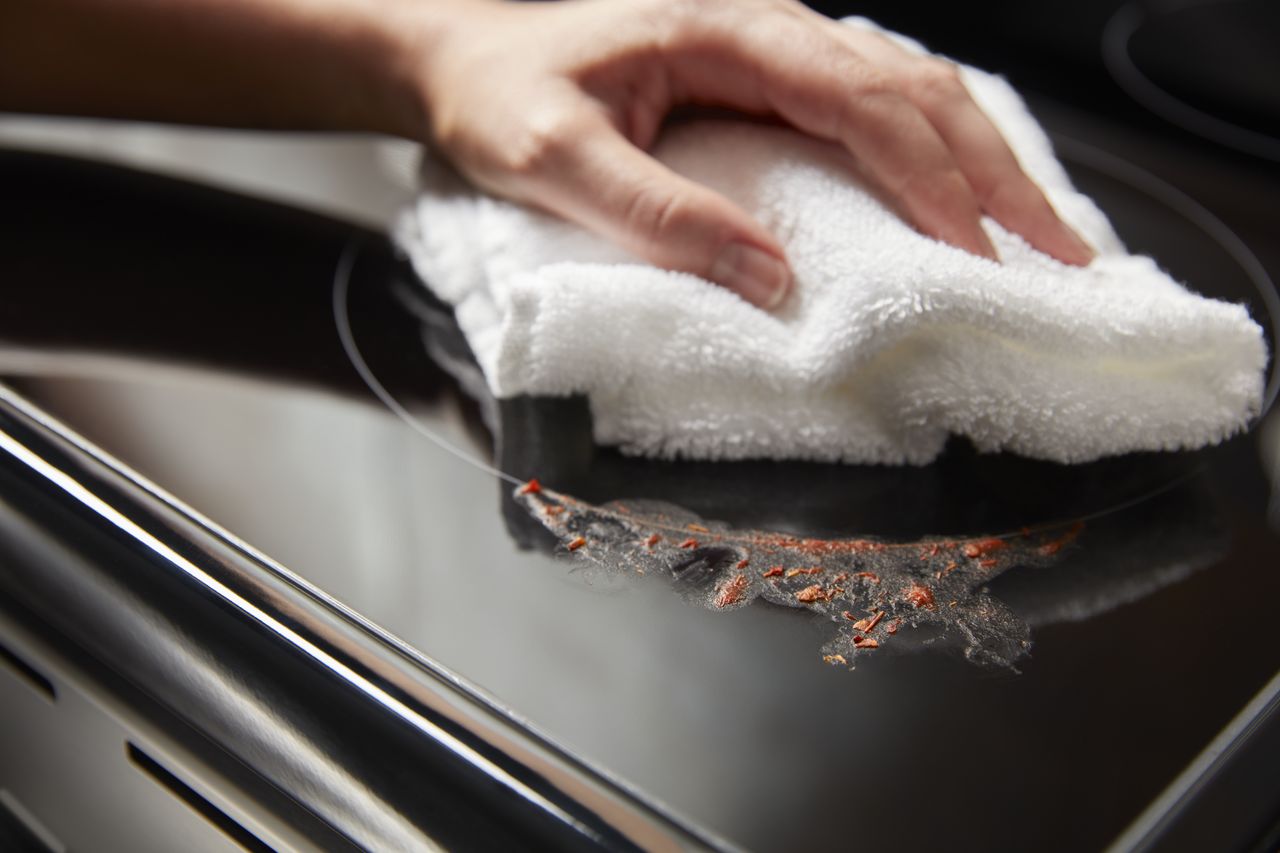
Are you the proud owner of a Samsung electric range with an induction style cooktop? Is the reason for your internet search to seek out reasons why one of the burners is failing to boil water, melt butter, or cook an egg? Or maybe that burner heats up now and then or perhaps you can’t shut the damn thing off at all
Warning
Before beginning this or any other electrical appliance repair, unplug the unit from its power source. Please note that it is a good idea to test the wall outlet with either a multimeter or some type of outlet tester.
Tools Needed
- #2 Philips screwdriver
- Flathead screwdriver
- Needle nose pliers
- Multimeter
Symptoms of a Cooktop That Won’t Heat Properly
- One or more elements are not heating at all
- Element does not heat entirely
- Element won’t shut off
Remove the Rear Panels and Wire Harness
In order to gain access to some
Lift the rear panel out from its slots and set aside. Remove the upper rear panel’s screws, lift the panel from its slots and set aside
On the left side, you will notice a wire harness and grounding strap. The ground is attached to the range’s frame. Remove the ground wire first, then unplug the wire harness. Remove the string relief and gently slide the harness into the slot that it is coming out from. Do the same with the grounding strap
Be careful not to damage the wire harnesses through this operation
Return to the front of the Samsung, open the oven door – if it is still in place – and remove the 3-Philips screws under the front lip of the cooktop
Test the Cooktop Burners
The main reason for testing all the elements is because at least one of the elements is not working and this might be a sign that other burners are not working either. You might encounter a situation where:
- Small burner is not working at all or…
- One or two rings on a triple burner are not working or…
- One or more elements stay on too long and causing it to overheat.
If any of the preceding symptoms affirm your diagnosis, then carefully follow along as we explain how to test the continuity of each burner.
- Disconnect the brown wire from the smaller element first and note that both small elements test the same way. And both burners use the same part number.
- Set your multimeter to ohms.
- Place the black probe on the terminal where you removed the brown wire and place the red probe on the orange terminal.
Normal display should read anywhere from 10-50 ohms.- Next, on the other side of the wire cluster, remove the black or yellow wire.
- Place the black probe on the terminal that houses the black wire and
place the red probe on the yellow connection. If there is no continuity, replace the element.
Remove the Heating Element
We recommend taking a picture of the burner you plan to remove and replace as it will give you a visual representation of where the wires connect.
- Unplug all terminals from the element you plan to replace. You will need the needle nose pliers to perform this function.
- Remove the ground strap from the bracket and remove two screws from the right side and finally remove the screw from the bracket which is holding the element in place.
- Using the needle nose pliers again, gently squeeze together the element tabs that are inserted into the slots located on the horizontal mounting bracket that the element is attached to. The element is now free to be removed.
Install the New Element
Be cautious not to touch the element coils. You don’t want to contaminate the coils with the oil from your skin.
- Slide the clip located on the bottom of the element into the bracket and replace the screw that secures the element in place.
- Refer to the picture you took of the wiring scheme and connect all wires accordingly.
- Push down on the mounting bracket as you replace its screws.
- Reconnect the black wire and refeed the the ground strap. Rethread and tighten the screws.
- Plug the remaining wires back into their respective terminals.
Reinstall the Cooktop
All that remains now is for you to reinstall the cooktop, reconnect the wire harnesses, button up the rear panels, plug the range back into its power source and boil water, melt butter, or cook an appetizing meal for you or your family.
- Gently put the cooktop back on top of the range and slide it until it feels like it is secure.
- Lift the front of the cooktop up far enough for you to reach the Molex connectors and feed them through their designated slotted areas to the rear.
- Slide the ground strap through first and the Molex connector after.
- Drop the cooktop in place. Rethread and tighten the three screws under the front lip of the cooktop. Replace and close the oven door.
- Reconnect the Molex connectors and ground strap.
- Reconnect the top and lower access panels. When doing so, rethread the middle screws first. This will provide balance to the panel as you replace its screws.
- Push the oven back in place and turn the power back on and test the cooktop burners.
The preceding information was provided to help you work through what may seem like a complicated repair. The most complicated part of the repair was trying to figure out what caused your cooktop burner to quit working in the first place. Once you knew what was causing the problem, you could then attempt to resolve it.

How to Fix the Whirlpool Washer F9 E1 Error Code
How to Solve Frigidaire Dishwasher Lights Blinking

Resolving the LG Washer UE Error Code (3 Easy Fixes)
Replacing an Over-the-Range Microwave with a Range Hood
How to Get Burnt Smell Out of Microwave (In 2 Easy Steps)

7 Reasons Why Your Bosch Ice Maker Is Not Working
Why Does Your Self-Cleaning Oven Smell?
Why Is Your Whirlpool Cabrio Washer Not Spinning?
Why Does My Refrigerator Make Noise?
Troubleshooting the F2 Error Code on a Whirlpool Oven
Rust Inside Microwave: Causes, Fixes, and Prevention Tips

4 Ways to Get Smell Out of Dishwasher
7 Steps to Fix a Whirlpool Oven Not Heating
What to Do When Your Washing Machine Smells Like Rotten Eggs
