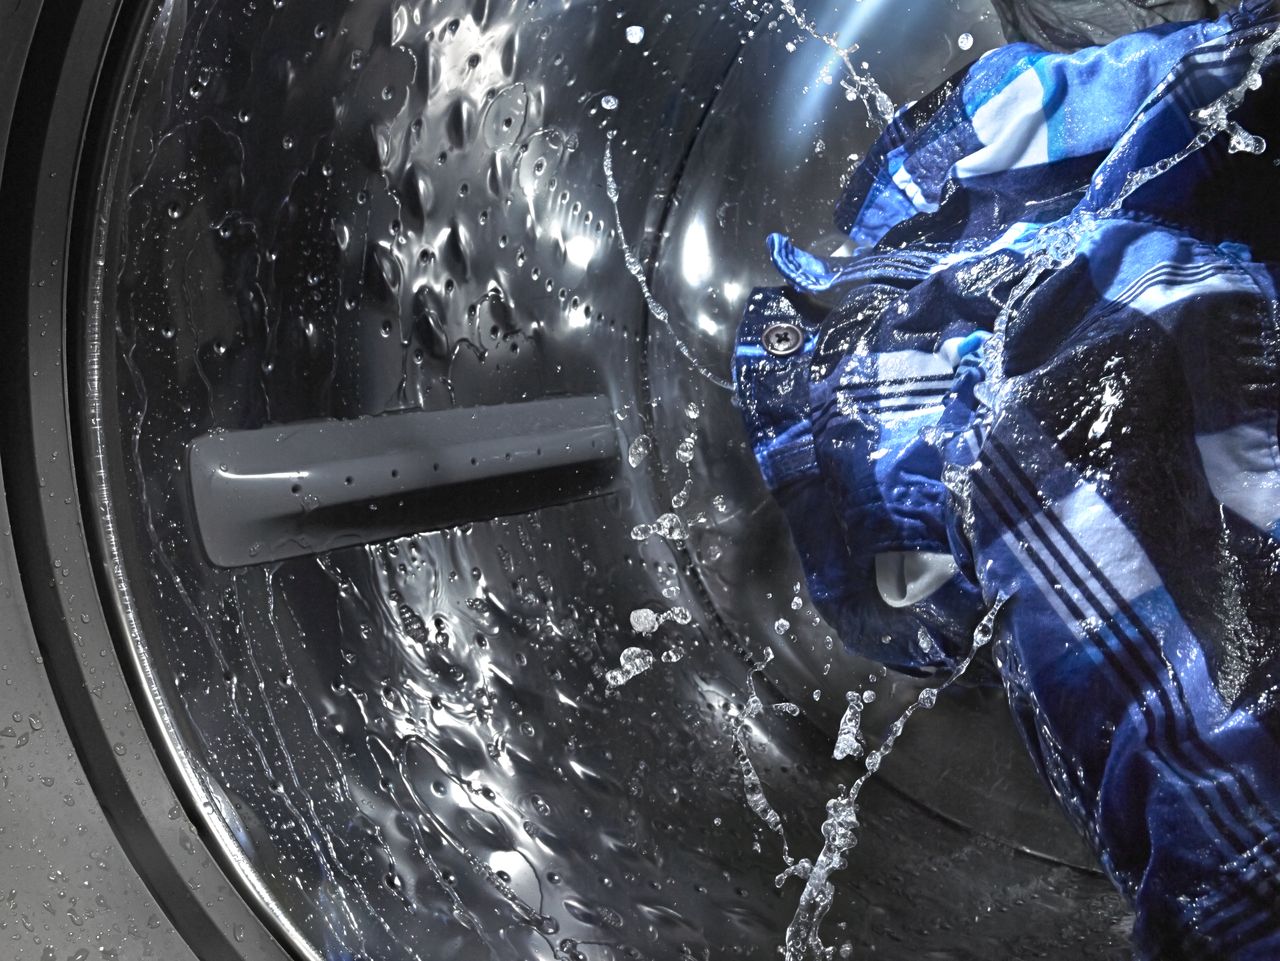
Your washing machine is designed to contain a lot of pressurized water. But, as your appliance ages, some of these measures can break or corrode. If you notice a leak near the front of your LG front load washer, the door boot seal’s inner clamp could have snapped. Order a replacement clamp with part #4861ER2001J for most LG washers. Then follow these steps to replace it.
1. Unplug the washing machine and turn off the water supply.
During this repair, you will need to disconnect both wires and hoses. Unplug the machine so it has no power source, and turn off the water supply lines to minimize the chance of any water damage.
2. Remove the front access panel.
This step will require you to do a lot of dismantling. The inner boot seal clamp is behind the boot seal and the front access panel, so there is no other way to access it
Start by locating the pump compartment in the bottom left corner of the washer’s front. Open this compartment and remove the lid by depressing the door hinge’s locking tabs. Pull out the drain hose and open it by pulling out the clamp. Have a towel or a bowl nearby to contain any water.
Loosen the screw holding the housing in place. Remove the housing and set it aside. Also, loosen the screw that connects the front panel to the frame for later.
Also peel the lip away from the door next to the door switch. Loosen the screws holding the door switch against the front access panel. Once the switch is loose, push it into the cavity in the front panel so it hangs loosely inside the machine. Shut the door.
After that, pull out the detergent compartment. It will open most of the way, but you need to push down the locking tab in the back of the compartment to completely remove it. Then set it aside. Remove the screws hidden behind the drawer and push the housing deeper into the machine.
Go to the rear of the washer and remove the screws holding the top panel in place. Your washer may have brackets, so be sure to remove the screws holding the lower portion of the brackets to the back. That way, you don’t have to loosen all four screws or separate the brackets from the top panel. To remove the top, slide it towards you until the front of it clears the lip at the front of the machine. Then lift it free and set it aside
After that, remove the control panel. Start this by loosening the two screws in the interior top corner of the front panel.
Also disconnect the three wire harnesses on the left side of the interior. If the wires are too tight, you may have to remove the retaining clips or twist ties holding the wires flush against the side of the machine.
Then carefully start to pry the top edge of the control panel away from the frame. There are several locking tabs to disengage. Once the panel is loose, pull it slightly away from the frame and then pull the wires through the cutout. Set the control panel aside
3. Remove the inner door boot seal clamp.
There are three drain hoses you will need to disconnect from the middle of the boot seal before you remove the clamp. These include the drain seal at the bottom and one on either side. All you have to do is loosen the clamp with a pair of pliers. When you’re at each connection point, go ahead and remove the clamps directly attached to the boot seal. Set aside the hose clamps so they don’t get lost inside the machine
4. Install the new clamp.
Run the clamp wire behind the obstructions at the top. Place it into the groove around the door boot seal. Then stretch the spring and hook the clamp tightly into place. This will require quite a bit of force. Once it’s hooked together, double check the perimeter to make sure the clamp is in the groove. Tug on the seal to make sure it’s in place and nothing comes loose.
5. Reassemble the washer.
First, add back the smaller seal clamps at the sides and bottom of the boot seal. After you replace each one, clamp the small hoses back into place. Make sure each hose is firmly inserted and the seal is tight
Next, insert the front panel on the bottom groove. Tilt it back until it’s flush with the washer. Hold it in place as you retighten the screws around the front panel top.
Reattach the control panels. Push the wiring through the cutout and make sure it won’t get pinched. Snap the top edge of the control panel back into the locking tabs, and tighten the corner screw to make sure the panel is completely in place. Reconnect the three wire harnesses and secure the excess lengths in place with the twist ties or clips you removed earlier.
After that, start reassembling the tub door. First, push the switch back through the cutout and tighten the screws to secure it in place. Next, slowly push the inner groove of the boot seal in place around the door opening. There should be a shallow groove in the material that the outer clamp fits into. Compress the spring of the outer clamp to make the clamp bigger, and work it into place behind the seal. It will be a tight fit, but make sure the seal isn’t pinched or folded. Then loosen the spring. The spring should be oriented to fit in the groove at the bottom of the tub door. Check that the clamp is in place by making sure it’s invisible behind the final lip of the seal and that you can’t tug any part of the seal loose

How to Fix the Whirlpool Washer F9 E1 Error Code
How to Solve Frigidaire Dishwasher Lights Blinking
Resolving the LG Washer UE Error Code (3 Easy Fixes)
Replacing an Over-the-Range Microwave with a Range Hood
How to Get Burnt Smell Out of Microwave (In 2 Easy Steps)

7 Reasons Why Your Bosch Ice Maker Is Not Working
Why Does Your Self-Cleaning Oven Smell?
Why Is Your Whirlpool Cabrio Washer Not Spinning?
Why Does My Refrigerator Make Noise?
Troubleshooting the F2 Error Code on a Whirlpool Oven
Rust Inside Microwave: Causes, Fixes, and Prevention Tips
4 Ways to Get Smell Out of Dishwasher
7 Steps to Fix a Whirlpool Oven Not Heating
What to Do When Your Washing Machine Smells Like Rotten Eggs
