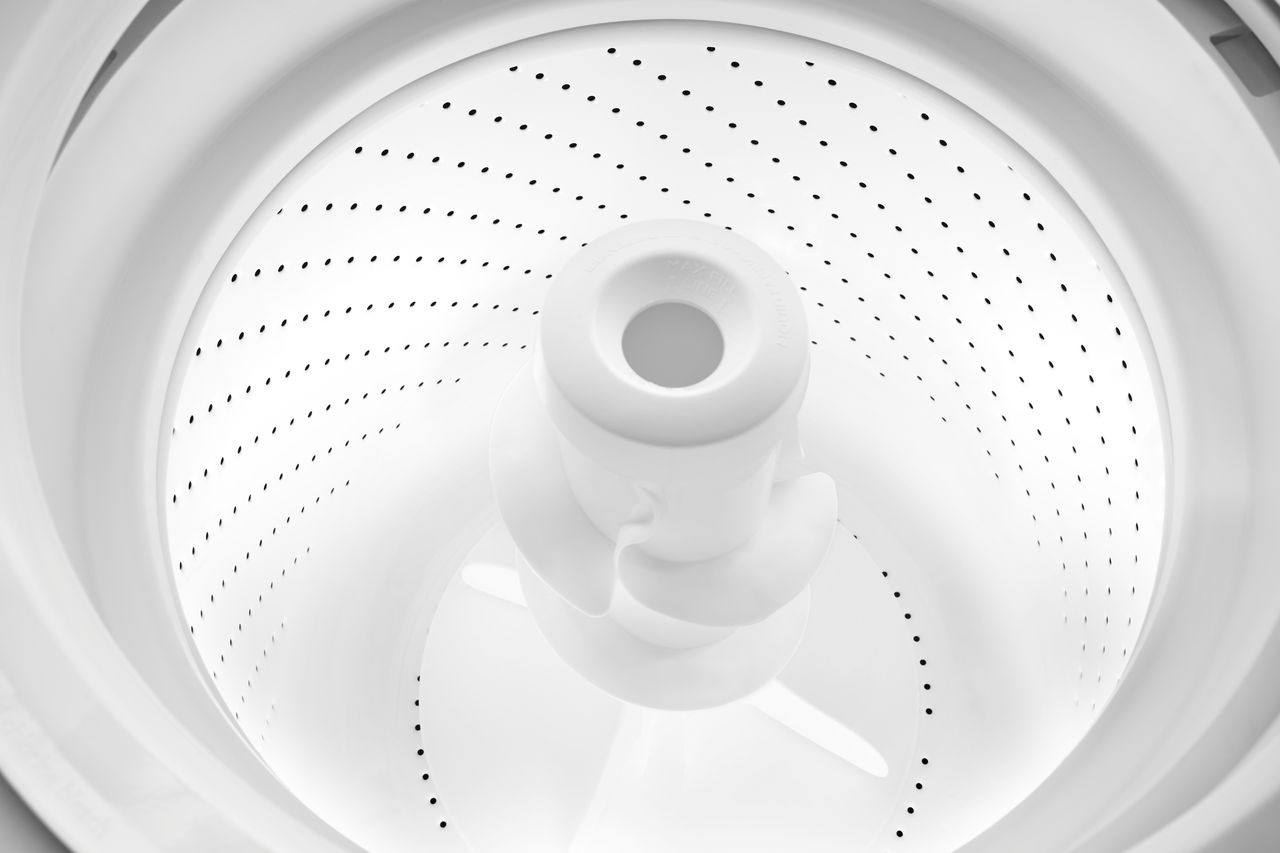
The lid latch assembly of your washing machine lets the appliance know when the lid is shut and it’s time to begin the laundry cycle. But if the lid latch assembly is faulty or the wire contacts have gone bad, it won’t be able to send that message. Order replacement part #WPW10619844 for a new lid latch assembly for your Whirlpool washer. Then follow these steps to remove the broken part and install the new one.
1. Unplug the washer and shut off the water supply lines.
In order to access the lid latch assembly, you will need to disconnect wires and flip open the top of the machine. These steps require you to completely separate the appliance from its power source. Also, you will need to pull the machine away from the wall. Turning off the water supply reduces the risk and magnitude of a leak.
2. Dismantle the control panel.
Remove the control panel. To start, remove the three screws at the rear of the control panel base holding the panel against the appliance. Locate the small gray panel towards the left side along the seam between the control panel and the body of the washer. Also remove the screw holding this panel in place and set the part aside. Then carefully flip the control panel cover so the front is resting on top of the washer.
Remove wire harness with blue wires. Then completely set the control panel cover aside
After that, you need to push the lid latch assembly’s wires into the interior of the machine. Start by tracing the collection of wires down the control panel and locate where they feed into the washer. They’re held in place by a plastic hook. Take all of the wires out from behind this hook without tugging on them. Then isolate the lid latch wire and push them down through the cutout into the interior of the machine. Leave the rest of the wires out of the hook until reassembly.
3. Open the top of the washer.
Next, you will be removing the top panel. Move to the front of the machine and tape the top lid down. Slide a putty knife in the seam between the top and the body of the washer and push the locks. There is a lock six inches in from both of the front corners. You may need to pry the top up as you push in.
Once the top is supported, locate the lid latch around the right portion of the perimeter around the top panel. Start removing the lid latch wiring by prying the black wire retainer out of the top panel. Then pry the length of wiring out of the clips around the perimeter of the top panel. Once you reach the end of the latch, unscrew the main part of the latch assembly at the top. Remove the whole part and set it aside without jostling the two white supports.
4. Install the new latch assembly.
Line the latch box up at the top of the panel and slide the whole part over the two white supports. Then tighten the two screws in place to secure it. Start running the length of new wire around the right perimeter of the panel. Use a flathead screwdriver to slide it under the clips. Next, locate the black wire retainer near the end of the new assembly’s wiring. Press the bulb of the retainer through the hole near the green and yellow wires to hold the wiring in place. Push the end cap of the wire through the hole by the hinge of the top panel. You may need to firmly feed it through due to the limited space. Once it’s through, gently pull the excess length of wire through the hole.Before you connect the rest of the wiring, lower the top. Swing the top panel a few inches forward so you can unhook the strap. Set the strap aside. Then carefully lower the top panel so the holes in the front corners of the top panel fit around the locking studs extending up from the frame. If the parts match up, you should be able to hear it audibly click partially into a locked position. Push firmly down on the lid so it locks completely and the top is flush against the body of the washer
5. Reassemble the control panel and washer.
First, push the rest of the wires back into place in the cutout plastic hook at the back of the control panel. Then group the excess lengths of wires together and secure them with a new zip tie. This should hold them in place so they don’t get twisted or pinched when you close the control panel. Do not include the air tube in the zip tie
Reattach the control panel cover. Set the part face down on the top of the machine. Reattach the blue wire harness. Then line the bottom, or front, the edge of the panel with the five locking tabs. Without shifting it off-center, rotate the control panel and press it down into position. Make sure you can hear the locking tabs engage.
Once everything is secured, turn on the water lines and plug the washer in. Remove the tape holding the lid down

How to Fix the Whirlpool Washer F9 E1 Error Code
How to Solve Frigidaire Dishwasher Lights Blinking
Resolving the LG Washer UE Error Code (3 Easy Fixes)
Replacing an Over-the-Range Microwave with a Range Hood
How to Get Burnt Smell Out of Microwave (In 2 Easy Steps)

7 Reasons Why Your Bosch Ice Maker Is Not Working
Why Does Your Self-Cleaning Oven Smell?
Why Is Your Whirlpool Cabrio Washer Not Spinning?

Why Does My Refrigerator Make Noise?
Troubleshooting the F2 Error Code on a Whirlpool Oven
Rust Inside Microwave: Causes, Fixes, and Prevention Tips

4 Ways to Get Smell Out of Dishwasher
7 Steps to Fix a Whirlpool Oven Not Heating
What to Do When Your Washing Machine Smells Like Rotten Eggs
