


April 8, 2019
Washer Repair
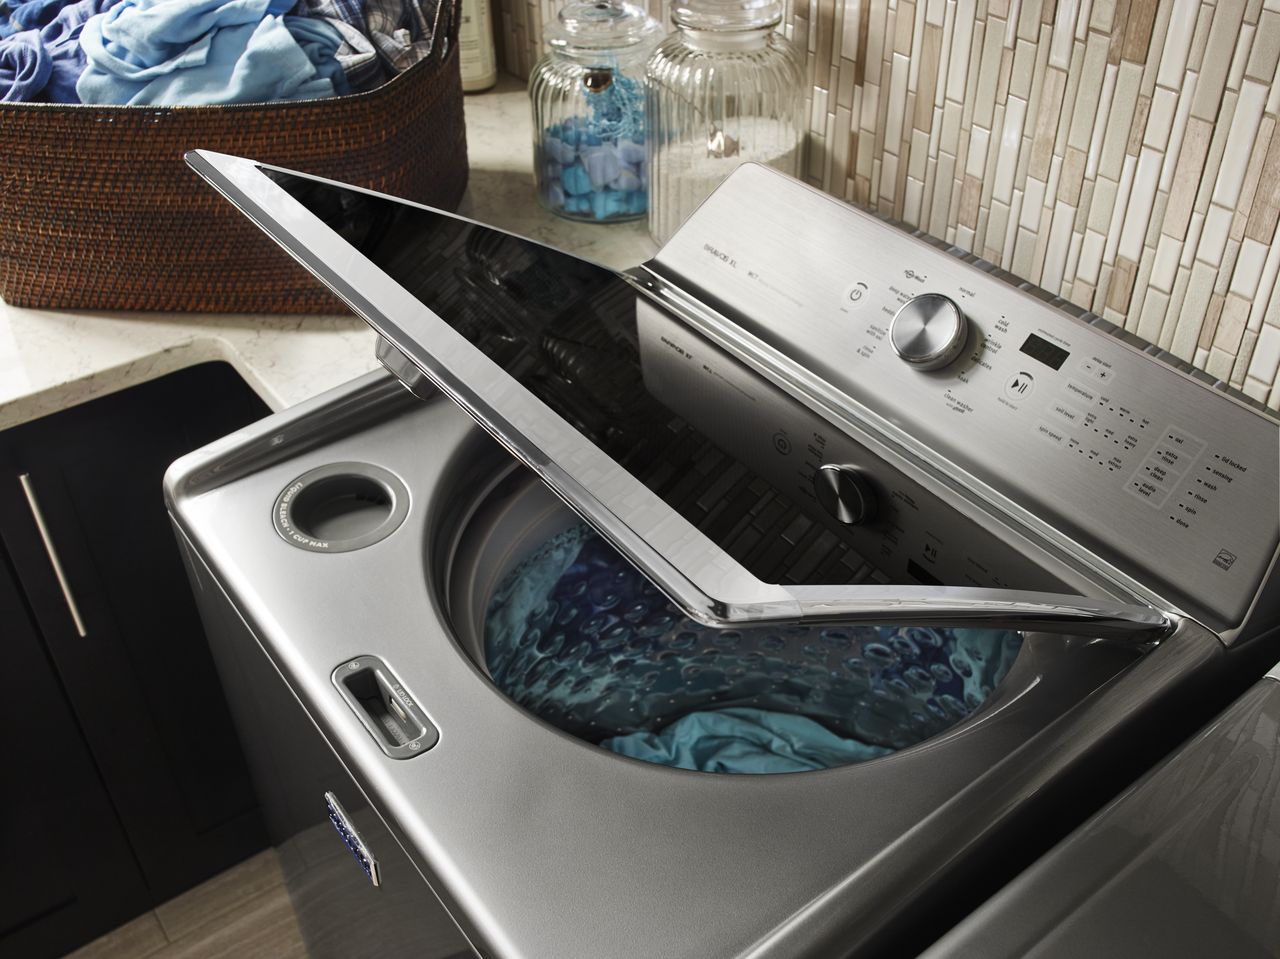
The water inlet valve assembly controls and distributes water to different dispensers in your Maytag washer. But if the body cracks, water can leak throughout the machine. Over time, the solenoids can also fail and won’t distribute water correctly. You can replace this part yourself. Order replacement part #W10364988 for most Maytag washer models and follow these steps to install it.
1. Unplug the washer and turn off the water supplies.
First, unplug the washer. This should be the first thing you do before starting any appliance repair procedure. Then turn off the local hot and cold water supplies. During this repair, you may need to pull the washer away from the wall so you can more easily access the rear of the appliance. If you want that extra space, disconnect the drain hose from the washer or pull it out of the wall connection so it doesn’t get stretched. Throughout the repair, you will need to have a towel ready to lay down under some of the water hoses. Every time you disconnect a water line or hose, there may still be water inside of it.
2. Disassemble the machine to access the water inlet valve assembly under the console.
First, you will need to flip the top panel of the washer over. To start, tape the lid down securely. Next, depress the two tabs between the top panel and body of the machine. Pry a putty knife about six inches inward from each front corner to press each tab. Once both are open, swing the door up. Secure it with a belt so it doesn’t rest on the hinges or against the back wall
After that, remove the hoses from the water valves on the underside of the raised top panel
Locate the black hose connections in the bottom right corner of the lifted top panel. Take a picture of the hose lengths for a picture guide of which hoses will go where during reassembly
Gently lay down the top panel without fully shutting it and move to the back of the machine
After that, loosen the three screws along the back panel — which are level with the hot and cold inlets — to detach the console panel. Tilt the console open so the back lifts up and rotates so the console rests on top of the washer.
3. Remove the water inlet valve assembly.
Start removing the wiring harness. To do that, move to the left side of the console and cut the zip tie holding the left bunch of wires. Locate the thermistor that’s plugged into one of the plugs facing the back of the machine. It has two blue wires
Pry it out of the plug and start releasing the length of the wire to loosen it from the retaining clips holding the length in place. You may need to use a flathead screwdriver to pry the wire out of each tab without damaging either the wires or the plastic tabs. The wiring goes all the way to the right side of the gray wiring box. Once you’ve reached the right side, detach the two wide wire harnesses that slot into the right side of the box by depressing the mounting tabs on each one
4. Replace the water inlet valve.
Orient the new part with the solenoids on the top and the water connections on the bottom. line it up with the holes and press it firmly into position. Secure it with the two screws you removed earlier
5. Install the new wire harness.
Your part may have come with a new wire harness with the water intel assembly has a newer type of solenoids. Whether you’re using a new wiring harness or reusing the old one, the steps are the same
Start with the blue thermistor wires. Insert the wires into each of the mounting tabs along the length of the wire box. Use a flathead screwdriver to carefully open the tabs and push the wires into place. Lace the end of it under the other wire harness and add a new zip tie to attach the one thermistor wire to the other bunch of wires. Then plug in the thermistor wires
Plug the two wide wire harnesses into the interior side of the gray wiring box. The shorter of the two harnesses
Next, plug the white wire harness onto the hot water solenoid and the purple wire harness onto the cold water solenoid. After that, there
6. Reassemble the machine.
Line up the five mounting tabs at the interior edge of the console with the body of the washer. Then flip the console over and click the three back tabs with the screws into place. Tighten the screws to secure the console
Carefully lift up the lid and make sure it’s still secure by the belt
Lower the machine top. First, remove the belt and then carefully swing it down until it rests on top of the machine. Make sure the corner holes near the lid line up with the bolts on top of the washer. Once it’s down and in place. press it firmly down until you hear the locks engage
Reattach the hot and cold water hoses supplies and reattach the drain hose if you disconnected them at the beginning of the repair. Push the washer back into place against the wall and plug it in
(323) 284-6780Give us a call!

Apr. 09, 2024
How to Fix the Whirlpool Washer F9 E1 Error Code

Apr. 09, 2024
How to Solve Frigidaire Dishwasher Lights Blinking

Apr. 09, 2024
Resolving the LG Washer UE Error Code (3 Easy Fixes)

Mar. 06, 2024
Replacing an Over-the-Range Microwave with a Range Hood

Mar. 06, 2024
How to Get Burnt Smell Out of Microwave (In 2 Easy Steps)

Mar. 06, 2024
7 Reasons Why Your Bosch Ice Maker Is Not Working

Feb. 05, 2024
Why Does Your Self-Cleaning Oven Smell?

Feb. 05, 2024
Why Is Your Whirlpool Cabrio Washer Not Spinning?

Jan. 03, 2024
Why Does My Refrigerator Make Noise?

Jan. 03, 2024
Troubleshooting the F2 Error Code on a Whirlpool Oven

Jan. 03, 2024
Rust Inside Microwave: Causes, Fixes, and Prevention Tips

Dec. 11, 2023
4 Ways to Get Smell Out of Dishwasher

Dec. 11, 2023
7 Steps to Fix a Whirlpool Oven Not Heating

Dec. 11, 2023
What to Do When Your Washing Machine Smells Like Rotten Eggs

Nov. 06, 2023