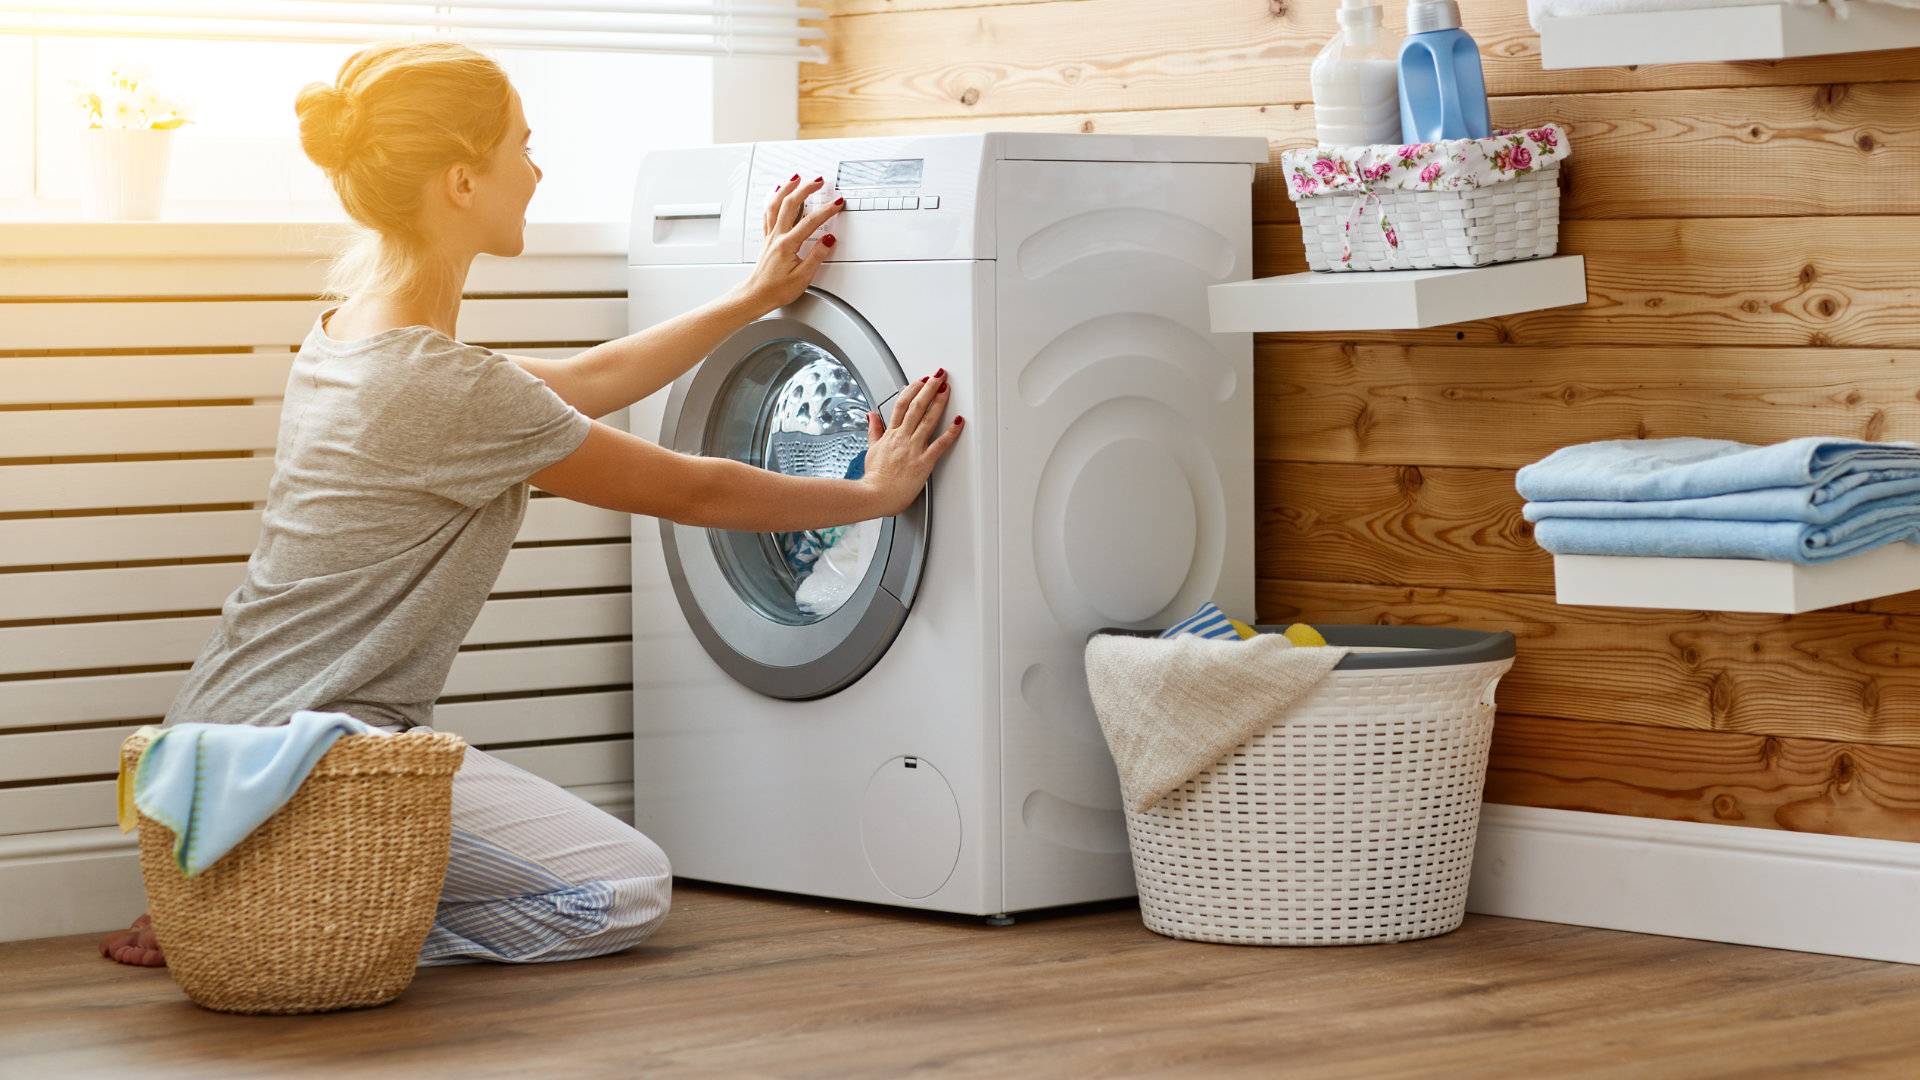
In order to clean, we must start with clean implements. To mop a clean floor, you need a reasonably clean mop and fresh soapy water. To clean a plate, your sponge needs to be clean. Just the same, for clean laundry, your washing machine needs to be clean. Cleaning an appliance is something not everyone remembers to do. We think of appliances like furniture and tools to get stuff clean, not something that needs to be dusted or polished. It’s true that your washing machine can withstand more than a few layers of dust without taking damage, but your clothes will not benefit from the washer is carrying grime on the outside or even inside of the machine.
If you’ve been thinking seriously about cleaning your washing machine inside and out, we’re here to offer a professional perspective as appliance experts. Here is a complete washer cleaning process that will leave you with a machine clean enough to sell.
Unplug Your Washer and Pull It away from the Wall
First things first: Consider your washer’s location. You can’t get something clean if you leave it in a dusty nook, the dust will come right back. So start by pulling your washer away from the wall and cleaning the space it sits in. If necessary, get the help of a friend and extract the washer. Unplug it as this becomes possible and free your washer from its current home.
Clean the Wall and Floor Where the Washer Sits
Now with all your household cleaning skills, tackle the wall, floor, and other nearby surfaces that surround your washer’s usual location. Wipe down the lint (there is always laundry room lint) from the wall behind the washer then scrub the baseboard to the floor. Sweep, vacuum, then mop the floor below where the washer sits. You may find a pack of gum worth of change under there.
For nearby areas, dust and wipe down everything to remove any lingering lint, dust, or laundry-related spills.
Clean the Plug and Power Cable
Now refocus your attention on the power plug and cable which have been living in the linty space you just cleaned. LIkely, it also needs a wipe-down now that it can set down on a clean patch of floor. Clean the plug and cable with a cleaner-dampened cloth. If necessary, wrap the cable in the cloth to scrub away old detergent and lint residue.
Polish the Exterior Panels with Glass & Surface Cleaner
Now for the washing machine exterior. Grab a bottle of spray cleaner, glass and all-purpose cleaner are both fines for the enamel. Start at the top, polishing the top panel, and work your way down. This ensures that the dust you knock free is cleaned before you reach the floor with each panel. On the back panel, the enamel may be replaced by bare metal. This is common for appliances that typically have their backs to a wall (most of them). The unpainted metal can and should also be wiped down with cleaner, but don’t drip cleaner into any holes in the panel. A fine spray over the area should be fine or damp your cloth before wiping down the back panel.
Remove the Knobs and Wipe the Entire Control Panel – No Dripping
The next step is the control panel – which is harder to clean because of the knobs. Remove the knobs, they should pull right off. Polish each knob with cleaner and a cloth, making sure the paint isn’t starting to rub away. Then set the knobs aside and refocus on the control panel. There will be a row of holes with metal posts sticking out where the knobs were removed. Now your cloth can reach the whole enameled surface of the control pane, even behind the radius covered by each knob. Clean the control panel and return the now-clean knobs in their correct positions.
Be sure not to soak your cloth or drip into the post holes.
Lift, Clean, and Pad the Washer Feet
You may need a friend to help work on the washer feet. With each washer foot, lift the corner and prop the washer 1-3 inches off the ground. Use this opportunity to remove, clean, and reattach the washer feet. If the feet are damaged, replace them with new adjustable washer feet.
We also recommend taking this moment to pad your washer feet. This can reduce noise, shaking, and wobbling, and now is the perfect opportunity to pad all 4 feet while the washer is pulled out and down for maintenance.
Open the Door to Clean the Gasket & Folds
The door gasket on a front-loading washer is a thick, folded ring of rubber that fetid water can get trapped in. The gasket should be wiped clean and dried regularly (later models have a drain-hole which helps). Damp a cloth with mild soapy water and wipe down the entire gasket. Start with what you can see, then wipe into each inner fold until the entire gasket is clean. If the gasket feels a little hard or dry, you can apply some petroleum jelly in a very thin layer.
Polish the Interior Panels and Drum with Surface Cleaner
Now you’re ready to clean the inside of the washer. With the door still open, use your cleaner and towel to completely wipe down the washer. Use your hand to feel for mineral deposits on the inner drum, which can be a sign of hard water and a need to adapt your laundry additives or detergent type. While you’re in there, check any interior features like the agitation fins and the fabric softener cup.
Soak and Scrub the Detergent Cups
Every washer has a variety of small plastic cups to hold your laundry additives. There’s a big cup for detergent and often smaller cups for bleach, softener, or vinegar. Pull every one of these that is removable and set them to soak before scrubbing. If a cup does not come out, you’ll want to scrub it in place to remove some of the usual washer buildup.
Run a Damp Rag Around the Drum Rim
Take a water-damp rag and run it along the rim of the drum, where the drum meets the washer frame. Lint and sometimes even lost socks can build up in this area. If you feel anything, scrub it or pull it out to help maintain the washer.
Run the Empty Washer Hot with Vinegar & Baking Soda
Your final move is to push the washer back into place, plug it in, and then run it empty Set the water to the hottest setting and add two cups of white vinegar to the load. You can sprinkle in some baking soda or borax for scrubbing power. Then turn on the washer and let it perform a very efficient self-cleaning cycle.

How to Fix the Whirlpool Washer F9 E1 Error Code
How to Solve Frigidaire Dishwasher Lights Blinking
Resolving the LG Washer UE Error Code (3 Easy Fixes)
Replacing an Over-the-Range Microwave with a Range Hood
How to Get Burnt Smell Out of Microwave (In 2 Easy Steps)

7 Reasons Why Your Bosch Ice Maker Is Not Working
Why Does Your Self-Cleaning Oven Smell?
Why Is Your Whirlpool Cabrio Washer Not Spinning?

Why Does My Refrigerator Make Noise?
Troubleshooting the F2 Error Code on a Whirlpool Oven
Rust Inside Microwave: Causes, Fixes, and Prevention Tips

4 Ways to Get Smell Out of Dishwasher

7 Steps to Fix a Whirlpool Oven Not Heating
What to Do When Your Washing Machine Smells Like Rotten Eggs
