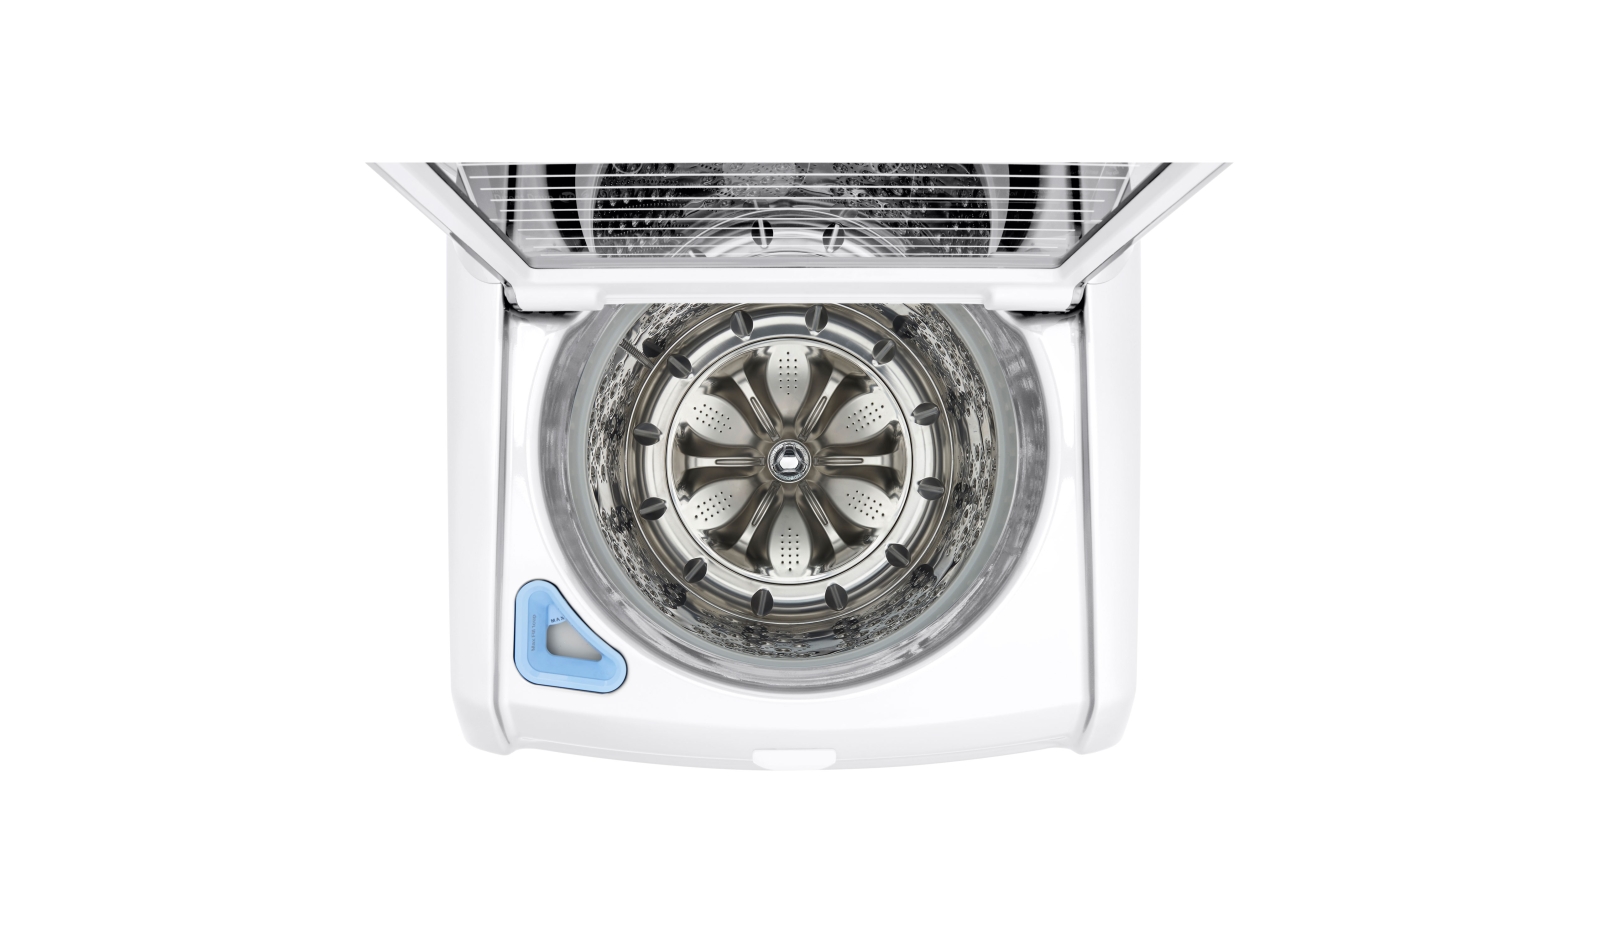
August 13, 2018
Washer Repair
The following reasons why your washing machine won’t drain are listed in the order of the most common to the least common occurrence. For example, you may ask why would we want you to inspect the drain pump before you inspect the drain hose? By all means, you can inspect the drain hose first, but you still need to take your machine apart to correctly assess its condition.
Defective Drain Pump
When the control panel sends voltage to the drain pump, the drain cycle is supposed to begin. Water is then pumped from the washer tub out the drain hose and finally into a wash sink or drain pump.
On some models, the main drive motor drives the pump by spinning in the opposite direction from the agitation cycle.
Any number of reasons could be causing the drain pump to fail. Sometimes a piece of wash will obstruct the impeller to work correctly. Sometimes a damaged impeller or a defective seal can cause a mechanical failure in the pump.
Additionally, if the pump operates with its own motor, it could experience electronic failure.
You can confirm the functionality of the drain pump with a multimeter. Set the meter to OHMS and place each probe on either of the terminals located on the drain pump to determine if there is a continuity.
Replace the pump if it tests negative for continuity. More on this later.
Obstructed Drain Hose
Inspect the drain hose to see if it is pinched, twisted, worn, or if it is clogged. If the hose is clogged and beyond any condition that you can straighten it in order to remove the obstruction, it is better to simply replace it.
Sometimes the drain hose can be the culprit behind a washer that won’t drain.
Defective Lid Switch
Some models are equipped with a lid switch that won’t allow the washer to operate when the lid is open. If the lid switch is defective, the washer won’t drain, even with the lid closed.
To assure that the lid switch is not working properly, you can run a continuity test with a multimeter. Replace the lid switch if it tests negative for continuity.
How to Remove the Drain Pump on an LG or Kenmore – Pump Replacement Part Number: 5859EA1004G
Safety First!
To avoid dangerous electrical shock, remember to unplug the washer from its power source.
As you work on your machine you will encounter some sharp edges that you want to avoid.
In order to access the drain pump, you will need to disassemble a portion of your machine.
- Remove the screws that hold the rear panel in place. Remove the panel and set aside.
- Locate the drain pump. Locate the inlet and outlet hoses that connect to the drain pump.
- Release the retaining clamps that secure the hoses to the pump and pull the hoses from their respective ports.
- Use a 10mm socket to remove the mounting bolt that secures the pump to the base frame.
- Disconnect the wire harness from the base
- Detach the drain pump wire sleeve from the tabs that hold it in place.
- Untwist the retaining wires that secure the wire bundle to the frame.
- Disconnect all the wire connectors that lead to the drain pump assembly.
- At this point, you should be able to remove the defective drain pump.
How to Replace the Drain Pump Assembly
- Align the new pump with the base frame and replace the mounting bolt.
- Connect the new pump wires with the associated wires in the wire bundle.
- Secure the wire bundle with the retaining wire.
- Secure the wire sleeve in the tabs located on the base frame.
- Reconnect the wire harness closest to the drain pump.
- Attach the inlet and outlet hoses to the designated ports located on the drain pump.
- Replace the retain clamps.
- Reposition the rear panel and secure in place.
So, if it’s not the drain pump, and if it’s not the drain hose causing your machine to not properly drain, there is an excellent chance that it’s the lid switch.
How to Replace the Lid Switch
The following is for Whirlpool/Kenmore top-loader washing machines.
Remember, safety first. Unplug your machine before you begin to work on it.
In order to access the lid switch, you will need to move some things out of the way.
- Move the control panel out of the way by removing two screws or releasing two spring clamps depending on how your model is designed.
- Remove the two Philips screws located near either side near or at the bottom of the control panel. Sometimes the screws are hidden under an end-cap or are secured to the rear panel.
- Remove the end-cap by unsnapping it first from the top and then gently pull it away from the bottom. When replacing the end-cap, snap it in from the bottom to the top.
- Rotate the panel up.
- If the panel is secured by spring clamps, slide a putty knife between the control panel and the cabinet to release.
- Rotate panel up and away from the top of the cabinet.
- Unplug the wire connector.
- With a flathead screwdriver, push down to snap out the spring clamps.
- Tilt the cabinet toward you and slide away from the base frame.
- Remove the cabinet and place face down on a carpeted area, careful to not scratch your hardwood floor or linoleum. You now have easy access to the lid switch assembly.
- Remove the ground screw first.
- Remove the mounting screws.
- Unsnap the wire harness from the metal retainers always being careful of sharp edges.
- Gently squeeze the wire connector to slide it away from the cabinet.
- Remove the defective lid switch assembly.
You are ready to install the new lid switch.
- Snap the wire connector of the new switch assembly into place.
- Secure the wire harness into place with a wire retainer.
- Line up the new switch with the screw holes located near the lid opening and secure into place with the two mounting screws.
- Attach the ground wire.
- Carefully reinstall the cabinet by placing its front edge under the base frame. Use a foot to gently kick the cabinet into position.
- Be sure to line up the two notches on the bottom of the cabinet with the two tabs on the base frame.
- Move the cabinet to line up with the rear panel.
- Reinstall the spring clips.
- Reattach the control panel wire connector.
- Rotate the control panel down and lock the clips back into place
- Or if your model does not use spring clamps and clips, simply use the two Philips screws to secure the control panel back in place.
- Plug your washing machine back into its power source and test it to ensure it’s working properly.
(323) 284-6780Give us a call!

Apr. 09, 2024
How to Fix the Whirlpool Washer F9 E1 Error Code
Apr. 09, 2024
How to Solve Frigidaire Dishwasher Lights Blinking
Apr. 09, 2024
Resolving the LG Washer UE Error Code (3 Easy Fixes)
Mar. 06, 2024
Replacing an Over-the-Range Microwave with a Range Hood
Mar. 06, 2024
How to Get Burnt Smell Out of Microwave (In 2 Easy Steps)

Mar. 06, 2024
7 Reasons Why Your Bosch Ice Maker Is Not Working
Feb. 05, 2024
Why Does Your Self-Cleaning Oven Smell?
Feb. 05, 2024
Why Is Your Whirlpool Cabrio Washer Not Spinning?

Jan. 03, 2024
Why Does My Refrigerator Make Noise?
Jan. 03, 2024
Troubleshooting the F2 Error Code on a Whirlpool Oven
Jan. 03, 2024
Rust Inside Microwave: Causes, Fixes, and Prevention Tips

Dec. 11, 2023
4 Ways to Get Smell Out of Dishwasher
Dec. 11, 2023
7 Steps to Fix a Whirlpool Oven Not Heating
Dec. 11, 2023
What to Do When Your Washing Machine Smells Like Rotten Eggs
Nov. 06, 2023


