


March 22, 2019
Service
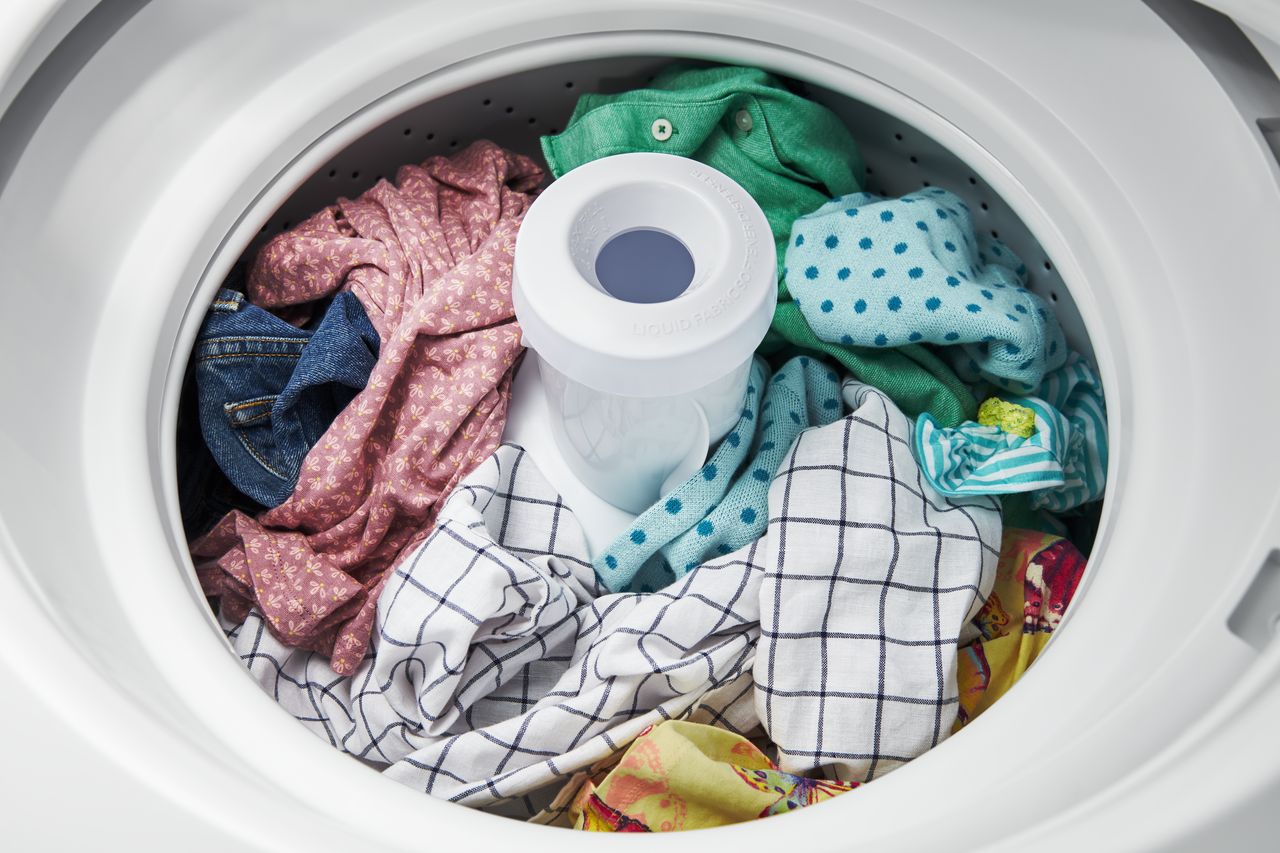
A leak coming from the bottom of your Roper top load Washer model RTW4516F can indicate a number of possible malfunctions. While a loose hose or a faulty drain pump are both likely offenders, a cracked outer tub can also cause water to end up on the floor underneath your appliance. If your washer machine’s outer tub is leaking, the replacement guide provided below will help you switch out the faulty tub for a new one.
Before you begin disassembling your washer, unplug it and turn off the appliance’s hot and cold water supply valves. During the repair process, you will encounter a number of sharp objects, wearing gloves and goggles to protect your hands and eyes is a precaution you should always take while fixing your washer.
Important Replacement Note: To complete this repair, you’ll need a tub nut wrench, also known as a spanner wrench. If you do not have one or do not want to buy one, you’ll need to hire a washer repair specialist to replace the outer tub in your appliance.
How to Replace a Damaged Outer Tub in Your Roper Washer
- Start you repair by disconnecting the hot and cold water supply lines running to the back of your washing machine. Then, detach the drain hose from your appliance’s rear panel.
- Remove the screws securing your washer’s main top panel to its rear panel. Next, move to the front of your washing machine and pull the top panel forward to disengage its locking mechanism. Then, place a piece of tape on the washer lid to hold it closed. Lift the main top panel up and either rest it on your laundry room wall or run a support chain in-between the top panel and front panel bracket.
- Now, you’ll need to take off the washer’s tub cover. To do so, use a flat head screwdriver to release the locking tabs securing the cover to the tubs. After all the tabs are disengaged, pull the cover off the tubs.
- Reach into the inner tub and remove the agitator cap. Inside the agitator, you’ll see the agitator mounting bolt. Unthread the bolt with a socket wrench, and then pull the agitator out of the inner tub.
- At this point, you’ll need to unthread the tub nut with your tub nut wrench. Place the wrench around the nut, and use a hammer to start the counterclockwise rotation. Once the nut is loose, you can put the hammer down and finish turning the wrench with your hands, before sliding the nut up and off the drive shaft. Now you can grab the sides of the inner tub and lift it out of the washer cabinet.
- Before removing the drive block from the drive shaft, carefully tap it with a hammer to loosen it. Then slide the drive block up and off the drive shaft.
- Locate the pump cover on the bottom of the outer tub, and unthread the screw securing it to the floor of the tub. Once you’ve taken the screw out, pull the cover off the bottom of the tub.
- Close your washer’s main top panel, and slide it backwards to lock it in place. Rethread the screws that hold the top panel and rear panel together. With the help of a family member or friend, slowly tilt the washer backwards, so it is resting on its rear panel.
- Move to the bottom of your washer and locate the drain pump. Take the drain pump cover off the pump and disconnect the wires running to the pump terminals. Then, pull the drain pump hose off the pump shaft. Using a screwdriver, unthread the screws securing the drain pump to the underside of the outer tub.
- Detach the wires that are connected to the shift actuator, the run capacitor, and the drive motor. If you’ll have trouble remembering which wire attaches to which component, use your phone to take a picture before disconnecting the wire harnesses. Then, pull the wires out of the retainer clips located on the washer’s gear case.
- Now it’s time to detach the gear case assembly from the bottom of your washer’s tub. To do so, remove the screws securing the gear case to the tub, and then pull the assembly off the washer’s outer tub. If there are any wire retainers still connected to the tub, make sure to release them before moving on to the next step.
- Stand your washer up. Once again, disassemble the main top panel by unthreading the screws on the back of your appliance, and then pulling the panel forward to disengage the locking mechanisms. After that, reach into the washer cabinet and unthread the screw that holds the air pressure tube to the outer tub. Then, pull the tube off the small spout on the side of the tub.
- Move around your washer and lift up the suspension rods to disconnect the ball supports securing the rods to the support brackets. Then, push the rods through the holes in the support brackets. Once you’ve detached all four rods, you can lift the outer tub out of the washer cabinet. Place the damaged tub on the floor, and remove all four suspension rods from the outside of the tub.
- Take the new outer tub out of the box it came in, and install the suspension rods to it. Once the rods are in place, pick up the tub and put it back inside the washer cabinet. Then, rethread the suspension rods through the support brackets and ball supports to secure the tub to the washer cabinet.
- Reattach the air pressure tube to the tub and secure the tube with the screw you took out earlier. After the air pressure tube is reconnected, close the main top panel and secure it by pushing it backwards and reattaching the rear panel screws. Then, tilt the washer backwards to rest it on its back.
- On the underside of the outer tub, reattach the wire harnesses to the tub by snapping them into the wire retaining clips.
- Grab the tub seal that came with the new outer tub and slide it onto the drive motor shaft. Then, pick up the gear case assembly, and insert the drive shift into the opening on the bottom of the outer tub. Once the gear case assembly is aligned correctly, rethread its screws to hold it in place. Next, reconnect the wires that run to the shift actuator, the run capacitor, and the drive motor.
- Retrieve the washer’s drain pump and install it to the outer tub. After you’ve added the screws to secure the part, reconnect the pump’s wire harness and its drain hose.
- Stand your washer upright, and lift up the washer’s main top. Reattach the pump cover to the floor of the outer tub. Then, slide the drive block onto the drive shaft, and reinstall the washing machine’s inner tub. Once the inner tub is in place, rethread the tub nut with your tub nut wrench. Next, replace the washer’s agitator, the agitator mounting bolt, and the agitator cap. Grab the tub cover, and align it with the locking tabs on the side of the tub. Then, push the cover down to snap it in place.
- Lower the main top panel and slide it backwards. Head to the back of your appliance and rethread the screws you removed earlier to secure the main top to the rear panel. Finally, reconnect the fill lines and the drain hose.
- To complete your repair, plug-in your washer, and turn on the hot and cold water valves.
If you need help replacing a leaky outer tub, please contact us today, and one of our highly trained washer repair technicians will be happy to help you.
(323) 284-6780Give us a call!

Apr. 09, 2024
How to Fix the Whirlpool Washer F9 E1 Error Code

Apr. 09, 2024
How to Solve Frigidaire Dishwasher Lights Blinking

Apr. 09, 2024
Resolving the LG Washer UE Error Code (3 Easy Fixes)

Mar. 06, 2024
Replacing an Over-the-Range Microwave with a Range Hood

Mar. 06, 2024
How to Get Burnt Smell Out of Microwave (In 2 Easy Steps)

Mar. 06, 2024
7 Reasons Why Your Bosch Ice Maker Is Not Working

Feb. 05, 2024
Why Does Your Self-Cleaning Oven Smell?

Feb. 05, 2024
Why Is Your Whirlpool Cabrio Washer Not Spinning?

Jan. 03, 2024
Why Does My Refrigerator Make Noise?

Jan. 03, 2024
Troubleshooting the F2 Error Code on a Whirlpool Oven

Jan. 03, 2024
Rust Inside Microwave: Causes, Fixes, and Prevention Tips

Dec. 11, 2023
4 Ways to Get Smell Out of Dishwasher

Dec. 11, 2023
7 Steps to Fix a Whirlpool Oven Not Heating

Dec. 11, 2023
What to Do When Your Washing Machine Smells Like Rotten Eggs

Nov. 06, 2023