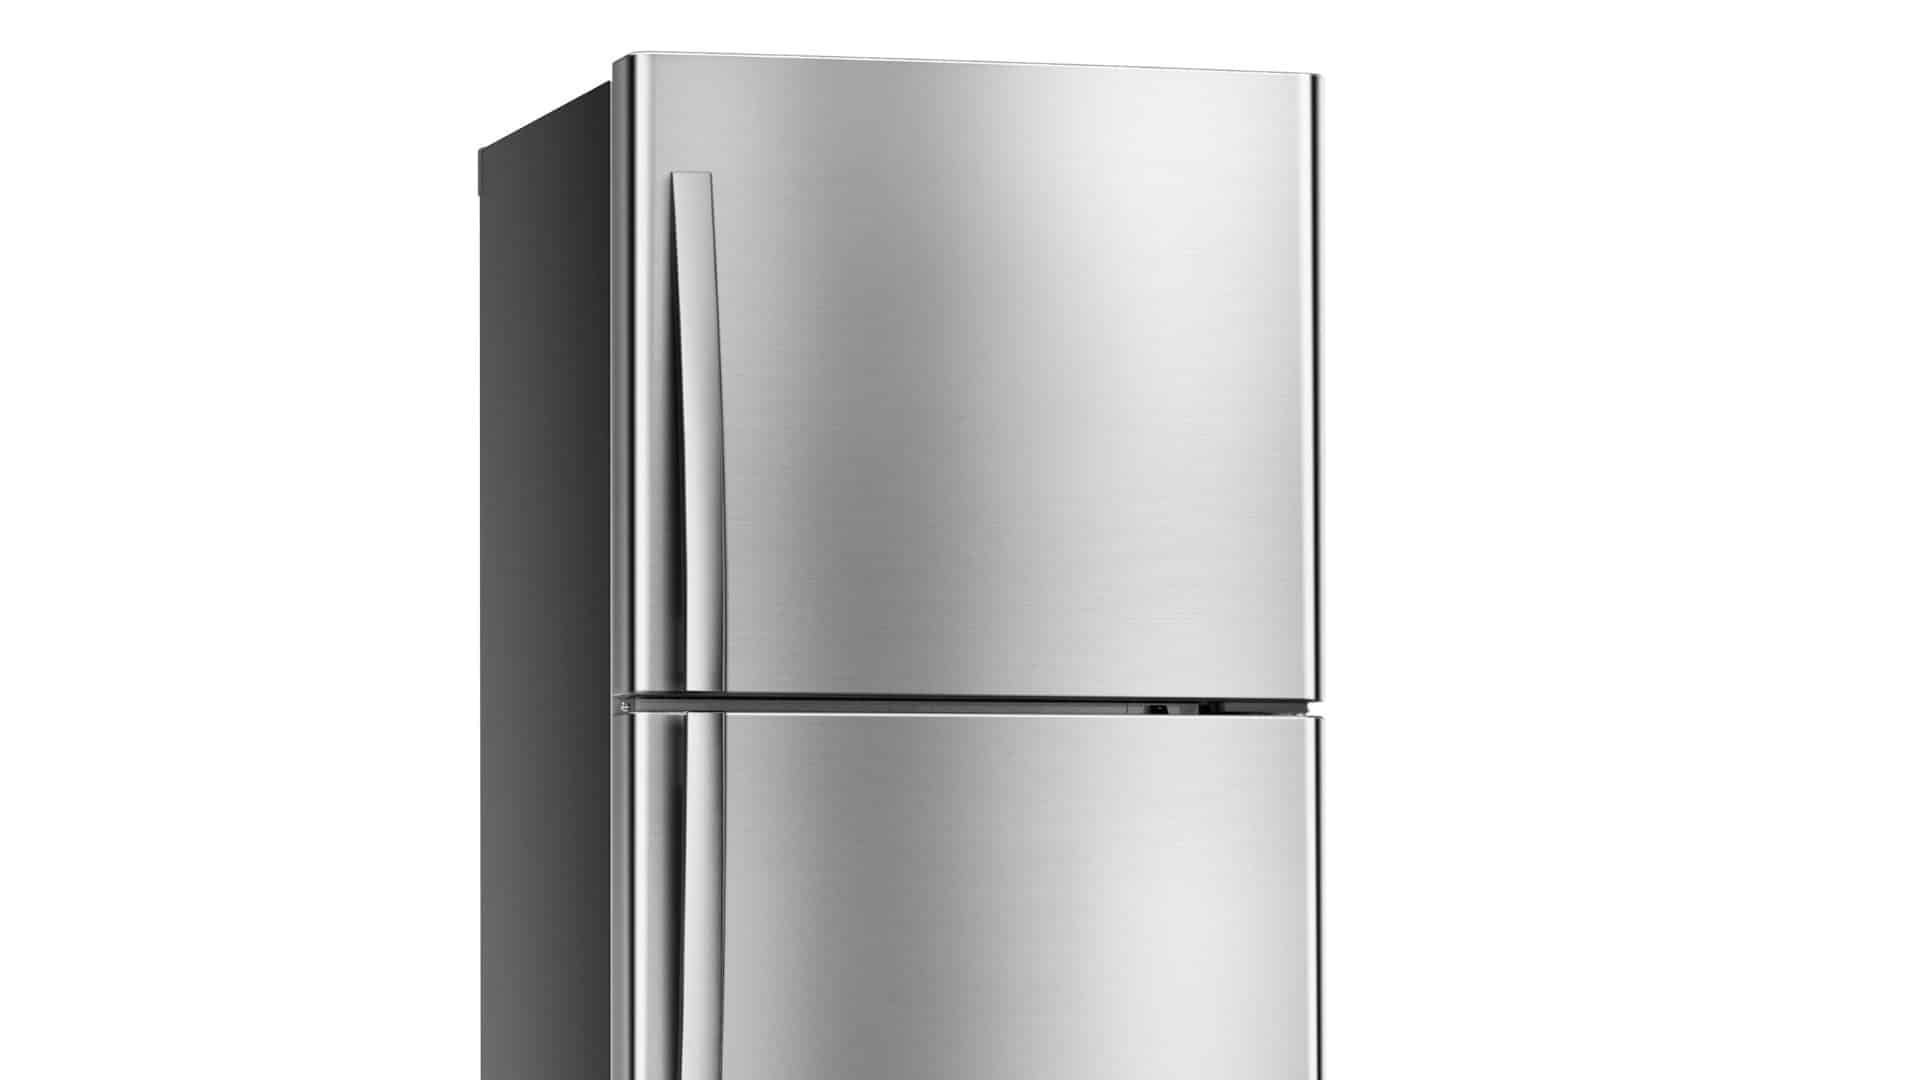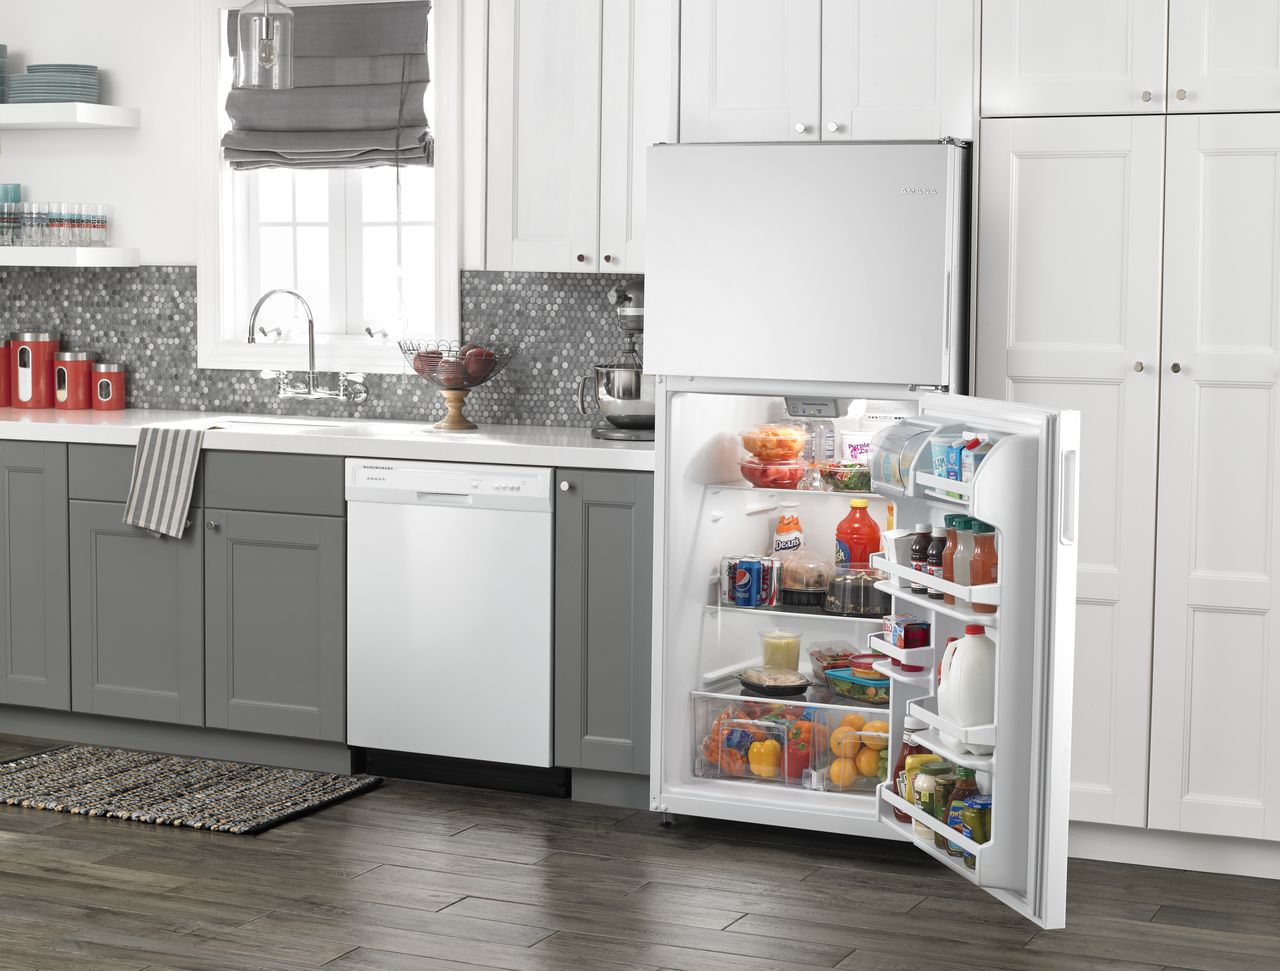
If your freezer or fridge are not getting cold enough, there are a number of things that could be going wrong. You might have too little or too much food in the fridge, or you might have bumped the settings. Perhaps your condenser coils are covered in dust and therefore less efficient. But if you’ve tracked it down to a non-spinning evaporator fan, then this is the repair guide for you.
The evaporator fan pulls air over the cold condenser coils, bringing the cold into your freezer and fridge unit. Today, we’re going step-by-step through the process of replacing the motor for that fan in a top-freezer refrigerator.
These instructions are generalized and can vary by brand or model.
Gather Your Tools
Start by gathering all the tools you’ll need for this repair. Naturally, you will need the correct replacement motor. Find this by researching your fridge’s make and model and identifying the correct part number to order. For the rest, you’ll need work gloves, a nut driver set, and needle-nose pliers.
- Replacement Evaporator Fan Motor
- Nut Driver Set
- Needle-Nose Pliers
- Work Gloves
Safety and Food Preservation Come First
– Move Freezer Items Into the Fridge Compartment
Take all the frozen food out of your freezer and move it to the refrigerator section. Pack it tightly together near the back to help it stay cold while you perform this repair.
– Shut the Fridge Compartment Tightly
Try not to keep the fridge open too long and shut it tightly to contain cold.
– Unplug the Refrigerator
For your safety, because this is an electrical repair, you’ll need to unplug the refrigerator before opening up any panels. Then put on your work gloves.
Clearing the Way
– Remove the Freezer Shelves
Now pull out the shelf or shelves in your refrigerator’s top-freezer section. Use releasing clips or lift and twist as is appropriate for the type of shelf you have. Set the shelves aside.
– Unfasten the Evaporator Cover Mounting Screws
You will see a panel with vents in the back of your freezer. This is the evaporator cover. It is secured with four to six screws. Remove them with the appropriate size nut-driver or screwdriver based on the type of screw. Set the screws aside for later.
– Pull Down the Evaporator Cover
Pull the top of the evaporator cover down, revealing the wires that connect it and the fan (your target) mounted on the inside.
Unhook the Evaporator Cover
– Take a Photo of the Wiring
Snap a phone photo of the wiring before disconnecting anything. This will give you a point of reference to be confident when you reinstall the panel later.
– Unplug the Fan Wiring Clip
Unplug the wiring clip that connects to the evaporator fan.
– Disconnect the Green Wire
Pull the green wire which is your electrical grounding wire from its socket.
– Unplug the Ice Maker Wiring Clip
Unplug the wiring clip that fastens the panel to the ice maker, if you have an ice maker.
– Place the Evaporator Cover on Your Work Surface
Now you can fully pull out the evaporator cover. Place it on your work surface where you will perform the rest of this repair.
Reveal the Motor
– Pull the Locking Rings from Either Side with Pliers
There are two narrow locking rings on either side of the plastic fan housing, holding it in place. Remove them with your needle-nose pliers and carefully set them aside. You will need them later.
– Pull the Fan Cover Down Away from the Evaporator Cover
The fan cover is an extra piece of plastic connected by tabs that will pull away from the evaporator cover. Hold it down while lifting the evaporator cover and it should snap away. You may need to press a few tabs for a clean disconnection.
– Remove the Fan Cover Panel
Pull the fan cover panel away and set it aside.
– Pull the Fan Blade Off Motor Shaft
Turn the panel over so the fan blades are exposed and pull the fan blades off of the motor shaft. Set the fan blades aside.
Remove the Old Motor
– Lift the Locking Tabs with Pliers
Turn the evaporator cover back over and lift the two locking tabs on the top of the plastic fan housing with needle-nose pliers
– Rotate Motor Retainer Counter-Clockwise and Remove
Rotate the motor retainer on top counter-clockwise to unlock and remove.
– Remove Old Motor Block and Toss
The old motor is the block you see underneath. Remove it and throw it away or save it for electronics recycling.
Reinstall the New Motor
– Place Motor in the Mounting Bracket
Place the new motor inside the mounting bracket, exactly how you found the old motor.
– Return Motor Retainer, Rotate Clockwise to Lock
Place the motor retainer back on top and rotate it clockwise to lock it in. The tabs should click by themselves.
– Place Fan Blades on New Motor Shaft
Flip the evaporator cover again to replace the fan blades on the new motor shaft.
Reassemble the Housing
– Snap Fan Cover Back Onto Evaporator Cover
Snap the fan cover that protects the exposed fan blades back into place. Its tabs should also snap back in by themselves.
– Return the Two Metal Locking Rings with Pliers
Retrieve the two locking metal rings and return them to their places with your needle-nose pliers.
– Position the Evaporator Cover in the Freezer
Finally, you can place the evaporator cover back in the freezer. Make sure it is right-side up, and ready to receive wiring.
– Reconnect Wiring According to Your Photo
Reference your phone photo to return the fan wiring clip, green grounding wire, and ice maker wiring clip to their proper positions.
Close Up Your Freezer Assembly
– Set Evaporator Cover Into Place
You’re almost done. Align the evaporator cover back into place by setting the bottom and folding it upward, just as you removed it before.
– Return Mounting Screws
Return the mounting screws with your nut-driver or screwdriver and secure them firmly.
– Return Freezer Shelves
Reinstall your freezer shelf or shelves, remember that you may have to twist them to fit or lock them into place.
– Refill Your Freezer
You are finally ready to refill your freezer with all the frozen goods. Make sure not to block the vent between the fridge and freezer while refilling.
Test Your Success
– Plug the Fridge Back In
Now you can safely plug your refrigerator back into the wall and return its power.
– Wait an Hour
Give your fridge and freezer a little closed-door time to rebuild the cold. If your repair was successful, this should work.
– Listen Closely
Open your freezer and place your hand near the back. If you hear a whir and/or feel airflow, that new motor is working like a charm.
Congratulate Yourself
If you just confirmed that the evaporator fan is spinning again, give yourself a big pat on the back. You just performed a fairly complex repair that would normally require a visit from your friendly local repair service. For more great step-by-step guides to repair your home appliances, contact us today or check out the blog archives.

How to Fix the Whirlpool Washer F9 E1 Error Code
How to Solve Frigidaire Dishwasher Lights Blinking

Resolving the LG Washer UE Error Code (3 Easy Fixes)
Replacing an Over-the-Range Microwave with a Range Hood
How to Get Burnt Smell Out of Microwave (In 2 Easy Steps)

7 Reasons Why Your Bosch Ice Maker Is Not Working
Why Does Your Self-Cleaning Oven Smell?
Why Is Your Whirlpool Cabrio Washer Not Spinning?
Why Does My Refrigerator Make Noise?
Troubleshooting the F2 Error Code on a Whirlpool Oven
Rust Inside Microwave: Causes, Fixes, and Prevention Tips

4 Ways to Get Smell Out of Dishwasher
7 Steps to Fix a Whirlpool Oven Not Heating
What to Do When Your Washing Machine Smells Like Rotten Eggs
