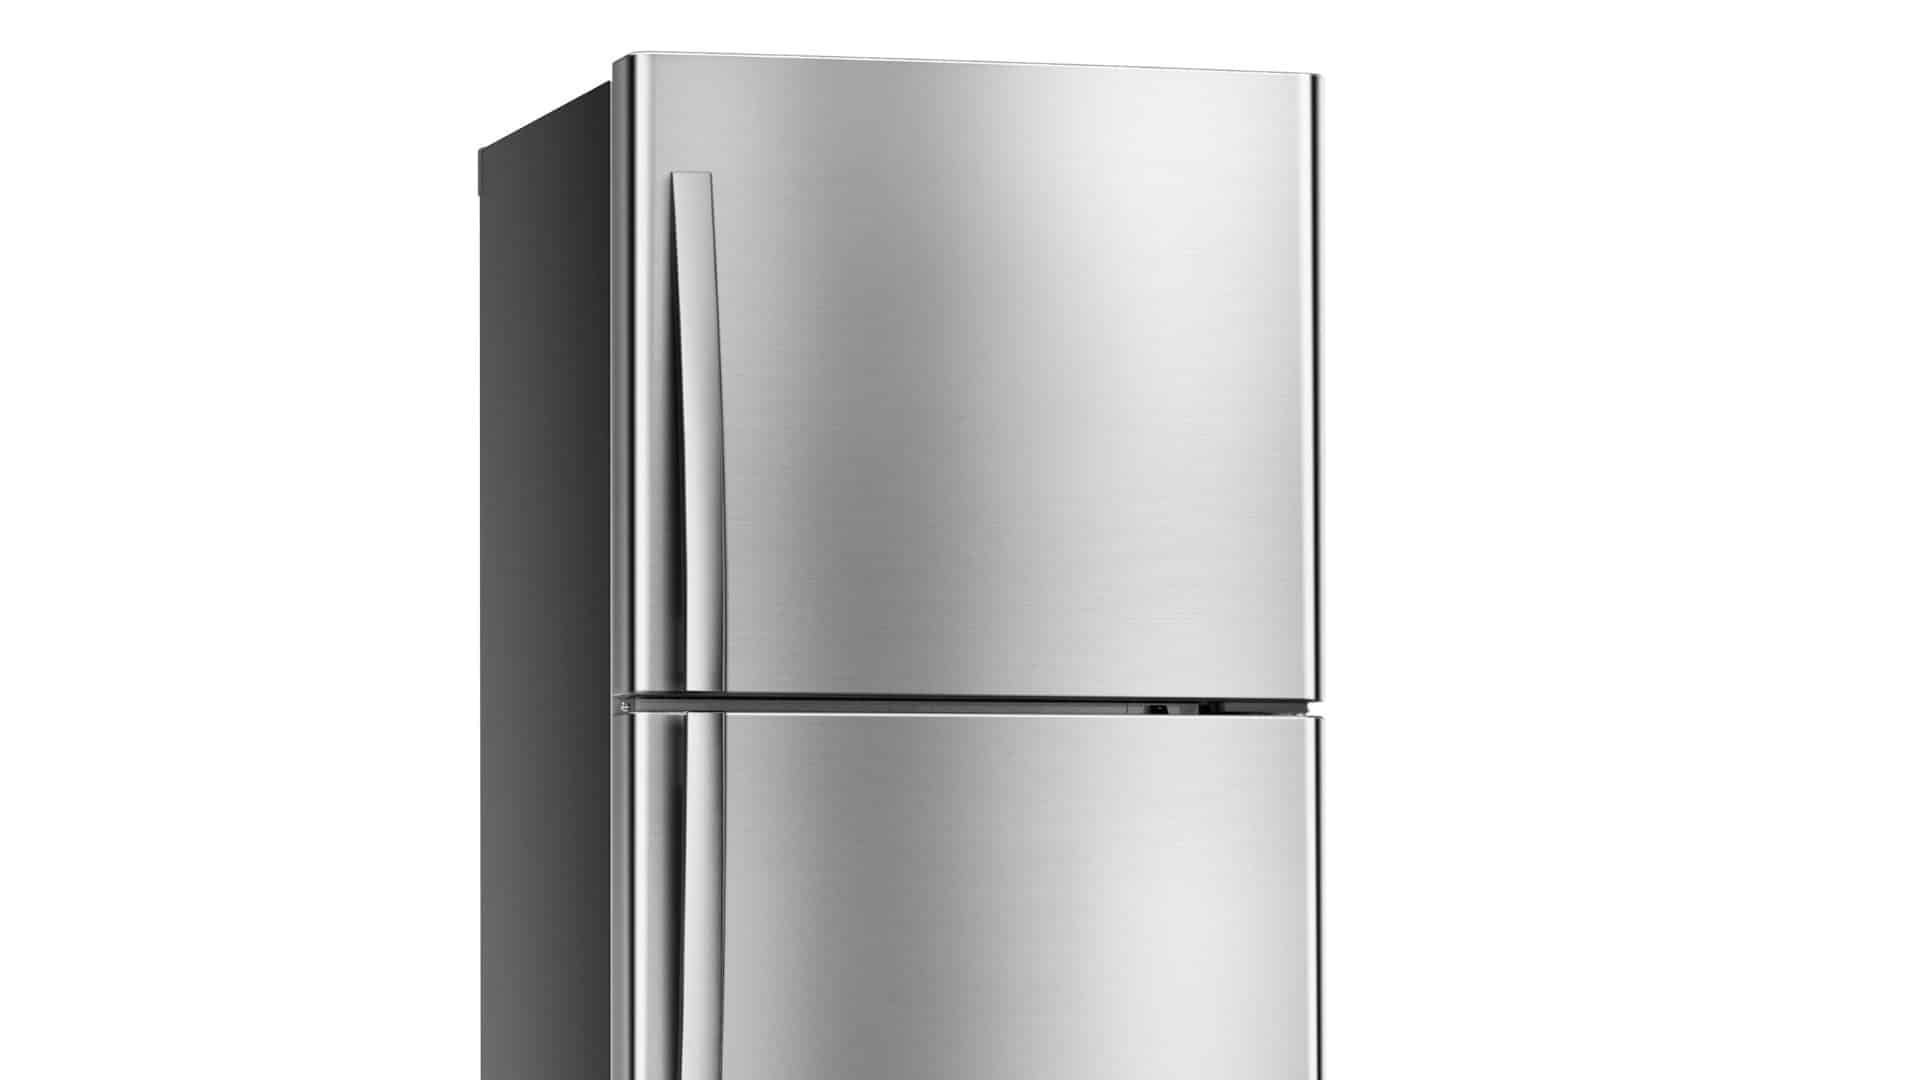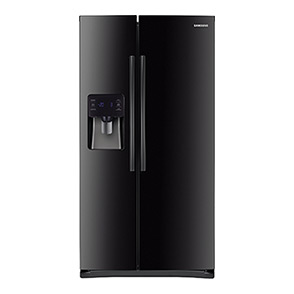
A leak inside your Samsung refrigerator model RS25H5111BC/AA is often caused by a damaged water filter head and housing. If there’s a crack in the head and housing, water can escape the component and end up in a puddle on the floor of your fridge. Luckily, all it takes is a close inspection of the part to discover whether or not it’s the cause of the leak. Once you’ve examined the component and found it is indeed damaged, you’ll need to replace it. Fortunately, swapping out the faulty water filter head and housing for a new one is a fairly simple appliance repair.
Before you start disassembling your refrigerator, unplug it and turn off its water supply. To protect your hands and eyes as you repair your appliance, remember to wear work gloves and safety goggles.
Tools Needed
- Phillips Screwdriver
- Flat Head Screwdriver
- Wrench
How to Access The Water Filter Head and Housing in Your Samsung Refrigerator
The water filter head and housing in your Samsung refrigerator is located at the bottom of the fresh food compartment. In order to access the part, open the fridge door and remove the shelves and bins. Once the fresh food section is empty, you’ll spot the housing near the floor of the compartment on the right side wall. At this point, you can inspect the housing for any visible damage. If you find any cracks, you can start the replacement process.
How to Uninstall The Water Filter Head and Housing in Your Samsung Refrigerator
Before you unthread the screws securing the housing to the refrigerator, you’ll need to remove the water filter from the front of the component. To do so, rotate the filter counter-clockwise until it pops out, and then pull it forward to dislodge it. Try to keep the water filter right-side-up as you move it; otherwise, you’ll end up dripping water all over your floor. Now that the filter is out of the way, you can use your Phillips screwdriver to unthread the screw securing the filter housing to the wall of your refrigerator. With the screw removed, lift the housing up and pull it away from the wall to expose the water lines.
At this point, you’ll need to take the kick plate off the front of your refrigerator by unthreading the screws that hold it in place. Once the screws are out, lift the kick plate up and off your appliance. Behind the kick plate, you’ll find the water lines that run to the water and ice dispenser and the water filter head and housing. Before you can uninstall the filter head and housing you’ll need to disconnect the water lines by removing the couplings that hold them together. To do so, use your flat head screwdriver to pry the safety caps off the bottom of the couplings. Then, slide the caps down the water lines to move them out of the way. Next, push in the locking mechanism on the bottom of the coupling and pull out the water lines that run to the filter head and housing. Finally, slide the safety caps off the water lines and place them somewhere safe.
Now, you’ll need to disconnect the water lines that run to the water inlet valve, which is located behind your refrigerator’s rear access panel. However, before you remove the rear access panel, take off the cover and brackets that hold the water lines to the back of your appliance. Once you’ve done that, you can remove the rear access panel. With the access panel out of the way, start disconnecting the water lines from the inlet valve. First, loosen the nut that secures the water line to the top of the inlet valve. Then, pull the water line off the inlet valve. In order to disconnect the other two water lines, you must uninstall the water inlet valve from the refrigerator. After you’ve unthreaded the mounting screw that secures the inlet valve to the appliance, pull the part forward to gain access to the remaining water lines. Disconnect the water lines from the valve by removing the locking rings that sit between the valve and the lines. Then, simply pull the lines out of the inlet valve. If the water lines have protective tubing around them, slide it off.
To finish uninstalling the water filter head and housing, open up the fresh food compartment door, and carefully pull out the component. The water lines that are connected to the back of the housing should easily slide out of the opening in the rear wall and the water lines connected to the ice maker and water dispenser should come out of the opening in the floor.
How to Install a New Water Filter Head and Housing in Your Samsung Refrigerator
Start the installation process by feeding the water lines through the openings in the back wall and floor of your refrigerator. Then, press the filter head and housing against the wall and reinstall the screw that holds it in place.
At the front of your appliance reconnect the water lines to the lines that run to the ice maker and water dispenser. Make sure you start by sliding the safety caps back on the lines. Then, insert the water lines into the couplings attached to the ice maker and the water dispenser lines. To lock the lines in place, snap the safety caps onto the bottom of the couplings. Finish up by reinstalling the kick plate.
Now head to the back of your refrigerator to reconnect the water filter lines to the water inlet valve. Start by arranging the lines in their proper order, and then secure them to the back of your refrigerator by installing the cover and brackets you took off during the disassembly process.
Before you reconnect the lines to the inlet valve, slide the safety covers back on the white and orange water lines. Then, insert the lines into the water inlet valve. Make sure you push the lines far enough in; otherwise, you’ll end up with another leak. Once the lines are secure, reattach the locking collars to ensure the lines don’t come loose.
Reinstall the water inlet by securing it to the refrigerator with the mounting screw you removed earlier. Once the inlet valve is in place, reattach the remaining water line to the top of the valve. With all the water lines connected to the inlet valve, you can close up the back of your refrigerator by reinstall the rear access panel.
Head to the front of your fridge and insert the water filter into its housing. Then, turn the filter clockwise until it locks in place. Finally, reinstall your refrigerator shelving before plugging the appliance back in and turning on its water supply.
If you were unable to stop your refrigerator from leaking, please contact us today, or if you would like to learn more about repairing the appliance’s in your home, please take a look at the repair guides provided on our website.

How to Fix the Whirlpool Washer F9 E1 Error Code
How to Solve Frigidaire Dishwasher Lights Blinking
Resolving the LG Washer UE Error Code (3 Easy Fixes)
Replacing an Over-the-Range Microwave with a Range Hood
How to Get Burnt Smell Out of Microwave (In 2 Easy Steps)

7 Reasons Why Your Bosch Ice Maker Is Not Working
Why Does Your Self-Cleaning Oven Smell?
Why Is Your Whirlpool Cabrio Washer Not Spinning?
Why Does My Refrigerator Make Noise?
Troubleshooting the F2 Error Code on a Whirlpool Oven
Rust Inside Microwave: Causes, Fixes, and Prevention Tips

4 Ways to Get Smell Out of Dishwasher
7 Steps to Fix a Whirlpool Oven Not Heating
What to Do When Your Washing Machine Smells Like Rotten Eggs
