


August 2, 2021
Refrigerator Repair
The fridge is probably the most used appliance in most people’s homes. Like any other appliance, it needs to be cleaned regularly, or bad odors might start to develop.
Thankfully, cleaning your refrigerator is a simple task; all you need are a few cleaning products, a dry cloth or two, and a cooler to put your food in while you are cleaning your fridge, and you’re good to go.
Let’s get started.
Step One – Remove Food from Your Refrigerator
The first step is to remove all of your food from your fridge and freezer and put it into coolers to keep it cold while you’re cleaning your fridge and freezer out.
Step Two – Turn Your Refrigerator Off
Next, turn your refrigerator off so that the freezer can defrost. Leave the freezer door open while you are cleaning the fridge.
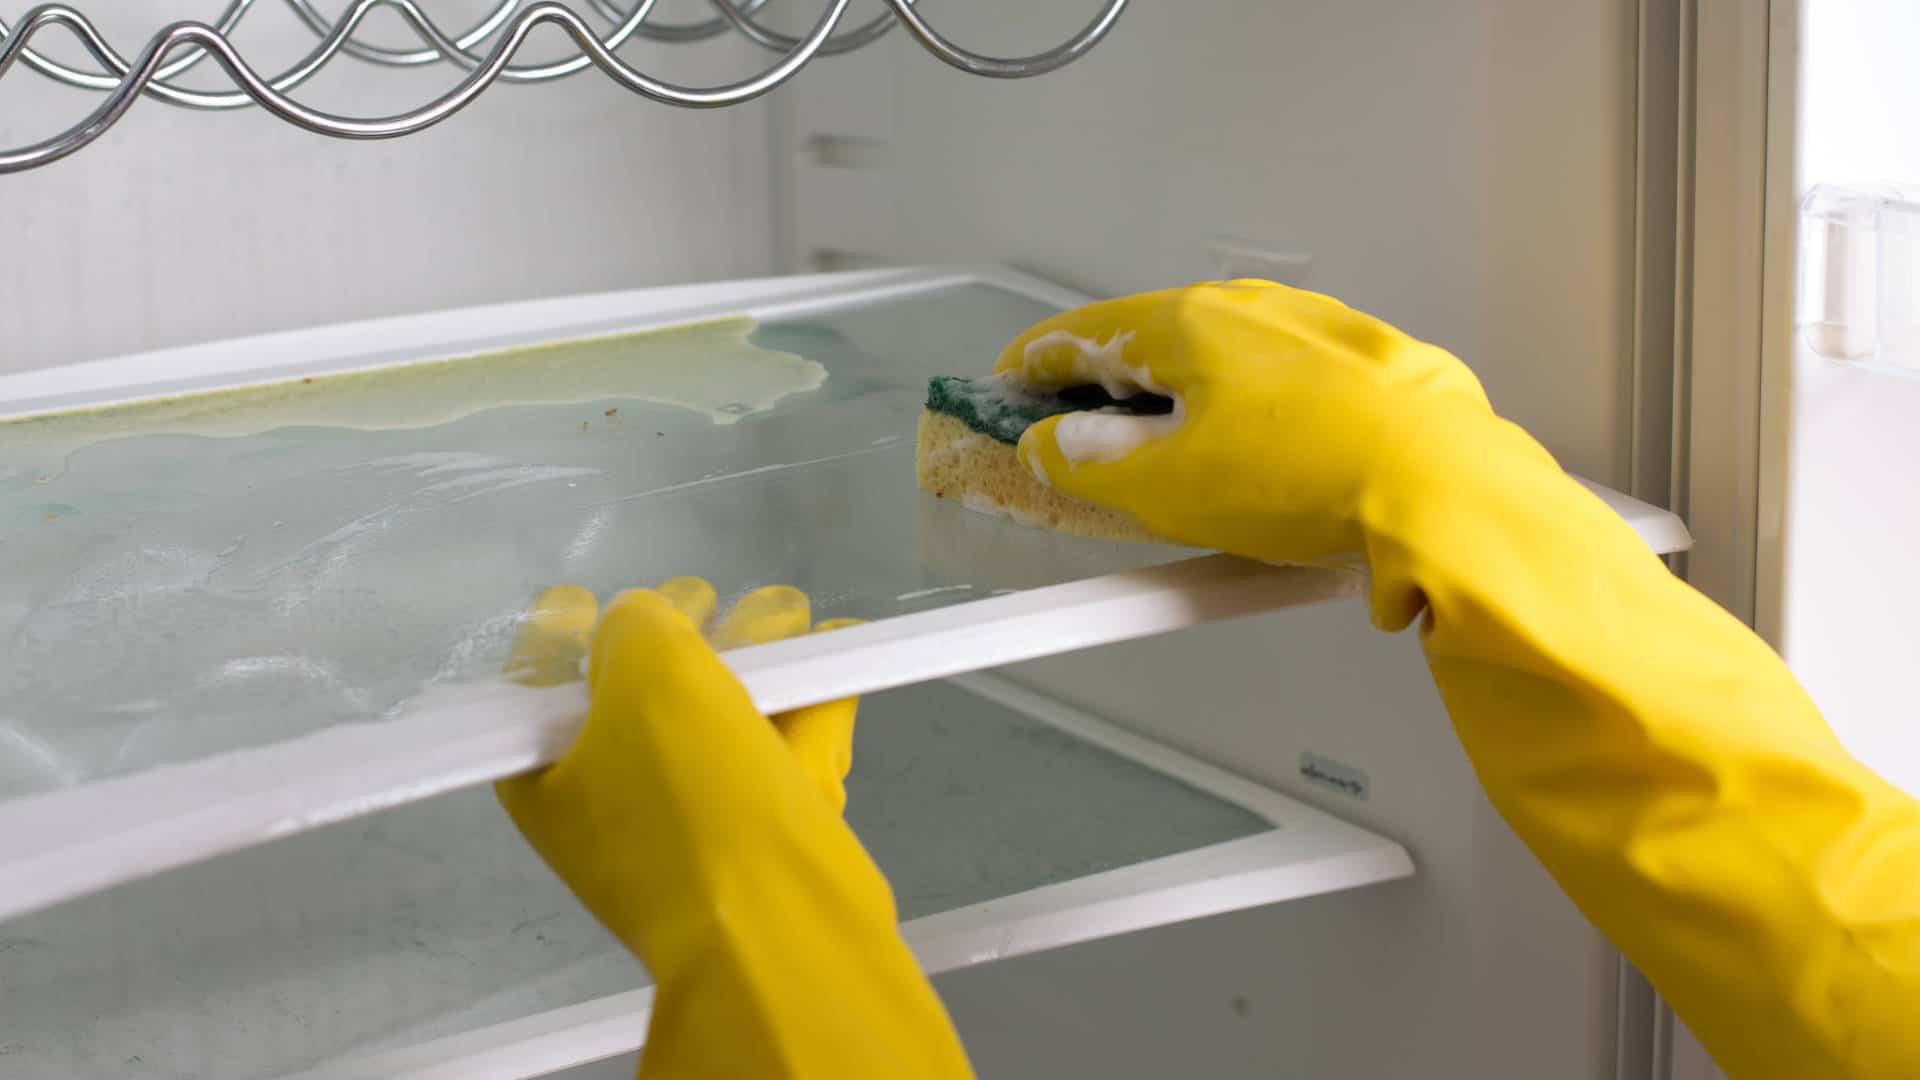
Step Three – Remove the Shelves and Drawers
The next step is to remove all the shelves and drawers from the refrigerator and then wash them with hot, soapy water. Any glass components in your fridge must be left for a while to come up to room temperature before you run them under hot water, as they can crack easily.
Once cleaned, place them somewhere to dry (inside or outside) while you’re cleaning your fridge out.
Step Four – Clean the Inside of Your Refrigerator
The next step is to clean the inside of your refrigerator. The best way to do this is to grab a damp cloth and a spray bottle of cleaner. You can either use a commercial cleaning product or make up a solution of 1 part baking soda to 7 parts water and put that into an empty spray bottle.
Once you’ve got your cleaning spray bottle, spray and wipe the inside of the fridge, making sure you get into all of the hard-to-reach places. To avoid having to re-clean parts of the fridge, start from the top and work your way down. At this point, you should also be able to clean the freezer out (using the same method).
Once you’ve cleaned your refrigerator, it’s a good idea to place an open small container of dry baking soda in the fridge, as this helps to absorb any odors – just remember to change it regularly.
Step Five – Flush the Freezer Drain
Once your freezer has been cleaned, it’s a good idea to flush the drain out in case there is anything stuck in it. All you need to do is carefully pour down hot, soapy water or hot water and some of your baking-soda-based cleaner. If there is anything blocking the drain, you can dislodge it with a piece of wire.
Step Six – Put the Shelves and Drawers Back In
Once your refrigerator is clean and dry, you can put the shelves and drawers back in – just give them a final dry with a clean cloth before doing so.
Step Seven – Clean the Refrigerator Gasket
The next step to clean your refrigerator is to clean the gasket around the fridge door. You can use soapy water, a brush, and some cloths to do this, and if there are signs of mold, you can use a commercial bleach-based cleaner to get it off. Once cleaned, make sure you dry off the cleaning solution fully. If you have petroleum jelly, you can lightly coat the gasket to stop it from drying out.
Step Eight – Clean the Outside of Your Refrigerator
Now that the inside of your fridge is sparkling clean, you can give the exterior a good clean. All you need to do is spray and wipe all the outside surfaces (including the top of the fridge), and if you have a stainless steel fridge, you can use a microfiber cloth with a little bit of rubbing alcohol to give it a good shine.
Step Nine – Clean the Refrigerator Coils
While you are going to the trouble of cleaning your fridge, it’s a good idea to also clean the refrigerator coils, as this will help your fridge operate better, which helps to extend the life of your fridge.
To clean the refrigerator coils, you need to:
- Make sure the power is turned off to your refrigerator.
- Pull your refrigerator out from the wall so you can access the back of it.
- Locate the coils (they are usually at the back of the refrigerator down the bottom, but sometimes they are accessible from the front – if in doubt, check your manual).
- Use an appropriate cleaning brush to gently clean the coils, making sure you get all of the dust off them.
- Use a vacuum cleaner to vacuum up the dust, and if you like, you can gently vacuum the coils as well.
Step Ten – Clean the Water Drain Pan
While you have the refrigerator pulled out from the wall, it’s a good idea to clean the water drain pan if you have one. To clean the drain pan, simply give it a good clean with a damp cloth, and if there are signs of mold, use a bleach-based cleaner. Once cleaned, you can put your refrigerator back against the wall.
Step Eleven – Finish Up
Now that your fridge is clean, the final step is to put your food back into your fridge and freezer and turn the power back on. When putting your food back into the fridge, be sure to throw away any expired food and give all of your containers and jars a quick wipe. Finally, it’s important to remember to give your refrigerator a regular clean (especially the door gaskets), as this will help it run more efficiently and for much longer.
(323) 284-6780Give us a call!

Apr. 09, 2024
How to Fix the Whirlpool Washer F9 E1 Error Code

Apr. 09, 2024
How to Solve Frigidaire Dishwasher Lights Blinking

Apr. 09, 2024
Resolving the LG Washer UE Error Code (3 Easy Fixes)

Mar. 06, 2024
Replacing an Over-the-Range Microwave with a Range Hood

Mar. 06, 2024
How to Get Burnt Smell Out of Microwave (In 2 Easy Steps)

Mar. 06, 2024
7 Reasons Why Your Bosch Ice Maker Is Not Working

Feb. 05, 2024
Why Does Your Self-Cleaning Oven Smell?

Feb. 05, 2024
Why Is Your Whirlpool Cabrio Washer Not Spinning?

Jan. 03, 2024
Why Does My Refrigerator Make Noise?

Jan. 03, 2024
Troubleshooting the F2 Error Code on a Whirlpool Oven

Jan. 03, 2024
Rust Inside Microwave: Causes, Fixes, and Prevention Tips

Dec. 11, 2023
4 Ways to Get Smell Out of Dishwasher

Dec. 11, 2023
7 Steps to Fix a Whirlpool Oven Not Heating

Dec. 11, 2023
What to Do When Your Washing Machine Smells Like Rotten Eggs

Nov. 06, 2023