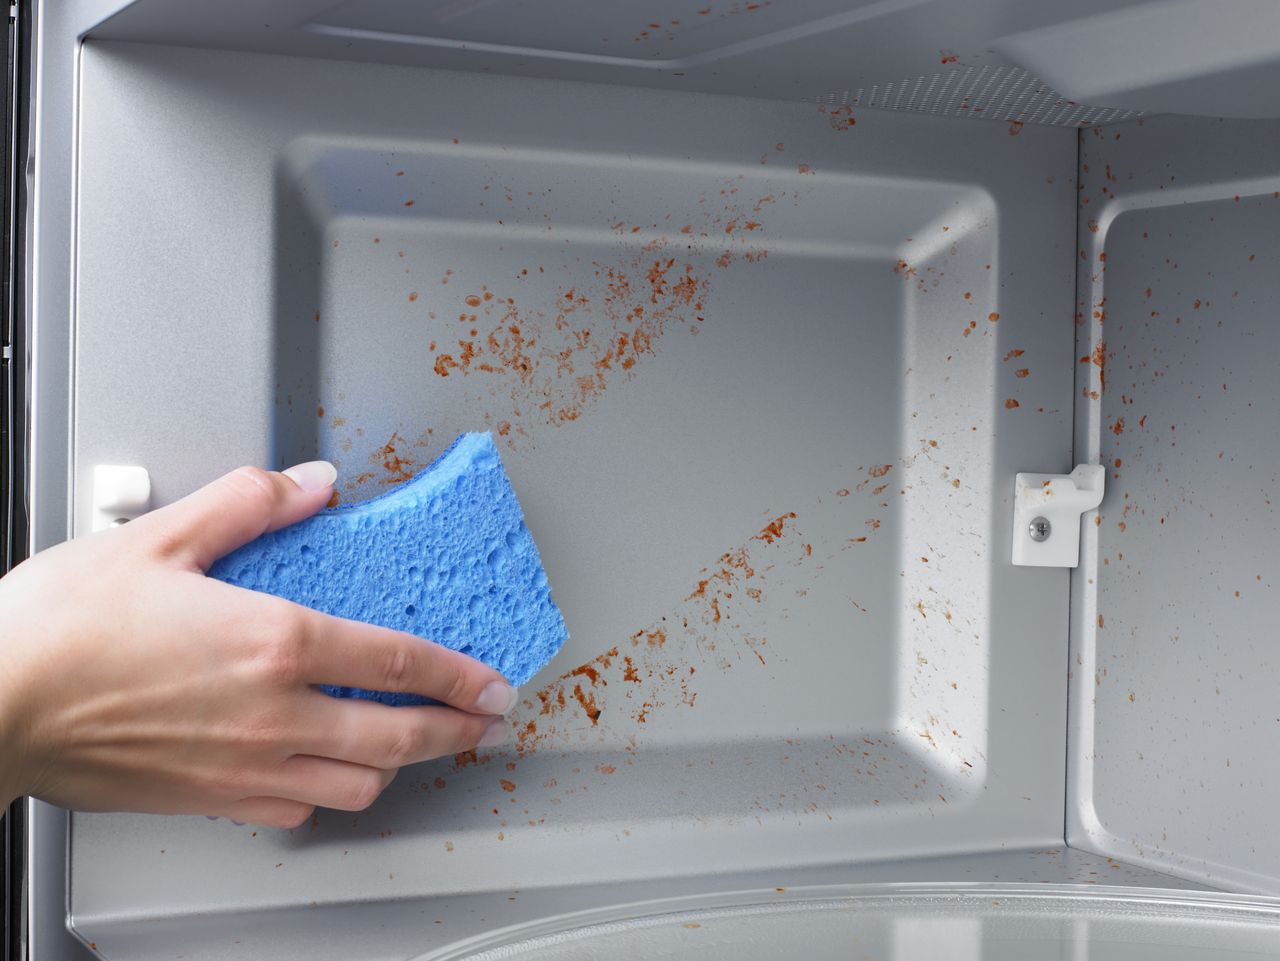
August 13, 2018
Oven Repair
There are a lot of reasons why you microwave might not be heating up. But one common problem is that the cooling fan can no longer run. That malfunction stops microwaves from turning on and overheating. Check your cooling fan motor for signs of malfunction or shorting out.
Microwave repairs are usually handled by trained technicians. The appliances are extremely powerful and, without adequate safety measures, they can be extremely dangerous to take apart and repair. However, if you feel confident, this is a repair you can do on your own. Order a new LG microwave cooling fan motor, or the replacement part #WB26X10262, and follow these steps to get your microwave working:
1. Unplug your microwave.
Unplugging an appliance before repairs is a standard safety precaution. But this step is essential when handling a microwave no matter the type of repair or degree of disassembly. The appliance carries a high voltage and a high current. This can be extremely dangerous.
Later during the course of the repair, you will need to remove the risk of electrical shock by discharging the capacitor. Be extremely careful handling the parts, especially before this step. If you are concerned, call a technician to handle the repair.
2. Uninstall the microwave.
During this repair, you will be disassembling the appliance. That means you need better access. If your refrigerator is mounted, follow these steps to carefully uninstall it and move it to your work surface.
First, ask someone to help you support the weight of the appliance while you loosen the mounts. Remove the mounting brackets on the bottom of the cabinet holding the microwave. Then lift the appliance off of the rear mounting brackets. Once the machine is a few inches away, pull the power cord through the hole in the cabinet so it won’t tug or stretch. Set the microwave down on your countertop or flat table.
3. Dismantle the appliance.
First, remove the grill. Loosen the two screws holding the mounting screws on the grill. Then open the door and slide the grill off the tabs to release it. Set it to the side.
Next, remove the bottom panel. Start by tilting the microwave onto its back panel. Then unthread the mounting screws around the edge. Before you pull the panel fully away, disconnect the wire harness and make sure the wires aren’t caught in the harness. Set the panel aside and tilt the appliance back upright.
Then remove the exterior cabinet. Loosen all of the screws along the top and sides of the panel. There will also be some along the back edge. The cabinet is one piece, so lift up all three sides at once without bending or unbending the form.
***Discharge the capacitor:
At this point, you need to release the potential charge in the microwave. Locate the capacitor, then find a pair of insulated needle nose pliers and make sure your hand isn’t touching the metal. Open the pliers and touch both capacitor terminals at the same time. This should remove any lingering charge in the components of the machine.
Once you have discharged the capacitor, remove the control panel. Do this by unthreading the mounting screw behind the door. Then lift the panel up to detach it.
Next, find the cooling fan blade behind the control panel and take a picture. This will help you install the new part with the correct orientation later. Then pry the part free of the central shaft and set it aside.
You will also need to disconnect the fan motor wire harness. Take another picture to ensure you connect the wires correctly during reassembly. Then pull the harness away.
Loosen the cooling fan motor support bracket by unthreading the two screws that attach it to the body of the appliance. Don’t fully remove the part, but tilt it so the shaft faces outward. Now you can reach the screws securing the fan motor on the other side of the bracket. Unthread the screws, and pull the old motor out of the microwave.
4. Install the new cooling fan motor.
Position the new part into place by sliding the shaft through the fan support. Tighten the screws to hold the motor in place. Next, straighten out the support bracket and then retighten the two screws.
Connect the wire harnesses. Refer back to the picture you took earlier to ensure the wires are connected to the correct ports. Then slide the fan blade into position over the shaft; make sure the orientation matches the picture so the fan operates correctly.
5. Reassemble the microwave.
Now that the new motor is installed, it’s time to put the microwave back together. Slide the control panel into the bottom slot along the front of the appliance and line it up flush with the body of the appliance. Then tighten the screw on the top left corner to secure it in place.
Reinstall the cabinet. Before you start this step, make sure the power cord wasn’t jostled out of place during the part replacement. You can only see the access point while the outer cabinet is off.
Once you’re sure the power cord is in the bracket, slide the cabinet into place over the machine. Align the side tabs on the frame and the cabinet and carefully push the parts together. Then start replacing all of the screws along the back panel, the sides, and the top.
Tilt the microwave onto its back so you can reinstall the bottom panel. First, slide the back (or the bottom) of the panel into the groove along the frame. While the panel is still at an angle, reconnect the wires and place the excess wire length in the twist retainer. This keeps the wires from getting damaged or caught in the panel.
Tilt the panel flush with the frame and retighten the screws along the edge.
Shift the appliance upright again. Open the door and replace the grill by sliding it into the bottom tabs and then pushing it to the right until it snaps into position. Close the door and rethread the screws along the top of the appliance to hold the grill in place.
6. Reinstall the microwave.
Carefully reposition the back of the microwave along the rear mounting tabs, but keep it at an angle. Use that small space to thread the power cord through the cabinet opening that leads to the power socket.
Then tilt the appliance fully upright and start screwing the in-cabinet mounting brackets back through the appliance. Plug in the power cord.
If you have other major appliances you want to repair, go to Paradise Appliance Repair for more procedures and tips. We also have expert technicians if you would like to schedule a service call.
(323) 284-6780Give us a call!

Apr. 09, 2024
How to Fix the Whirlpool Washer F9 E1 Error Code
Apr. 09, 2024
How to Solve Frigidaire Dishwasher Lights Blinking
Apr. 09, 2024
Resolving the LG Washer UE Error Code (3 Easy Fixes)
Mar. 06, 2024
Replacing an Over-the-Range Microwave with a Range Hood
Mar. 06, 2024
How to Get Burnt Smell Out of Microwave (In 2 Easy Steps)

Mar. 06, 2024
7 Reasons Why Your Bosch Ice Maker Is Not Working
Feb. 05, 2024
Why Does Your Self-Cleaning Oven Smell?
Feb. 05, 2024
Why Is Your Whirlpool Cabrio Washer Not Spinning?
Jan. 03, 2024
Why Does My Refrigerator Make Noise?
Jan. 03, 2024
Troubleshooting the F2 Error Code on a Whirlpool Oven
Jan. 03, 2024
Rust Inside Microwave: Causes, Fixes, and Prevention Tips

Dec. 11, 2023
4 Ways to Get Smell Out of Dishwasher
Dec. 11, 2023
7 Steps to Fix a Whirlpool Oven Not Heating
Dec. 11, 2023
What to Do When Your Washing Machine Smells Like Rotten Eggs
Nov. 06, 2023


