


July 7, 2021
Oven Repair
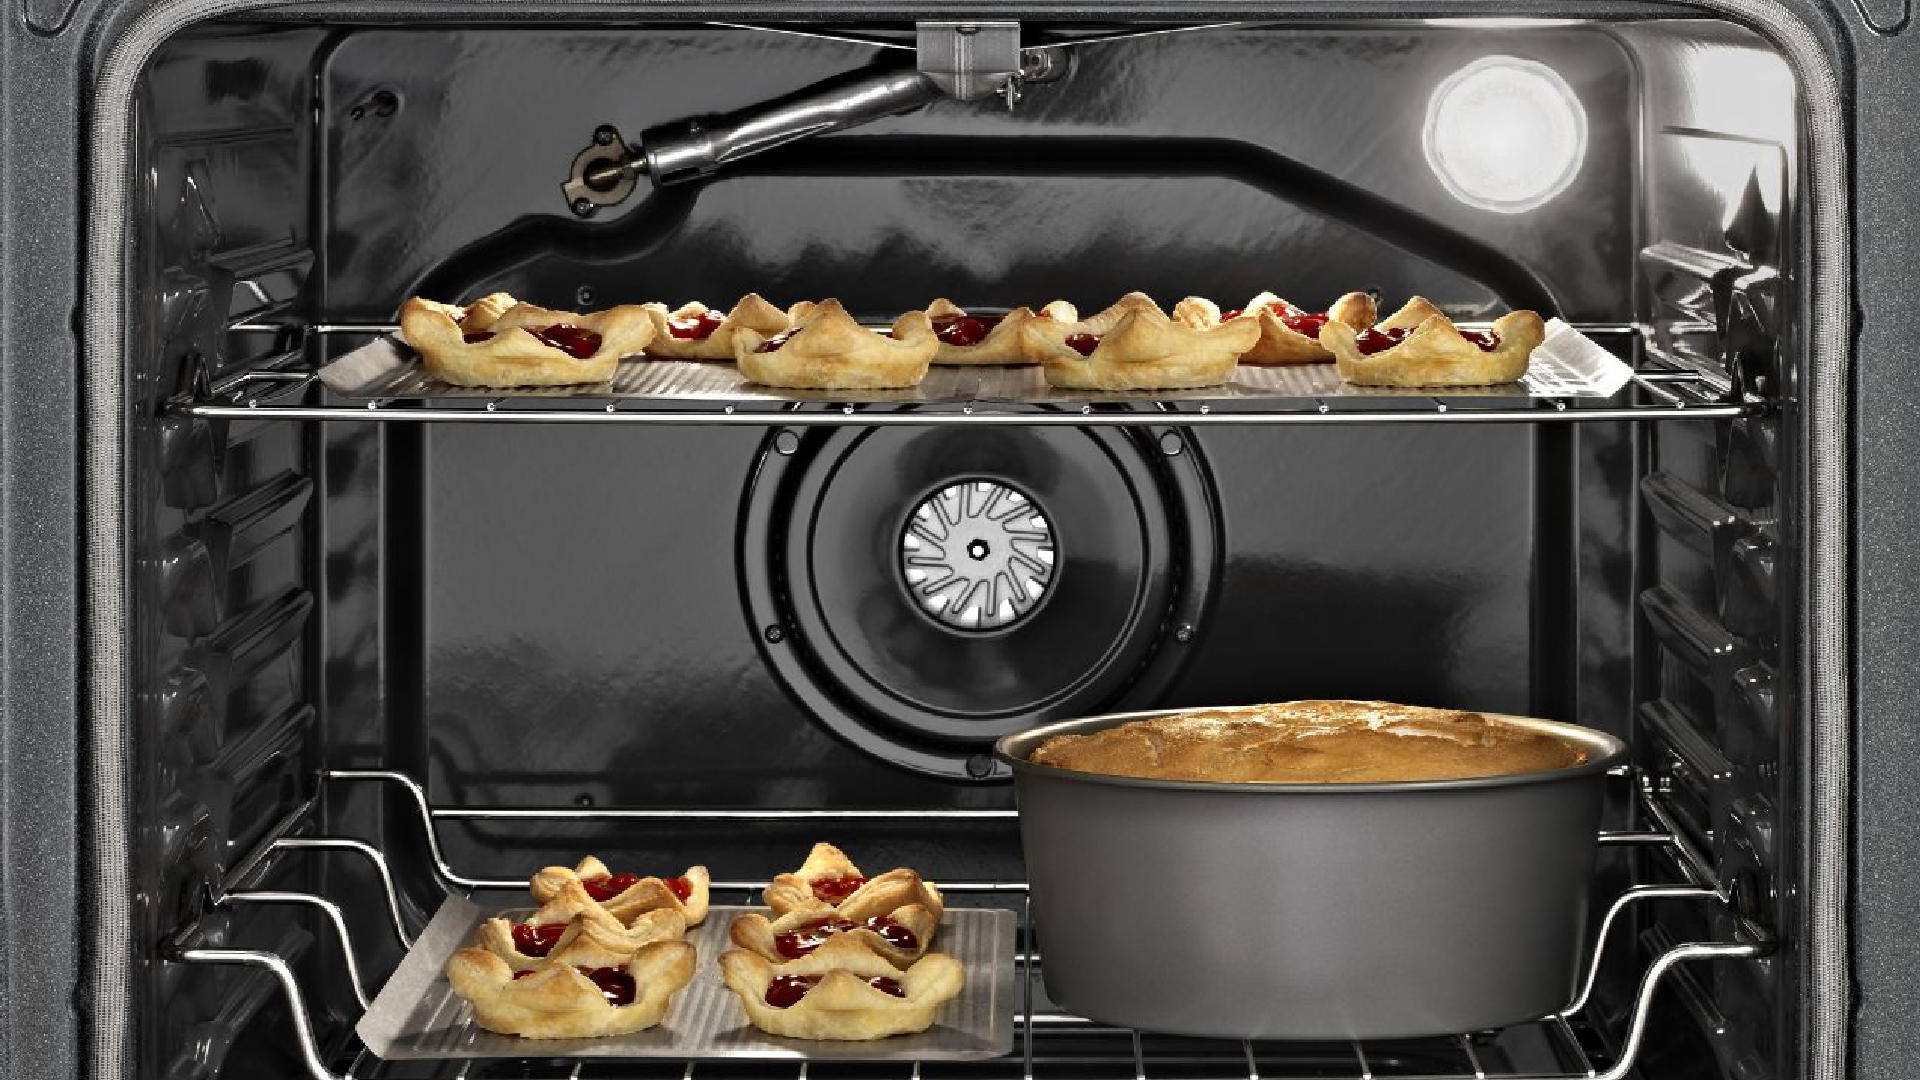
The purpose of the igniter is to heat up and then ignite the gas so your oven can operate. When the igniter stops working, you won’t be able to use your oven. If you need to replace your oven’s igniter, this guide will give you step-by-step instructions for how to do it.
Before you can replace the gas igniter, you will need to purchase the correct replacement part from your specialist parts supplier. Most parts suppliers will have replacement igniters, and they usually don’t cost a lot of money, as they are a pretty simple part.
This guide applies to most makes and models of gas ovens, including brands such as LG, Frigidaire, Electrolux, Whirlpool, KitchenAid, Maytag, Samsung, and GE.
To remove and install your new oven igniter, simply follow these step-by-step instructions.
Preparations
Before you start the process of removing and installing your new igniter, there are some important preparations you need to undertake to ensure your safety.
- Fully shut off the power supply to your oven. You can do that by pulling the plug out or switching the circuit breaker off in your household breaker box.
- Turn the gas supply off. This will ensure gas doesn’t seep out while you are replacing the igniter.
- Make sure you have adequate ventilation in the kitchen while you are working on your oven. The easiest thing to do is open some windows and/or doors.
- Make sure your oven has cooled down completely before working on it.
Remove the Old Igniter
You are now ready to remove the old igniter from the oven. To do that:
- Remove the racks in your oven, and then place them out of the way.
- Remove the bottom panel in your oven. You can do this by unthreading the screws at the back of the lower oven panel. Once you remove the screws, you can lift the back panel gently and push it back; it should clip out of place, and you can then remove it. Once removed, place the oven panel out of the way.
- Once you’ve dislodged the panel, you can carefully remove it from the oven (you will need to bring it out slightly angled so it doesn’t get stuck).
- In some models of ovens, you will have to remove the oven door so you can access the igniter; if this applies to you, consult your user manual for instructions on how to remove the door from your oven.
- Now that the bottom panel has been removed, you should be able to access the igniter. The next step is to remove the screws on the bracket that holds the igniter in place. Most ovens will have two hex-head screws that will need to be unthreaded, which you can do with a ¼ inch nut driver.
- Disconnect the wire harness that is attached to the igniter. You can unlock the harness tabs by pressing in the clip and then gently pulling them off.
- You can now remove the old igniter and set it aside.
Install the New Igniter
Now that the old igniter has successfully been removed, it’s time to install the new igniter. To do that:
- Connect the new igniter up to the wire harness. When connecting the harness, be careful that you don’t touch the carbide electrode, as sometimes it can get damaged if you touch it with oil on your hands.
- Place the new igniter onto the bracket so that the screw holes line up. You can now thread the screws in tightly. Once the screws are in, you need to position the wires away from the igniter to avoid the wires from getting damaged.
- You can now put the bottom panel of your oven back into the oven (be careful that you put it into the same position as it was before). Once the panel is in the oven, you can secure it in place with the screws that you removed earlier.
- Put the oven racks back into the oven.
Test the New Igniter
The final step is to test that the new igniter is working.
- Turn the power to the oven back on at the wall, or turn the circuit breaker on.
- Turn the gas supply back on.
- To make sure the new igniter works, attempt to turn your oven on. Hopefully, your new igniter is working!
(323) 284-6780Give us a call!

Apr. 09, 2024
How to Fix the Whirlpool Washer F9 E1 Error Code

Apr. 09, 2024
How to Solve Frigidaire Dishwasher Lights Blinking

Apr. 09, 2024
Resolving the LG Washer UE Error Code (3 Easy Fixes)

Mar. 06, 2024
Replacing an Over-the-Range Microwave with a Range Hood

Mar. 06, 2024
How to Get Burnt Smell Out of Microwave (In 2 Easy Steps)

Mar. 06, 2024
7 Reasons Why Your Bosch Ice Maker Is Not Working

Feb. 05, 2024
Why Does Your Self-Cleaning Oven Smell?

Feb. 05, 2024
Why Is Your Whirlpool Cabrio Washer Not Spinning?

Jan. 03, 2024
Why Does My Refrigerator Make Noise?

Jan. 03, 2024
Troubleshooting the F2 Error Code on a Whirlpool Oven

Jan. 03, 2024
Rust Inside Microwave: Causes, Fixes, and Prevention Tips

Dec. 11, 2023
4 Ways to Get Smell Out of Dishwasher

Dec. 11, 2023
7 Steps to Fix a Whirlpool Oven Not Heating

Dec. 11, 2023
What to Do When Your Washing Machine Smells Like Rotten Eggs

Nov. 06, 2023