


March 9, 2020
Oven Repair
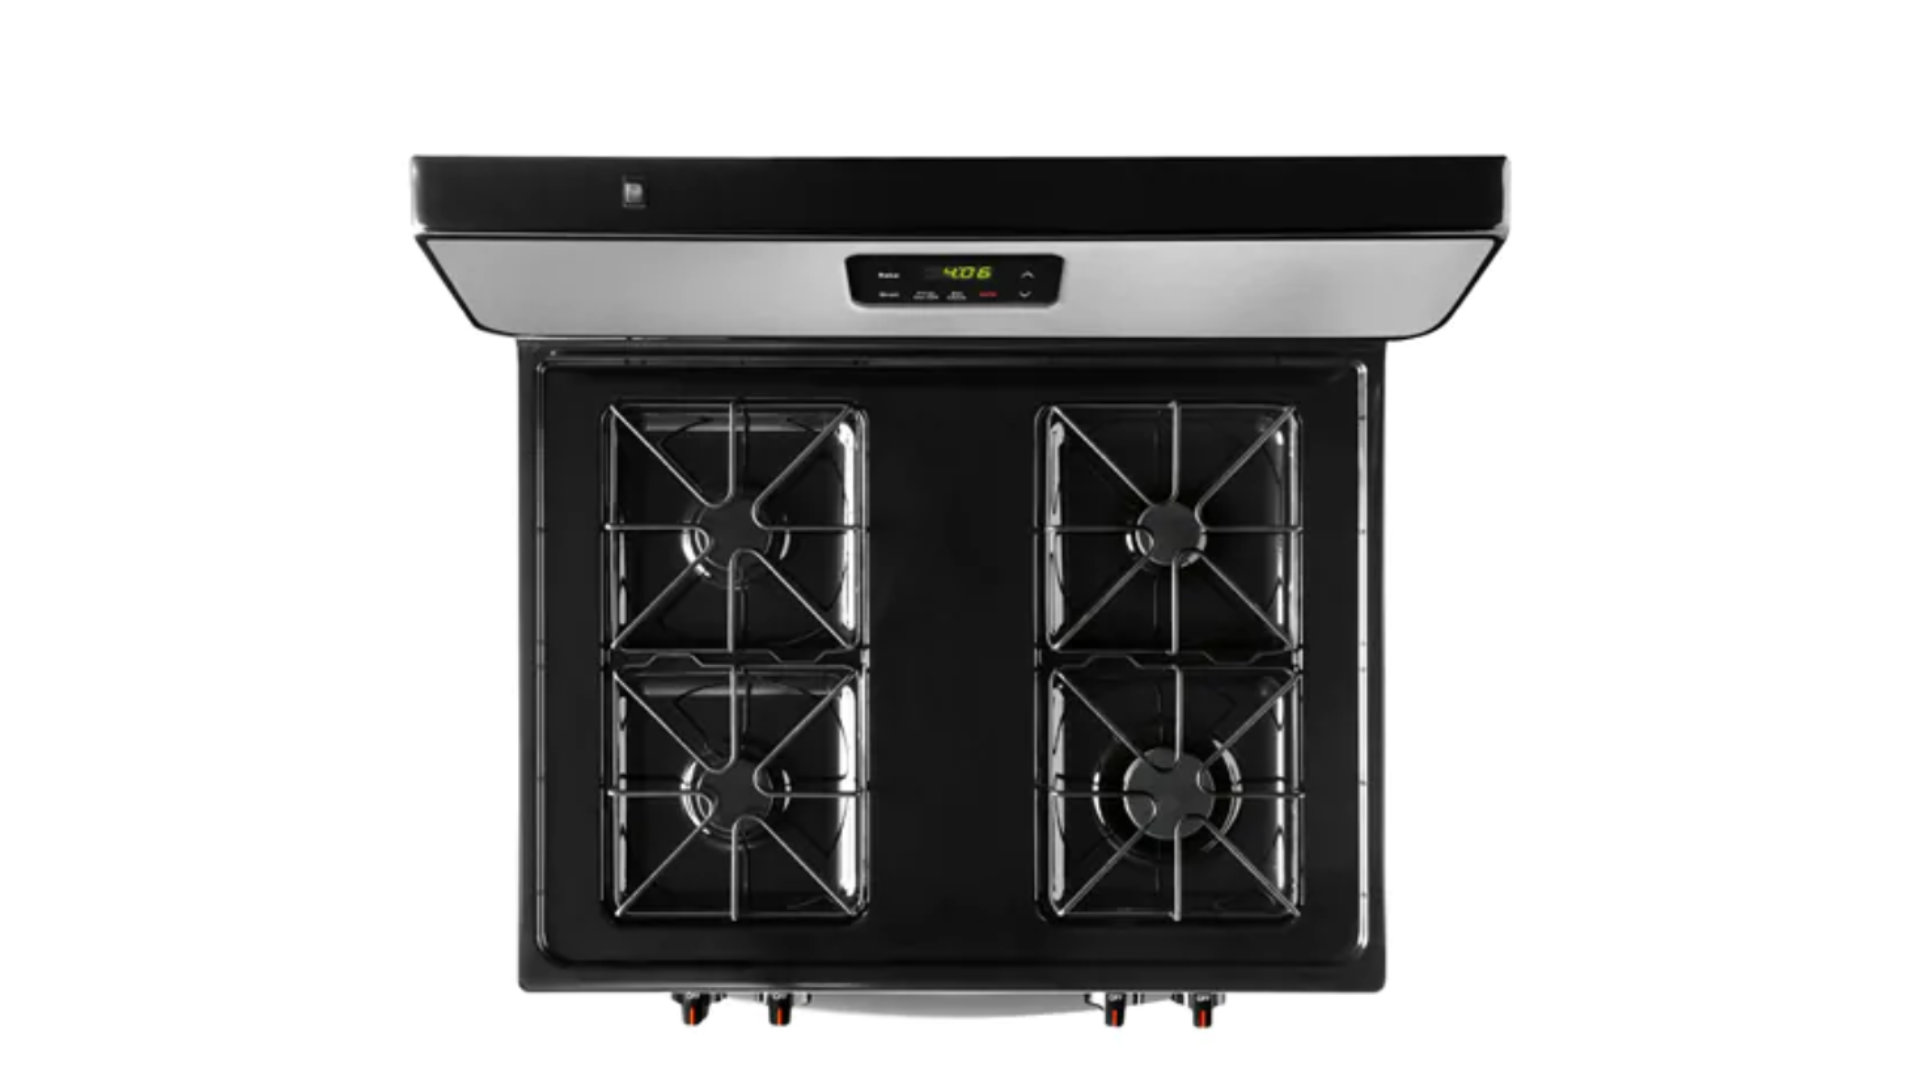
When it’s time to make dinner the last thing you want to deal with is a non-heating Frigidaire oven model FFGF3016TS. Unfortunately, a lack of heat is a common malfunction that ovens often succumb to after years of use. While the issue is beyond frustrating, diagnosing and fixing the problem isn’t necessarily an impossible DIY feat. Often times, the malfunction is caused by a faulty oven safety valve or a failing oven control board. Both parts are fairly easy to replace.
Appliance Repair Safety Tips
- Never start an oven repair before unplugging your appliance and turning off its gas supply.
- Work gloves and safety goggles should be worn at all times to protect your eyes and hands from sharp edges while you disassemble and reassemble your oven.
- If you run into a problem while repairing your oven and you no longer feel safe continuing, please stop what you are doing and contact an appliance repair specialist to complete the job.
The Oven Safety Valve
Your gas oven is equipped with a safety valve. The valve ensures gas is not released into your oven until the oven igniter is hot enough to ignite the gas. A malfunctioning safety valve will prevent gas from entering your oven even after the oven igniter is glowing white-hot. If you believe the valve is behind your non-heating issue, we suggest using a multimeter to test the part for continuity. If there is no continuity, the part will need to be replaced.
How to Replace the Oven Safety Valve in Your Frigidaire Oven
- Head to the back of your range and use a wrench to unthread the nut securing the gas line to the oven safety valve. Once the nut is loose, carefully pull the line off the valve
- Now move to the front of your range and open up the oven door. Take out the oven racks.
- With the racks out of the way, use a Phillips screwdriver to take out the screws that hold down the oven floor. Then, grab the back of the oven floor and lift it up. Once the back is raised, you can pull up the front of the oven floor.
- Underneath the oven floor, you’ll find the flame spreader. Use a nut driver to unthread the screw securing the flame spreader to the burner tube, and then lift the flame spreader off the burner tube.
- Next, reach into the oven cavity and push the broiler drawer forward and away from the safety valve. There are two wires that run to the safety valve, disconnect both wires.
- Using a nut driver, unthread the back and front screws that hold the burner tube in place. Then, lift the burner up and off the orifice of the safety valve and set it off to the side.
- Finally, use your nut driver to remove the screw that holds the oven safety valve to the bottom of the oven. Once the screw is out, slide the safety valve forward, then lift off the metal plate that protects the valve and set it down inside the oven. Now you can take the malfunctioning safety valve out of your appliance.
- Install the new oven safety valve by first covering it with the metal plate you took off the old valve. Then, slide the safety valve backwards until the sides of the metal plate settle into the slots on the oven floor. Rethread the safety valve screw to secure the part to the inside of the oven.
- After the safety valve is install, replace the oven burner tube by setting it down on the safety valve orifice and rethreading the screws that hold it in the oven cavity.
- Reconnect the wires that run to the oven safety valve. Make sure the plastic covers that protect the wire terminals are still attached, and then slide the covers down to shield the terminals.
- Now that the new oven safety valve is installed, push the oven drawer back into place and replace the flame spreader by reattaching it to the burner tube.
- Next, reinstall the oven floor and secure it with the screws you removed earlier. Then, replace the oven racks, and close the oven door.
- Head to the back of your range, and reconnect the gas line that runs to the newly installed oven safety valve.
The Oven Control Board
Your oven’s control board sends voltage to the bake circuit. If the control board is defective, the voltage won’t get sent, meaning your oven will not heat up. Replacing the control board is the only way to solve this issue.
How to Replace the Oven Control Board in Your Frigidaire Oven
- Move to the back of your range and remove the access panel that covers the oven control board by taking out the screws that secure the panel to the stove.
- Underneath the access panel, you’ll find the oven control board. To start uninstalling the part, disconnect the wire harness that runs to board. Then, unthread the four screws that hold the control board in place. Once the screws out, you can remove the control board from its housing.
- Grab the new oven control board and line up the screw holes on the board with the screw holes on the range. Next, use the control board screws to secure the part, and then reconnect the control board wire harness.
- With the new control board installed, replace the rear access panel.
- To finish up your oven repair, plug the appliance in and turn its gas supply back on, and then test out the new oven control board by setting a preheat temperature and waiting to see if your oven heats up.
If the oven safety valve and the oven control board aren’t behind your appliance’s non-heating issue, you should also test the oven igniter, the thermal fuse, and the temperature sensor. If you still can’t pinpoint the malfunction, please contact us today, and one of our experienced appliance repair technicians will help you diagnose and fix the problem.
(323) 284-6780Give us a call!

Apr. 09, 2024
How to Fix the Whirlpool Washer F9 E1 Error Code

Apr. 09, 2024
How to Solve Frigidaire Dishwasher Lights Blinking

Apr. 09, 2024
Resolving the LG Washer UE Error Code (3 Easy Fixes)

Mar. 06, 2024
Replacing an Over-the-Range Microwave with a Range Hood

Mar. 06, 2024
How to Get Burnt Smell Out of Microwave (In 2 Easy Steps)

Mar. 06, 2024
7 Reasons Why Your Bosch Ice Maker Is Not Working

Feb. 05, 2024
Why Does Your Self-Cleaning Oven Smell?

Feb. 05, 2024
Why Is Your Whirlpool Cabrio Washer Not Spinning?

Jan. 03, 2024
Why Does My Refrigerator Make Noise?

Jan. 03, 2024
Troubleshooting the F2 Error Code on a Whirlpool Oven

Jan. 03, 2024
Rust Inside Microwave: Causes, Fixes, and Prevention Tips

Dec. 11, 2023
4 Ways to Get Smell Out of Dishwasher

Dec. 11, 2023
7 Steps to Fix a Whirlpool Oven Not Heating

Dec. 11, 2023
What to Do When Your Washing Machine Smells Like Rotten Eggs

Nov. 06, 2023