


April 20, 2020
Oven Repair
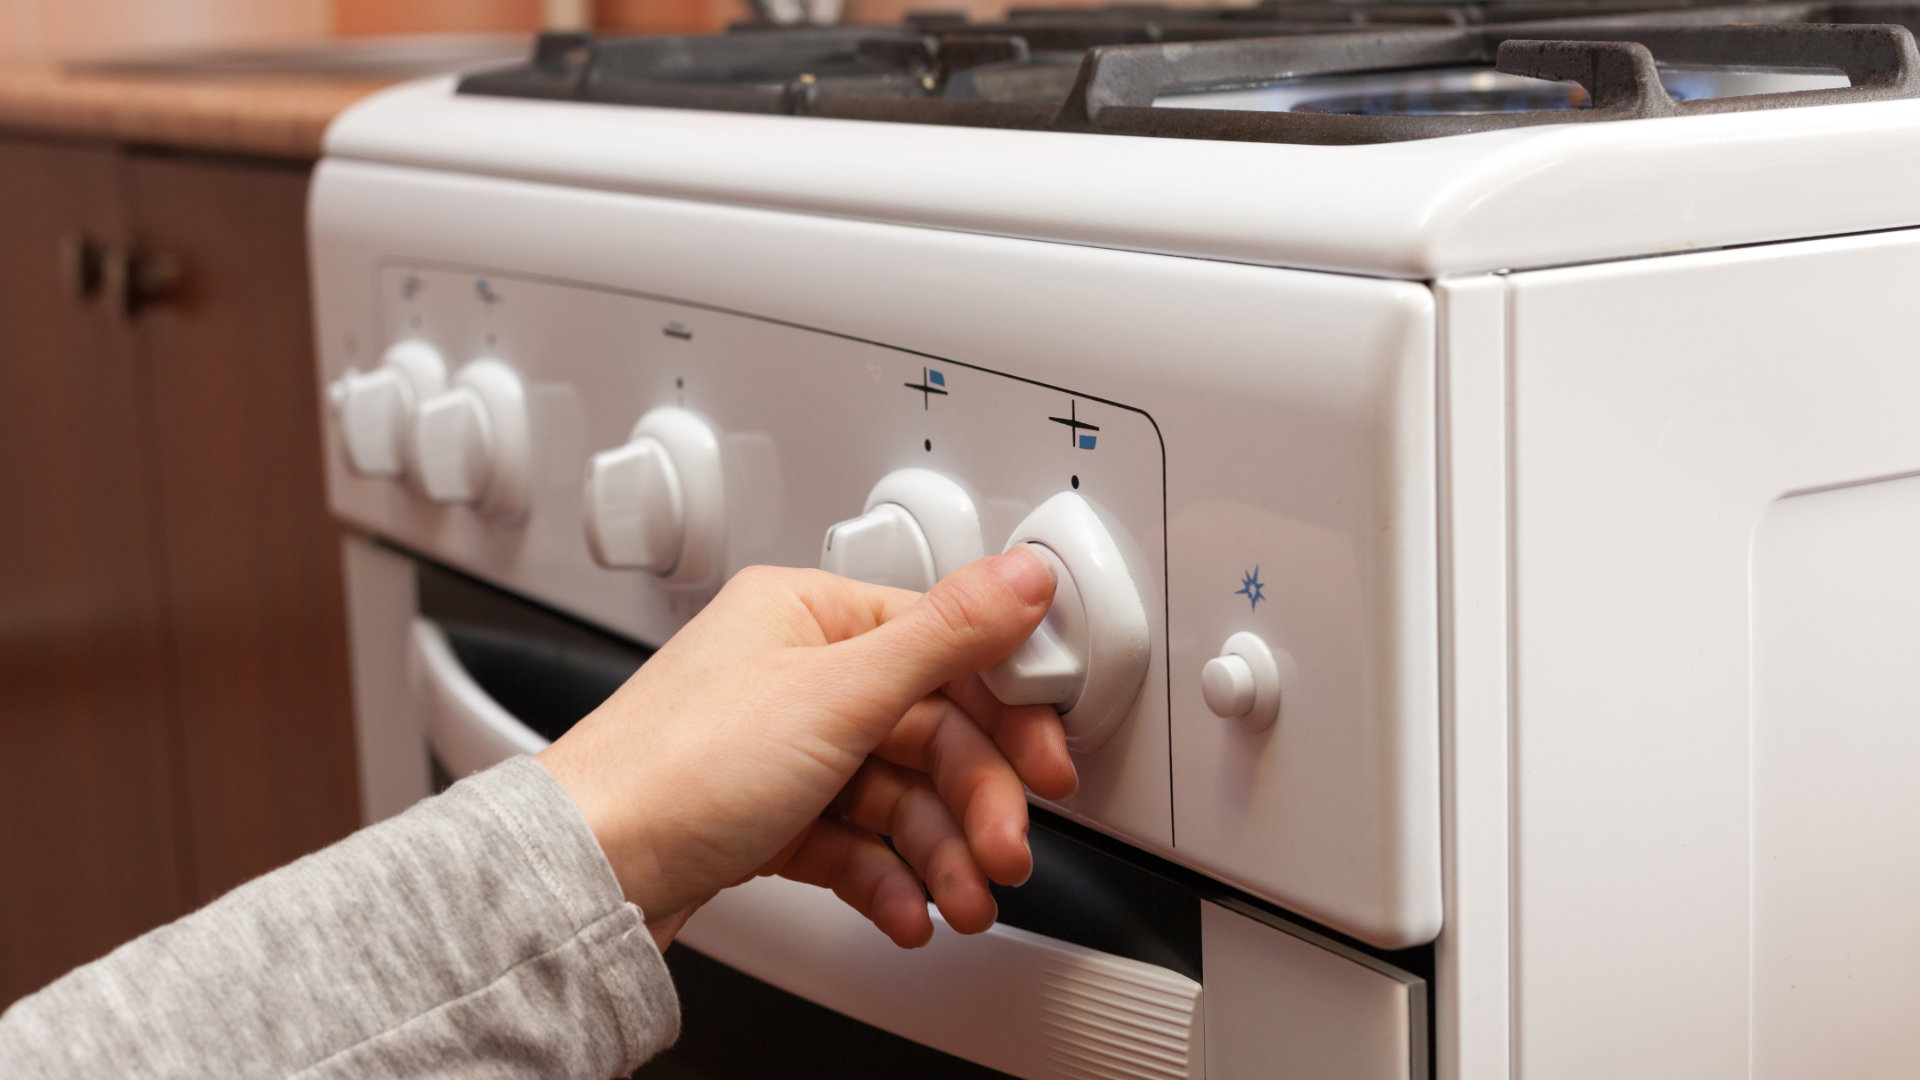
For some home chefs, a gas stove is a cuisine must. For many others, your home came with a gas stove and you’re just trying to figure out how to use it. One of the biggest concerns of owning a gas stove is the pilot light. Some stoves, the pilot never goes out and your burners always flare up on command. Some stoves flicker out that pilot light once a week and you’re down in the stove trying to relight it.
Whether this is your first gas stove or your fiftieth, it helps to know how to relight the burner pilot lights on your own. So if your pilot light is out, it’s time to collect your supplies, roll up your sleeves, and get that flame back on.
Gather Your Supplies
Always start by putting together the gear you’ll need for a project. To relight the pilot light, you’ll need a screwdriver and putty knife to open up the stovetop. You’ll need a long-barrelled lighter to safely ignite the pilot light. Work gloves (or carefully used handtowels) will keep your hands safe from sharp panel edges. You may also need a few pieces of wood or phonebooks to prop the stovetop open with.
- Screwdriver
- Long-Barrelled Lighter
- Putty Knife
- Work Gloves
- Prop Blocks
- Needle or Pin
Test the Burners
This is one repair you don’t have to shut off power or gas for. But you should check on the burners to see which ones will flare up and which ones will not. This will often tell you which pilot light you need to ignite. There are usually two pilot lights, one on each side, for gas stovetop burners.Turn on each burner and test the flame.
Clear the Stove
Remove the Grill Frame
To access the pilot lights, you will need to open up the stove top. The first step of that is to clear the stove by removing the large heavy grill frame. Set the grate aside on the counter or set it to soak for scrubbing.
Remove the Burner Caps
Now you should see your burners exposed, except for enameled metal burner caps. These smooth caps hide the complex gas distribution in the burner head. Set aside the burner caps or set them to soak as well.
Lift the Stovetop
Slot the Putty Knife
Now you’ll need to release and lift the stovetop. Take your putty knife and slot it into the seam between the stovetop and the oven body.
Release the Side Clips
Near the right and left corners of the seam are two clips thta hold the stovetop in place. These clips need to be pressed firmly with the putty knife to release. You will feel the right and left clips release as you press the tabs.
Pull and Lift the Stovetop
Lift the stovetop up off of the oven cabinet while pulling it toward you. This will give it room to move and release from the upper control panel.
Prop the Stovetop Open
Lift the stovetop until you can easily reach the gas pipes and valves underneath. Prop the stovetop panel open with a few pieces of wood or with phonebooks on either side. If your stovetop has a built-in prop, use that instead.
Relight the Pilot Light(s)
Identify the Pilot Light Holes
Now you have access to the pipes and pilot holes. That is what they are: little holes in the pipes that remain lit when you turn the burners off. There are often two pilot holes per stove, one for the right side and one for the left side. Look for a hole in the pipes halfway between the burners that could provide a flame for each one.
Clear the Pilot Holes
Sometimes, your pilot light may be going out because there is a small clog in the pilot hole. Take your needle or pin and scrape around the inner edge of the hole in a circle. You may immediately notice a cleared blockage or not. It’s a smart step to go through because it can help you skip a whole branch of troubleshooting.
Light Each with the Long-Barrelled Lighter
Take your long-barrelled lighter, sometimes known as a grill lighter or long-stem lighter, and point the tip at each pilot hole. Click the lighter on and hold the flame in the trickle of gas until you see a separate blue flame appear.
Make Sure the Flame Stays Lit
Turn off and remove the lighter, but watch the flame for a few seconds. If it seems strong and steady, your job is done. If it flickers or goes out, you may need to troubleshoot more deeply.
Reassemble Your Gas Stovetop
Lower the Stovetop
Now it’s time to put your stove back together now that the pilot lights are lit. Start by removing the props and carefully lowering your stovetop back to the horizontal position.
Fit the Stovetop and Clip Into Place
Fit the edges of the stovetop over the edges of the oven cabinet. You may need to lift and push to tuck the stovetop underneath the control panel. Push firmly until the stovetop clips settle under your hands.
Return the Burner Caps
Now it’s safe to put those little metal burner caps back onto the burners. Wherever you had them set aside or soaking, retrieve them and set them on each burner according to size.
Return the Grill Frame
Grab your grill frame from the sink or drying towel and line it up on top of your burners. You know how these fit. This is the final step before testing your repair’s integrity.
Test Your Success
Congratulations. If you’ve gotten to this point then you’ve just lit your stove’s pilot light. Time to test. Methodically switch on each burner and ensure that they supply gas and ignite on command. If all of your burners light up, then your repair was a complete Paself on the back d keep that screwdriver handy for the next repair you’ll tackle.
Contact us for more home appliance repair guides, insights, or professional assistance with the more challenging repairs.
(323) 284-6780Give us a call!

Apr. 09, 2024
How to Fix the Whirlpool Washer F9 E1 Error Code

Apr. 09, 2024
How to Solve Frigidaire Dishwasher Lights Blinking

Apr. 09, 2024
Resolving the LG Washer UE Error Code (3 Easy Fixes)

Mar. 06, 2024
Replacing an Over-the-Range Microwave with a Range Hood

Mar. 06, 2024
How to Get Burnt Smell Out of Microwave (In 2 Easy Steps)

Mar. 06, 2024
7 Reasons Why Your Bosch Ice Maker Is Not Working

Feb. 05, 2024
Why Does Your Self-Cleaning Oven Smell?

Feb. 05, 2024
Why Is Your Whirlpool Cabrio Washer Not Spinning?

Jan. 03, 2024
Why Does My Refrigerator Make Noise?

Jan. 03, 2024
Troubleshooting the F2 Error Code on a Whirlpool Oven

Jan. 03, 2024
Rust Inside Microwave: Causes, Fixes, and Prevention Tips

Dec. 11, 2023
4 Ways to Get Smell Out of Dishwasher

Dec. 11, 2023
7 Steps to Fix a Whirlpool Oven Not Heating

Dec. 11, 2023
What to Do When Your Washing Machine Smells Like Rotten Eggs

Nov. 06, 2023