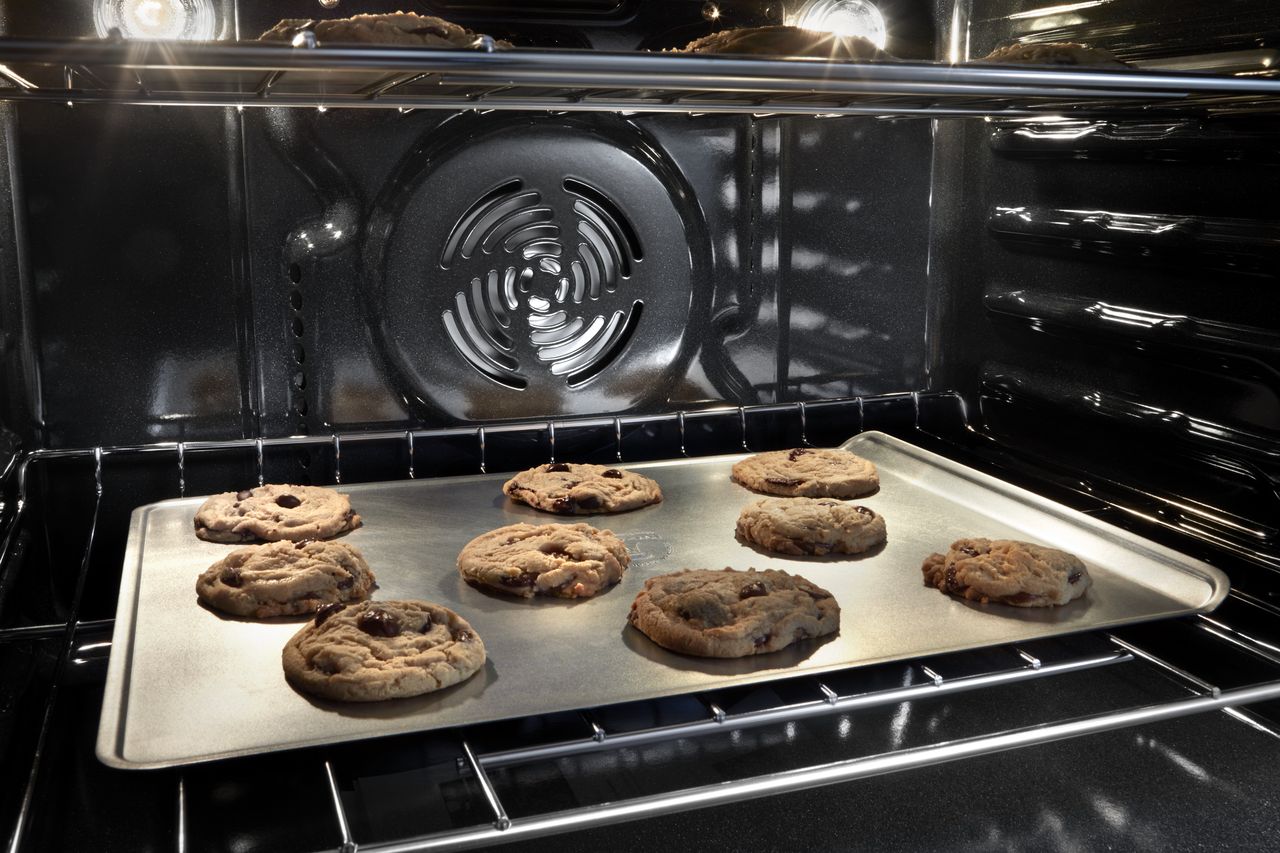
July 19, 2018
Oven Repair
Most problems with range ovens start with the ability to control the heat. A broken element might stop heat from coming on at all, while a broken dial control might not read your temperature input, especially with a digital control panel. If your range oven turns on but keeps surpassing the set temperature, your thermostat may be broken.
Without a functioning sensor bulb in the oven, your appliance doesn’t know when the machine has heated up enough. A broken thermostat could also stop your heat from turning on or off in the first place. If you want to repair the problem by yourself, the only part you need is a replacement thermostat, which is part #WB20K8 for GE gas ovens. Then follow these steps:
1. Unplug or disconnect the appliance.
The first step to every major appliance repair procedure is to separate the appliance from the power source. Just turning off the oven isn’t enough. Unplug it or, if the appliance is wired directly into your home’s power, flip the circuit breaker. This step keeps you safe, especially when you need to directly handle the wiring.
2. Remove the top panel.
Start by removing the burner grates, burner caps, and surface burners from each quadrant of the stove top. These parts are loose and can be set aside.
Next, loosen the twelve screws around the burner bases. Pry the white igniter tabs away from the top panel, too, and disconnect the igniters from the protruding wires.
Once all of the other parts have been removed, push in the locking tabs at the front corners of the top panels to loosen the top. You may need to use a putty knife to fully depress the tabs that are in between the top panel and the body of the oven. Once you unlock both, raise the front panel at an angle. Then lift the back free from the control panel one corner at a time. Set it aside.
3. Dismantle the appliance to access the thermostat.
The thermostat has three main sections: a base with wire terminals, a long wire, and a sensor bulb. The long wire winds from the interior of the oven, through the back components, and into the stove under the top panel you just removed. While the replacement procedure isn’t difficult, that means you need to remove a lot of parts to easily remove the whole part.
First, remove the stove control knobs on the front panel. Then loosen the screws under the knobs and set them aside.
Next, remove the oven door. You can do this by slightly opening the door and then, grabbing the sides of the door, lifting it free of the hinges. It should lift free easily without you having to disconnect or loosen any parts.
Also, remove the oven racks so you have plenty of access to the back of the oven’s interior.
4. Remove the thermostat.
First, reach into the oven’s interior and loosen the sensor bulb from the rear wall. It is secured by two retaining clips. Next, bend it into a curved hook so you can thread it out the back.
Step around to the rear of the appliance and pull the bulb out through the back of the range oven. Then, thread the wire back to the front of the machine, this time under the removed top access panel rather than to the oven interior.
Now the stove top has all three portions of the thermostat. But before you remove it, you need to loosen the base from the appliance. To start, detach the front panel by loosening the three screws along the bottom of the panel. This front panel will have wires running from it to the stove top, so don’t set down the panel far away. Just rotate it so the wires don’t stretch and lean it against the side of the oven.
To disconnect the thermostat base, locate the base and the bracket holding it in place with two screws. Loosen and remove the screws, and then unthread the base’s shaft from the bracket. Remove the front-facing splash guard and detach the wires from the thermostat’s terminals. Now you can fully remove the thermostat; take care to unwind the long wire portion from any fragile parts it may have wrapped around.
5. Install the new thermostat.
First, uncoil the sensor bulb and the wire of the new part to make it easier to work with. Next, thread the wire under the elements’ wires bulb side first. Carefully bend the sensor bulb so you can thread it through to the back of the machine. Then thread from the back of the appliance to the interior of the oven. Gently pull enough wire through to the oven’s interior, straighten the sensor bulb, and attach it to retaining clips at the rear wall.
Pull any excess length of wire back through to the stove top so it can lay under the front panel.
Next, attach the wires to wire harness terminals at the thermostat’s base. The wires are interchangeable, so you can plug them into either terminal. Slide the splash guard over the thermostat’s front shaft, then slide the shaft through the front bracket. Secure the part to the bracket with the two screws you removed earlier.
6. Reassemble the machine.
First, swing the front panel back into position and replace the three bottom screws. to hold it in place. Also, replace the four screws along the front side of the front panel and put the knobs back in position.
Next, put both oven racks back in the oven. Reinstall the oven door by lifting it up by the sides and sliding it back down onto the hinges. Close the door.
Then, reinstall the top panel. Start by hooking the right rear corner over the back hinge and then hooking the left corner into place. While the top panel is still at an angle, thread all four igniter wires through the burner bases. Then push the panel down until it clicks into place on the front clips. Reattach the igniters to the igniter wires and push any excess wire back through the hole until you can snap the igniters in place on the top panel. To finish up, resecure the panel with twelve screws around the burner bases. Then put the burners, burner caps, and grates back on top.
Repairing your own appliances can be frustrating. Go to Paradise Appliance Service for clear procedures and troubleshooting tips. If you want an expert to handle a repair, you can also schedule a service call.
(323) 284-6780Give us a call!

Apr. 09, 2024
How to Fix the Whirlpool Washer F9 E1 Error Code
Apr. 09, 2024
How to Solve Frigidaire Dishwasher Lights Blinking
Apr. 09, 2024
Resolving the LG Washer UE Error Code (3 Easy Fixes)
Mar. 06, 2024
Replacing an Over-the-Range Microwave with a Range Hood
Mar. 06, 2024
How to Get Burnt Smell Out of Microwave (In 2 Easy Steps)

Mar. 06, 2024
7 Reasons Why Your Bosch Ice Maker Is Not Working
Feb. 05, 2024
Why Does Your Self-Cleaning Oven Smell?
Feb. 05, 2024
Why Is Your Whirlpool Cabrio Washer Not Spinning?
Jan. 03, 2024
Why Does My Refrigerator Make Noise?
Jan. 03, 2024
Troubleshooting the F2 Error Code on a Whirlpool Oven
Jan. 03, 2024
Rust Inside Microwave: Causes, Fixes, and Prevention Tips

Dec. 11, 2023
4 Ways to Get Smell Out of Dishwasher
Dec. 11, 2023
7 Steps to Fix a Whirlpool Oven Not Heating
Dec. 11, 2023
What to Do When Your Washing Machine Smells Like Rotten Eggs
Nov. 06, 2023


