Whirlpool manufactures top of the line microwave ovens and other high-quality home appliances that are used by consumers all over the world. But even the best products sometimes break down and stop working.
If you own a Whirlpool microwave and it’s not working, then it could be one of many possible issues. The purpose of this guide is to discuss the most common issues and then give you step-by-step instructions for how you can fix them.
This guide covers the following models of Whirlpool microwaves:
7MT7116XDQ0
7MT7118XDQ0
CMT061SGW0
CMT101SGW0
CMT102SGW0
GH7145XFB0
GMH3204XVB2
GMH3204XVB3
GMH3204XVQ2
GMH3204XVQ3
GMH3204XVS2
GMH3204XVS3
WMH1163XVB1
WMH1163XVB2
WMH1163XVD1
WMH1163XVD2
WMH1163XVQ1
WMH1163XVQ2
WMH1163XVS1
WMH1163XVS2
WMH1163XVS6
Check the Power Source
First things first, start by checking that the power source you’re using for your microwave is working correctly. You can do this by:
- Checking the household fuse box and checking that the circuit breaker that distributes power to your kitchen is turned on. If not, turn it on.
- Check all of the fuses. If you find a blown fuse, it will need to be replaced.
Check the Turntable
The next thing to check is the turntable in your Whirlpool microwave. To do this, simply:
- Turn your microwave on (any cycle) and observe the turntable to see if it is rotating. If it is rotating, then this isn’t the cause of the problem, so move on to the next component to check.
- If it is not rotating, then remove the rollers and the hubs (if possible), give them a good clean, and then put all the components back inside again, making sure that the turntable is on the turntable support correctly.
- If it still doesn’t rotate, then you’ll need to replace the turntable components.
Check the Display Messages
Next, make sure that there are no problems with the display that can easily be fixed. Start by:
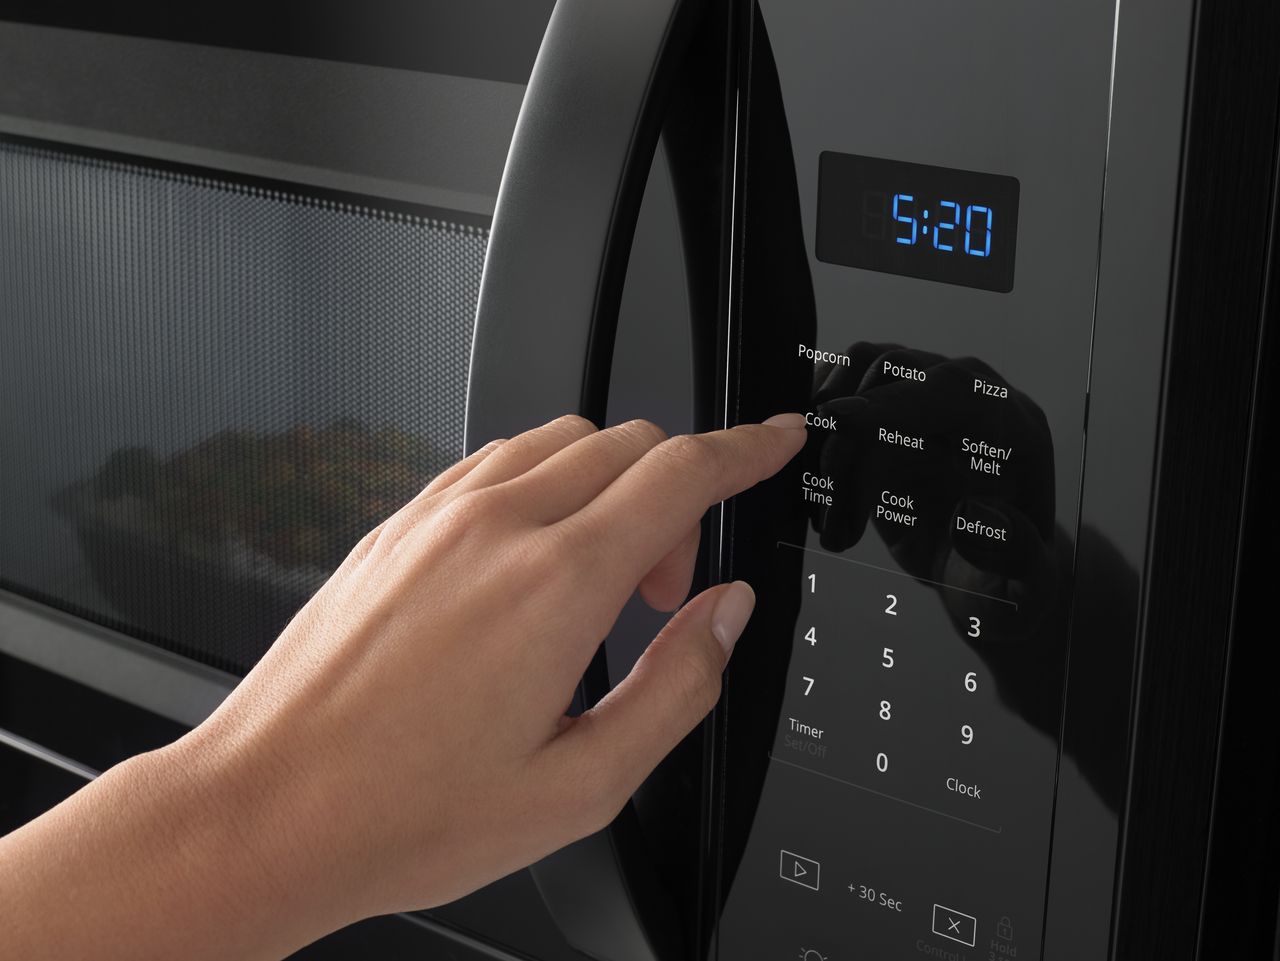
- Resetting the clock. You can do this by pressing the “clock” key and then using the number keys to set the time, followed by pressing the “clock” key again, which will set the time.
- Make sure the microwave isn’t in “locked” mode. You’ll know if it is because the display will be showing “Locked” on it. To unlock, press the “off” key for five seconds, and you’ll be able to use the microwave again.
Check the Line Fuse
If those less technical issues haven’t solved the problem, then you can start by checking the line fuse. The line fuse can cause your microwave to stop working when too much current passes through the circuitry in your microwave, causing the fuse to blow. You can check the line fuse by:
- Unplugging the microwave from the wall.
- Remove the microwave case / cabinet, and locate the line fuse in your microwave.
- Use a multimeter to test the fuse for continuity.
- If the fuse does have continuity, then it is not blown and is not the source of your problem.
- If the line fuse has no continuity, then it will need to be replaced. You should also make sure you find the root cause of the problem after you have replaced it, or it might blow again in the future.
WARNING: Microwaves are extremely hazardous to repair so you should only attempt to repair one if you have the proper training. This is because they store thousands of volts of electricity in their capacitors even after you have unplugged them, and there is a high risk of electric shocks occurring.
Check the Thermal Fuse
The thermal fuse cuts off power to the microwave if the microwave overheats. You can check the thermal fuse by:
- Making sure that the microwave has been turned off at the wall.
- Check the thermal fuse for continuity by using a multimeter.
- If you find that it does not have continuity, then it will need to be replaced. Please note that it is not possible to reset the thermal fuse when it blows.
- If the thermal fuse does have continuity, then it is working and won’t need to be replaced.
WARNING: Microwaves are extremely hazardous to repair. The reason for this is because they store thousands of volts of electricity in their capacitors even after you have unplugged them, so there is a high risk of electric shocks occurring. We recommend that only licensed technicians should attempt to test and replace electrical components.
Check the Thermoprotector
Another component to check is the thermoprotector. The role of this component is to cut off voltage to the microwave when it overheats. You can check the thermoprotector by:
- Making sure the microwave is unplugged from its power source.
- Check the thermoprotector with a multimeter to see if it has continuity.
- If the thermoprotector does not have continuity, you can attempt to reset it. If that doesn’t work, it will need to be replaced.
- If it does have continuity, then it is fine.
WARNING: Please be careful when repairing a microwave. Only licensed technicians should attempt to test and replace electrical components due to the risk of electric shock.
Replace the Main Control Board
The final component to check if you still haven’t found the cause of why your microwave isn’t working is the main control board. It is quite uncommon for the main control board to be the reason why your microwave won’t work, but it can happen. Once you have checked all of the above-recommended fixes you should then replace the main control board and see if that fixes the problem.
WARNING: Microwaves are extremely hazardous to fix if you don’t have the proper training. This is because they store thousands of volts of electricity in their capacitors even after you have unplugged them, and there is a high risk of electric shocks occurring. Therefore, only licensed technicians should attempt to test and replace electrical components.

How to Fix the Whirlpool Washer F9 E1 Error Code
How to Solve Frigidaire Dishwasher Lights Blinking
Resolving the LG Washer UE Error Code (3 Easy Fixes)
Replacing an Over-the-Range Microwave with a Range Hood
How to Get Burnt Smell Out of Microwave (In 2 Easy Steps)

7 Reasons Why Your Bosch Ice Maker Is Not Working
Why Does Your Self-Cleaning Oven Smell?
Why Is Your Whirlpool Cabrio Washer Not Spinning?
Why Does My Refrigerator Make Noise?
Troubleshooting the F2 Error Code on a Whirlpool Oven
Rust Inside Microwave: Causes, Fixes, and Prevention Tips

4 Ways to Get Smell Out of Dishwasher
7 Steps to Fix a Whirlpool Oven Not Heating
What to Do When Your Washing Machine Smells Like Rotten Eggs
