Do you need to install an over-the-range microwave?
Then you’re in the right place.
Over-the-range microwaves have become quite popular, as they allow you to maximize your kitchen space. Thankfully, installing an over-the-range microwave is quite straightforward and doesn’t require too much construction (especially if you have the ventilation system already set up).
In this article, we will give you simple and easy-to-follow step-by-step instructions for how to install your new microwave.
Step 1 – Install a Vent
The first step is to install a vent. You will either need to install a vent that directs exhaust outside of your house or circulates it back into the kitchen. However, if you have gas-powered appliances, it will need to direct the exhaust outside; if it comes back into your kitchen, this is a safety issue.
To set up an outside ventilation system, you will need to install ductwork from the microwave vent through the wall and then outside in the most direct way possible. This is a difficult construction project to carry out if you’re not experienced, so you will probably have to hire a contractor to do this for you.
If you’re just using a ventilation system that carries the exhaust air back inside the kitchen, you can easily install this yourself to the microwave vent before you install it.
Step 2 – Install a Power Outlet
Once the ventilation system is sorted out, the next step is to make sure you have a power outlet for your microwave, and if not, you’ll need to get one installed. The best place for the power outlet is in the cabinet above where the microwave will be so the power outlet will be hidden from view.
Step 3 – Position the Microwave Fan
Once the power outlet has been sorted out, the next step is to position the microwave fan. The fan needs to align with the exhaust so it can attach to the ventilation system. Depending on your specific make and model of microwave, you should be able to adjust the vent so that the air will flow better into your vent system.
Step 4 – Attach the Mounting Template
Most over-the-range microwaves include a template that you tape to the wall to make mounting much easier. If you have the mounting template, you need to tape it to the wall in the correct position where you want your microwave to be. On the tape will be a couple of drill holes for you to drill. If you don’t have a template, you’ll need to follow the manufacturer’s instructions for where to place the mounting holes.
Step 5 – Install the Mounting Plate
Once the mounting template has been attached and the holes for the screws have been drilled, the next step is to install the mounting plate. The mounting plate is the component that is attached to the wall and is then screwed in to secure it in place so that it can support the microwave once it’s installed. Every mounting plate is different, so make sure you follow the manufacturer’s guidelines for where and how to attach the mounting plate for your specific over-the-range microwave make and model.
Step 6 – Install the Microwave
Once the mounting plate is securely in place, you can grab your new over-the-range microwave and place it onto the plate in the correct position. To carry out this step, you will probably need the help of a friend or family member.
Before you lift the microwave into position, make sure the door is closed so it doesn’t swing open while you’re attaching the microwave. Before you put it in the correct position, make sure the power cord correctly feeds into the cabinet. Once that’s done, you can put the microwave into place.
Step 7 – Secure the Microwave in Place
The next step is to secure the microwave in place. While your friend or family member holds the microwave in place, you need to screw in the screws or bolts in the correct position (according to the manufacturer’s instructions). You can then install the vent system so that it is attached correctly and plug the power cord into the power socket. At this point, you should have successfully installed your new over-the-range microwave.
Step 8 – Test Your New Microwave
The final step is to turn the microwave on and test that it is working correctly. Simply turn the power on, turn your microwave on to a cycle, and check that it is working. If it passes the test, your new over-the-range microwave is good to go!

How to Fix the Whirlpool Washer F9 E1 Error Code

How to Solve Frigidaire Dishwasher Lights Blinking

Resolving the LG Washer UE Error Code (3 Easy Fixes)
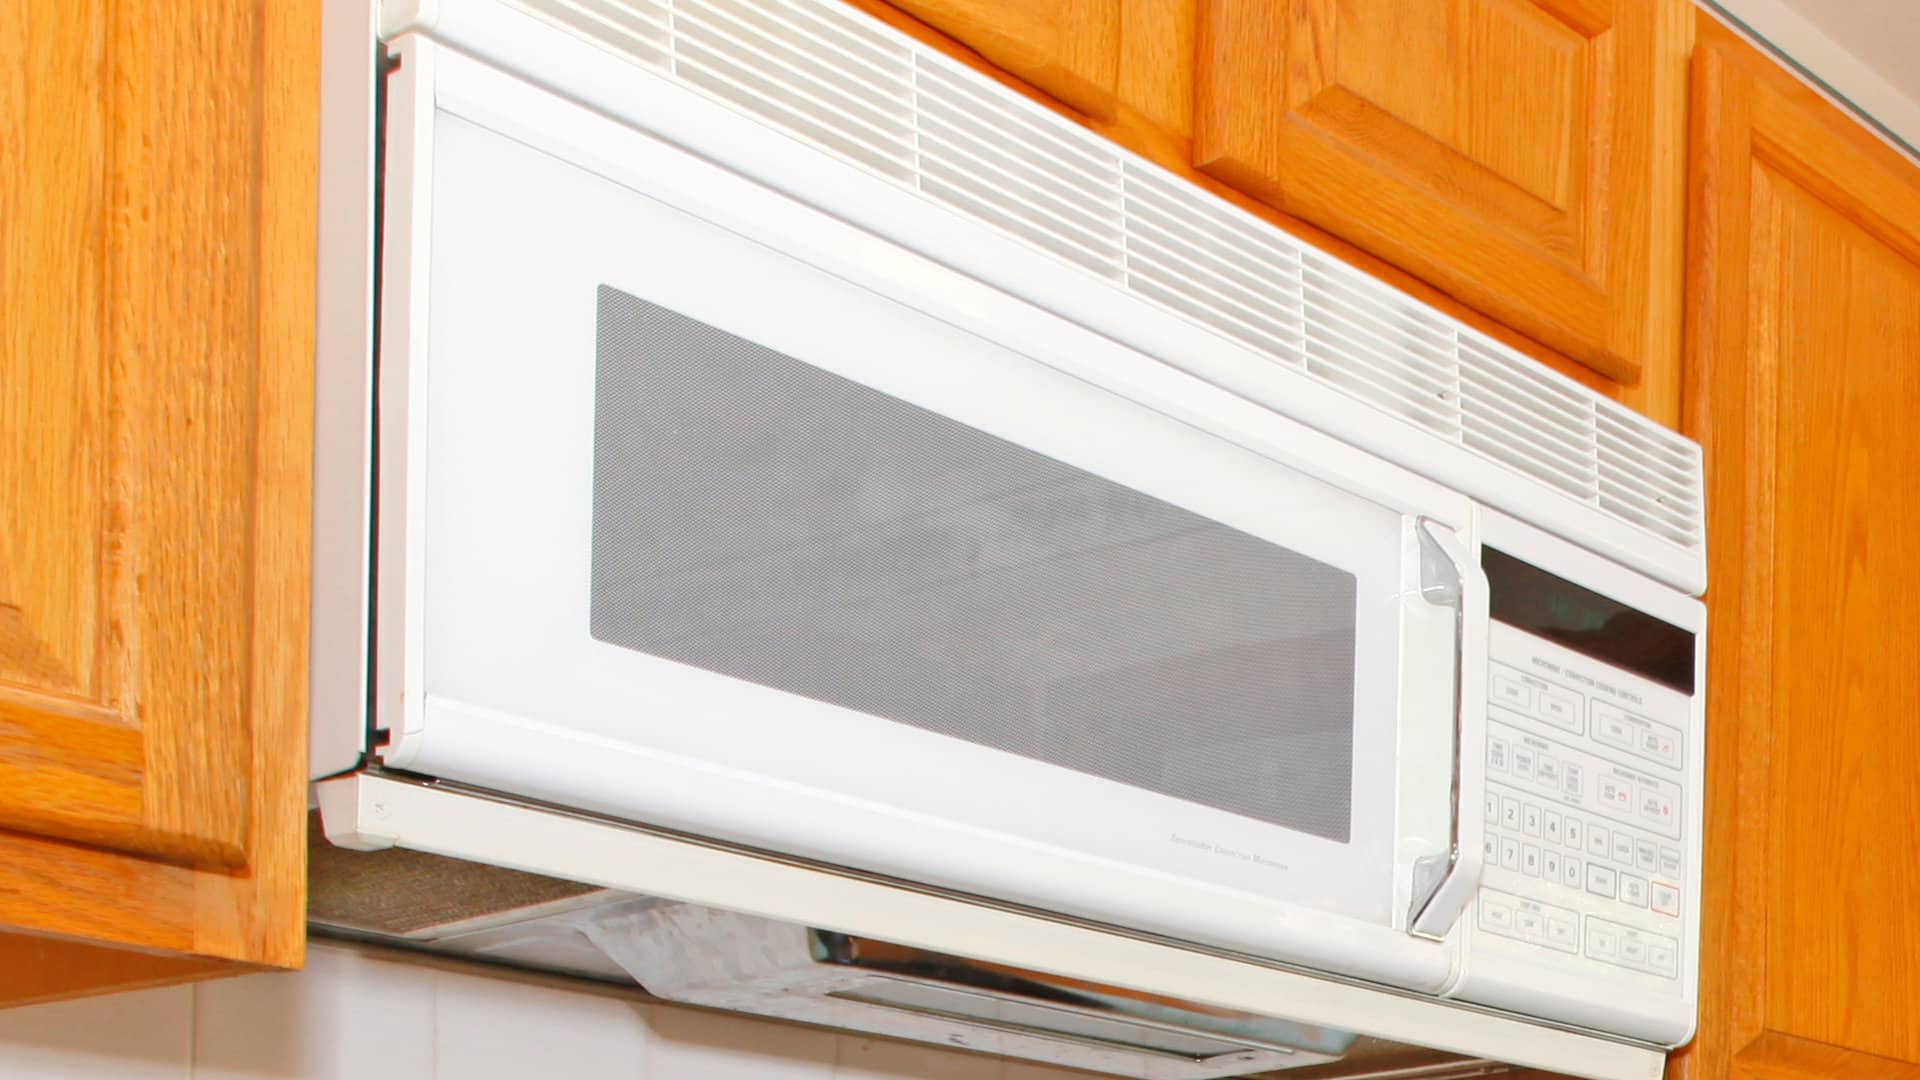
Replacing an Over-the-Range Microwave with a Range Hood
How to Get Burnt Smell Out of Microwave (In 2 Easy Steps)

7 Reasons Why Your Bosch Ice Maker Is Not Working
Why Does Your Self-Cleaning Oven Smell?
Why Is Your Whirlpool Cabrio Washer Not Spinning?

Why Does My Refrigerator Make Noise?
Troubleshooting the F2 Error Code on a Whirlpool Oven
Rust Inside Microwave: Causes, Fixes, and Prevention Tips

4 Ways to Get Smell Out of Dishwasher

7 Steps to Fix a Whirlpool Oven Not Heating
What to Do When Your Washing Machine Smells Like Rotten Eggs
