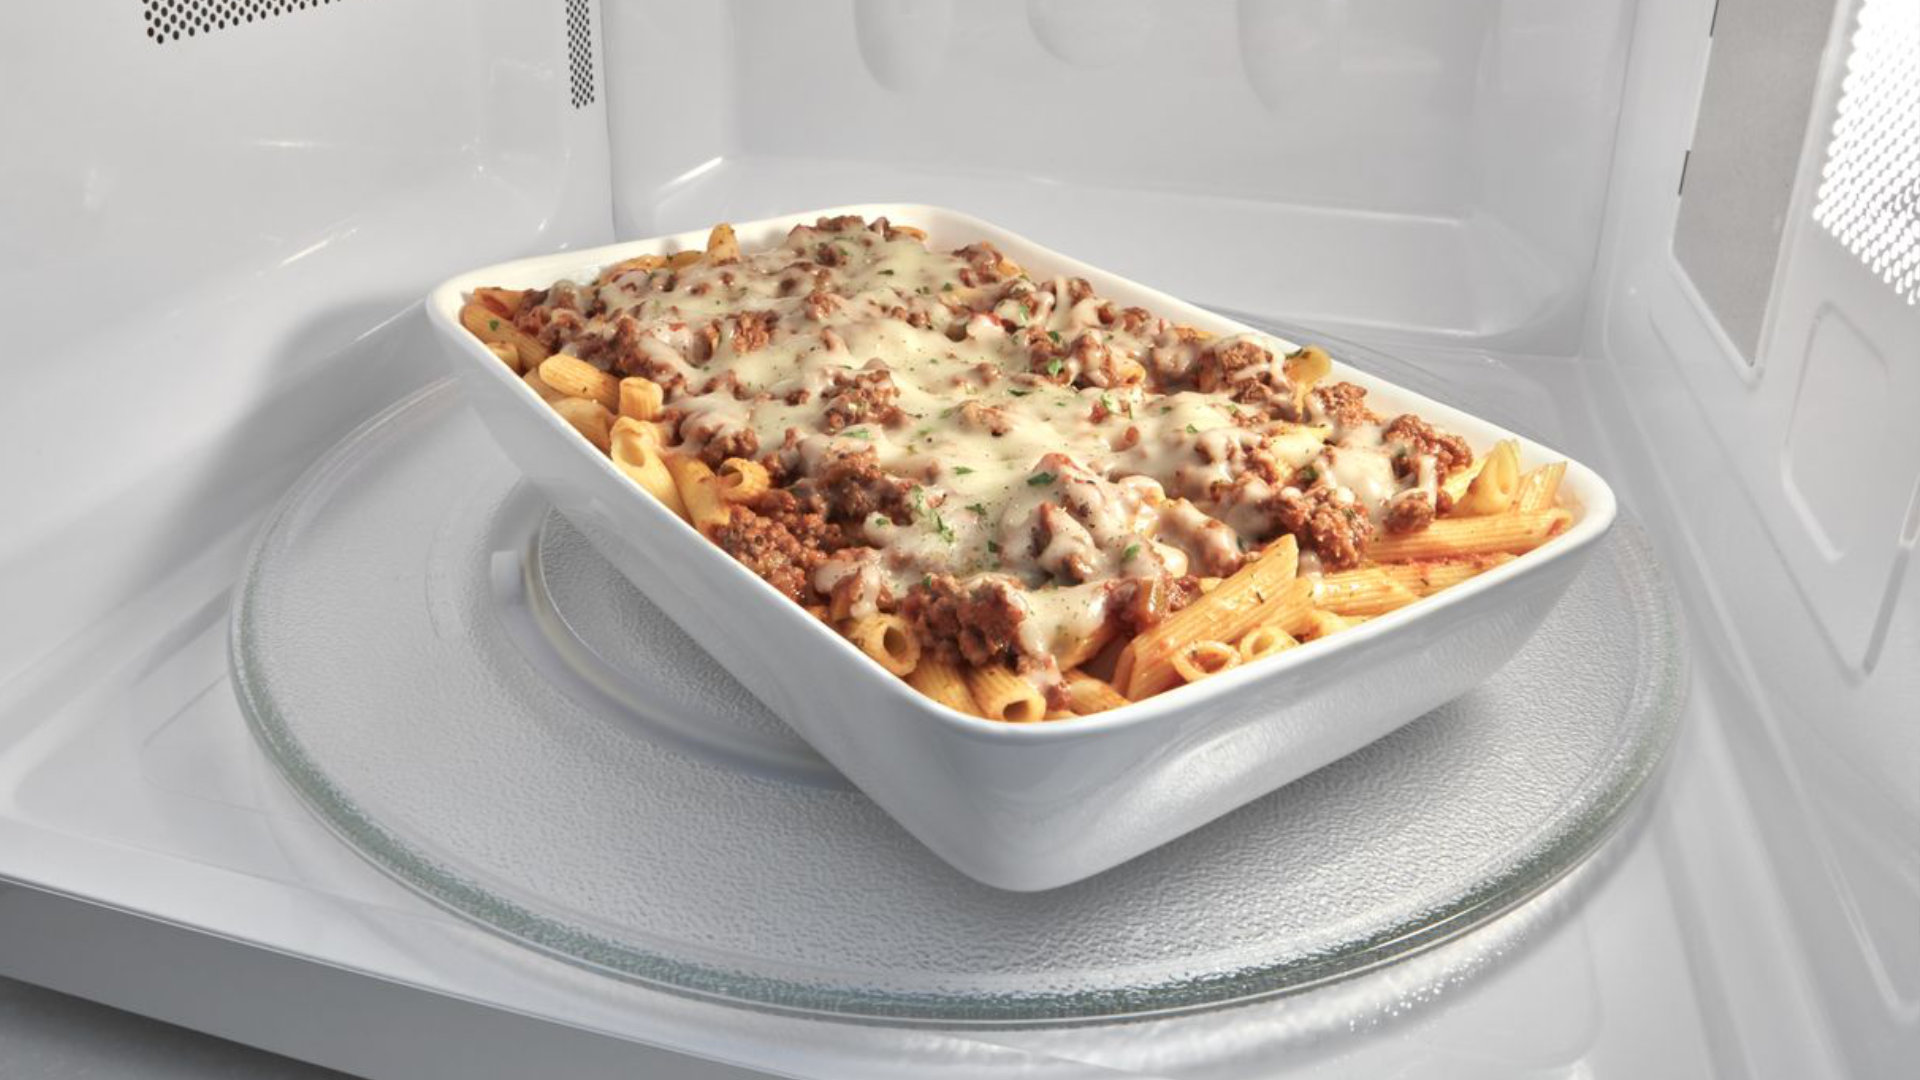
Is your microwave not heating? In this article, we will give you step-by-step instructions for how to find the cause of the problem and fix it.
Before we start, it’s important to note that microwaves are very dangerous to repair. Please only undertake repairs to internal components of your microwave if you are qualified to do so. Otherwise, it’s best to call a technician to come and look at your appliance or take it to a repair shop.
Step 1 – Check the Door Switch
The first step in our guide for how to fix a microwave not heating is to check the door switch. The purpose of the door switch is to ensure your microwave cannot operate when the door is open. If the switch becomes defective, your microwave won’t be able to heat because your microwave won’t be able to start.
To check the door switch:
- Make sure the power to the microwave is turned on.
- Open the microwave door, and check if the internal light turns on.
- Close the door and see if the light switches off.
- If the light doesn’t turn off, this means the door switch is faulty and needs to be replaced.
- If the light turns off, you will then need to check the door switch with a multimeter.
- To test the switch, you need to first turn the power to the microwave off and then remove the switch from the microwave. Depending on your make and model of microwave, you may have to remove some panels/casing to access the switch (check your manual if unsure).
- Once you’ve removed the switch, check it with a multimeter for continuity.
- If the switch has continuity, it is working correctly, and you can reattach it to the microwave and move on to step 2. If it doesn’t have continuity, it will need to be replaced.
- If you replace the door switch, you will then need to plug your microwave back into the power and check if the problem has been solved. If not, move on to the next step.
Step 2 – Check the High-Voltage Diode
The next step is to check the high-voltage diode. The high-voltage diode converts your A/C power supply into D/C power so that the magnetron can operate. If you can hear a buzzing sound or humming sound coming from the microwave when it’s operating, this is a good sign that it is defective and will need to be replaced.
To ensure it is defective, you need to:
- Ensure the power to your microwave is switched off.
- Remove the microwave cabinet/panels.
- Locate the diode (check your manual if necessary).
- Once located, check for any visible signs the diode is burnt out. If it is burnt out, it will need to be replaced.
- If there are no obvious signs it’s defective, you need to remove the diode and test it with a multimeter.
- The test should show that the diode has a higher resistance on one end and a lower level of resistance on the other end. If the diode passes this test, you can reattach it and move on to the next step. If it fails, it needs to be replaced.
- If you replace the diode, you will then need to plug your microwave back into the power and check if the problem has been solved. If not, move on to the next step.
Step 3 – Check the Magnetron
The magnetron is responsible for producing the radiation required to heat your microwave. When it becomes faulty, your microwave will not heat.
Here’s how to test the magnetron:
- Make sure the power to the microwave is still switched off.
- If you haven’t already, remove the microwave cabinet so you can access the internal components.
- Locate the magnetron (check your manual if necessary).
- Once located, use your multimeter to test it.
- The test needs to show resistance of between 2-3 ohms. If this is not the case, it will need to be replaced. If it passes this test, you need to test the metal casing by placing one of the multimeter probes on it – if the test shows a “0,” the magnetron will have to be replaced. If the magnetron is fine, you can move on to the next step.
- If you replace the magnetron, you will then need to plug your microwave back into the power and check if the problem has been solved. If not, move on to the next step.
Step 4 – Check the Thermal Fuse
The thermal fuse helps to ensure your microwave doesn’t overheat, and when it does, it tells the control board to turn the microwave off.
Here’s how to check the thermal fuse:
- Ensure your microwave is switched off.
- Remove the microwave cabinet/panels.
- Locate the thermal fuse (check your manual if necessary).
- Once located, remove it, and then test it with a multimeter.
- If the test shows it has no continuity / has blown, it will need to be replaced. If it is fine, you can put it back into your microwave and move on to the next step.
- If you replace the thermal fuse, you will then need to plug your microwave back into the power and check if the problem has been solved. If not, move on to the next step.
Step 5 – Replace the High-Voltage Capacitor and Transformer
These two components work with the high-voltage diode to power the magnetron. If either of these components becomes defective, your microwave will not heat. The main sign these parts are faulty is you will be able to smell a burning smell coming from your microwave. The problem is these parts are difficult to test and replace. Unless you have a high-end microwave, you’re probably better off purchasing a new microwave.
Step 6 – Replace the Control Board
If you do replace the high-voltage capacitor and/or the transformer and your microwave still doesn’t work, your final option is to replace the control board. However, replacing the control board only makes financial sense if you have a high-end microwave, as it is an expensive repair to make. You might decide you’re better off purchasing a new microwave.

How to Fix the Whirlpool Washer F9 E1 Error Code
How to Solve Frigidaire Dishwasher Lights Blinking
Resolving the LG Washer UE Error Code (3 Easy Fixes)
Replacing an Over-the-Range Microwave with a Range Hood
How to Get Burnt Smell Out of Microwave (In 2 Easy Steps)

7 Reasons Why Your Bosch Ice Maker Is Not Working
Why Does Your Self-Cleaning Oven Smell?
Why Is Your Whirlpool Cabrio Washer Not Spinning?
Why Does My Refrigerator Make Noise?
Troubleshooting the F2 Error Code on a Whirlpool Oven
Rust Inside Microwave: Causes, Fixes, and Prevention Tips

4 Ways to Get Smell Out of Dishwasher
7 Steps to Fix a Whirlpool Oven Not Heating
What to Do When Your Washing Machine Smells Like Rotten Eggs
