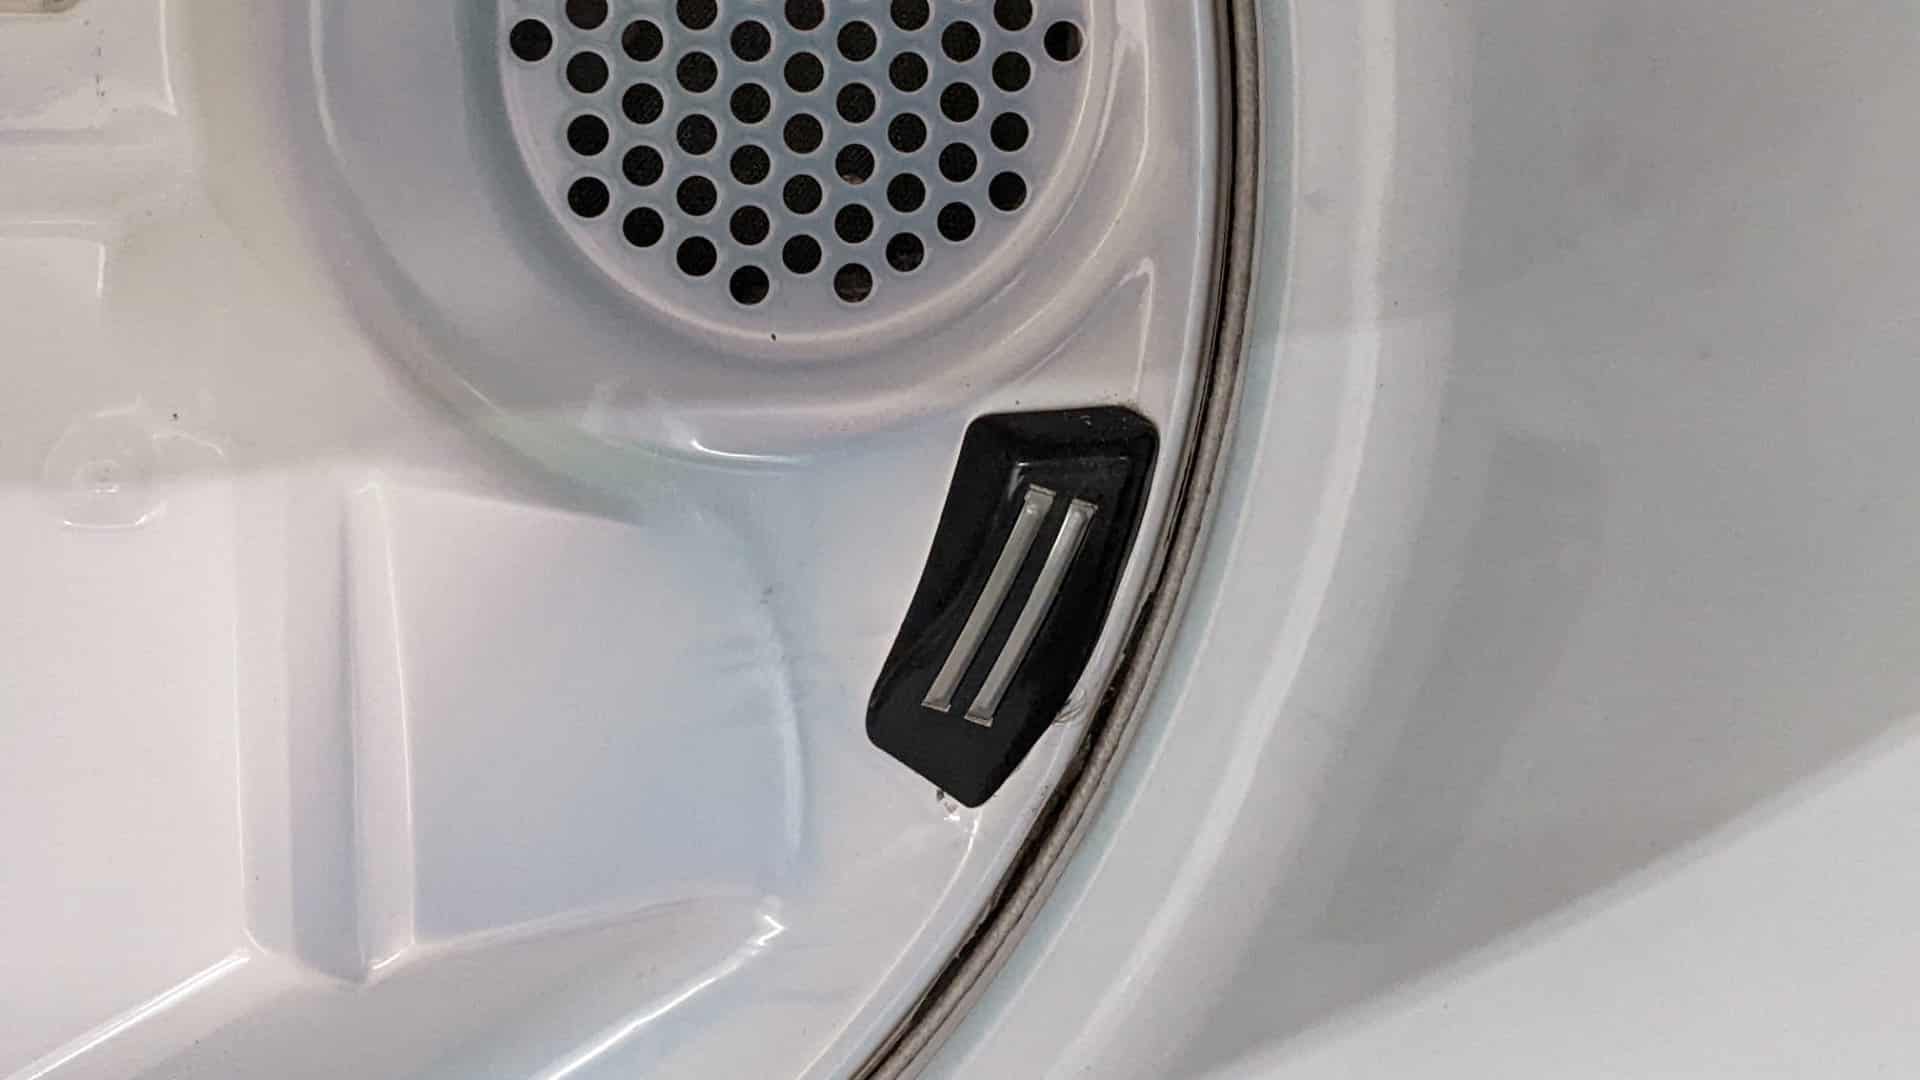
Maytag is a well-known brand renowned for its durable and trustworthy appliances. Their dryers are no different and give us the ability to have clothes washed and dried in a day, even in winter. So, when your dryer stops working it can be incredibly frustrating.
This guide will cover the most common problems your Maytag dryer may encounter and how to fix them.
The following Maytag dryer models are covered in this guide:
592-49045
592-49075
592-49082
592-49087
The most common Maytag dryer problems
Maytag dryer not starting
Your dryer not starting can be a massive inconvenience, but there is some good news. The most common causes are as a result of a faulty power socket, blown fuses, and tripped circuit breakers. These are all easily fixed by an experienced electrician.
If the issue is not a result of power, then try checking the door latch. A damaged or faulty door latch can prevent the dryer from starting and will need to be replaced.
You can replace the door latch yourself.
- Ensure your dryer is disconnected from its power source.
- Remove the door hinges and take off the door.
- Access the latch and replace the old latch with the new latch.
- Replace the door back onto the dryer.
- Turn on the power and check if your dryer is working correctly.
If your door latch is fine and your dryer still won’t turn on, then check that thermal fuse and starter switch before calling a professional to give you a hand.
Maytag dryer not drying
If your Maytag dryer isn’t doing its job and drying your clothes completely in a single cycle, you have a problem. The most common cause is a faulty dryer moisture sensor.
Your moisture sensor is important because it sensors how much moisture is in the load and adjusts the drying cycle as needed. You can check the moisture sensor yourself and replace it if need be.
- Ensure your dryer is disconnected from its power source.
- Partially remove the top panel so you are able to access the wire harnesses that are connected to the control panel.
- Disconnect the write harness.
- Fully remove the top panel and then unscrew the control panel and take it off.
- Find the screws holding the lint screen housing onto the front panel of the dryer door.
- Unscrew them and close the dryer door.
- Find the locking tab on the front panel and disconnect the wire harness that is connected to the door.
- Remove the front panel.
- Find the moisture sensor and disconnect any attached wires.
- Once you have removed the mounting plate, the lint screen, and the grill, you should be able to replace the old moisture sensor with a new one.
- Put the dryer back together again.
Another common cause is a faulty heating element. In most cases, your dryer will still work and complete the cycle with a faulty heating element, but your clothes will be damp afterwards.
Thankfully replacing your heating element is a simple DIY job.
- Ensure your dryer is disconnected from its power source.
- Remove the back panel and locate the heating panel
- Remove the old one and install the new one.
- Reattach the back panel and try a cycle.
The last common cause for your clothes not drying is a blacked lint screen. If the lint screen is blocked, it will restrict airflow and hinder the drying process. You should check that your lint screen is not blocked and ensure it is cleaned every six months or so.
Maytag dryer timer not working
The timer is an important part of your dryer and may stop working as a result of faulty motor, defective wiring, or even excessive use.
If your timer troubles are caused by a faulty motor, it will need to be replaced. This is a job you can do yourself but it is best if you have a wee bit of experience before you start.
- Ensure your dryer is unplugged from the power source. If you have a gas dryer, shut off the gas.
- Remove the control console and locate the timer.
- Set your multimeter to Rx1. If your device doesn’t have this setting, you will need to set it to ohms and turn it up to a higher level than your expected resistance.
- Place the probes on the terminals and test for continuity. You’re looking for a reading between 2,000 and 3,000 ohms.
- If the reading is not as expected, it may be time to replace the faulty motor.
If the time is faulty due to excessive use it may need to be replaced itself.
Maytag dryer drum not spinning
If the drum in your dryer is not spinning then the most common reason is a faulty or broken drive belt. This is an easy fix and can be done yourself.
- Ensure your dryer is unplugged from its power source.
- Start by removing the lower access panel or panels.
- Find the lint filter and carefully remove it from the dryer.
- Remove the two screws that are underneath where the lint filter was located.
- Next, you will need to remove the top panel from the dryer. You will need to disconnect the door switch before you can take it off fully.
- Locate the dryer’s drive belt.
- Check the drive belt for any signs of wear and tear or damage.
- If there is damage or it has snapped, it will need to be replaced.
- If you are replacing the drive belt, start by removing the old one from the dryer.
- You will need to release the bearing by pulling the belt up and disconnecting it from the pulleys before you can remove it.
- Remove the front guide and maneuver the drum so you have enough room to remove the old belt.

How to Fix the Whirlpool Washer F9 E1 Error Code

How to Solve Frigidaire Dishwasher Lights Blinking

Resolving the LG Washer UE Error Code (3 Easy Fixes)
Replacing an Over-the-Range Microwave with a Range Hood
How to Get Burnt Smell Out of Microwave (In 2 Easy Steps)

7 Reasons Why Your Bosch Ice Maker Is Not Working
Why Does Your Self-Cleaning Oven Smell?
Why Is Your Whirlpool Cabrio Washer Not Spinning?

Why Does My Refrigerator Make Noise?
Troubleshooting the F2 Error Code on a Whirlpool Oven
Rust Inside Microwave: Causes, Fixes, and Prevention Tips

4 Ways to Get Smell Out of Dishwasher

7 Steps to Fix a Whirlpool Oven Not Heating
What to Do When Your Washing Machine Smells Like Rotten Eggs
