


January 7, 2019
Dryer Repair
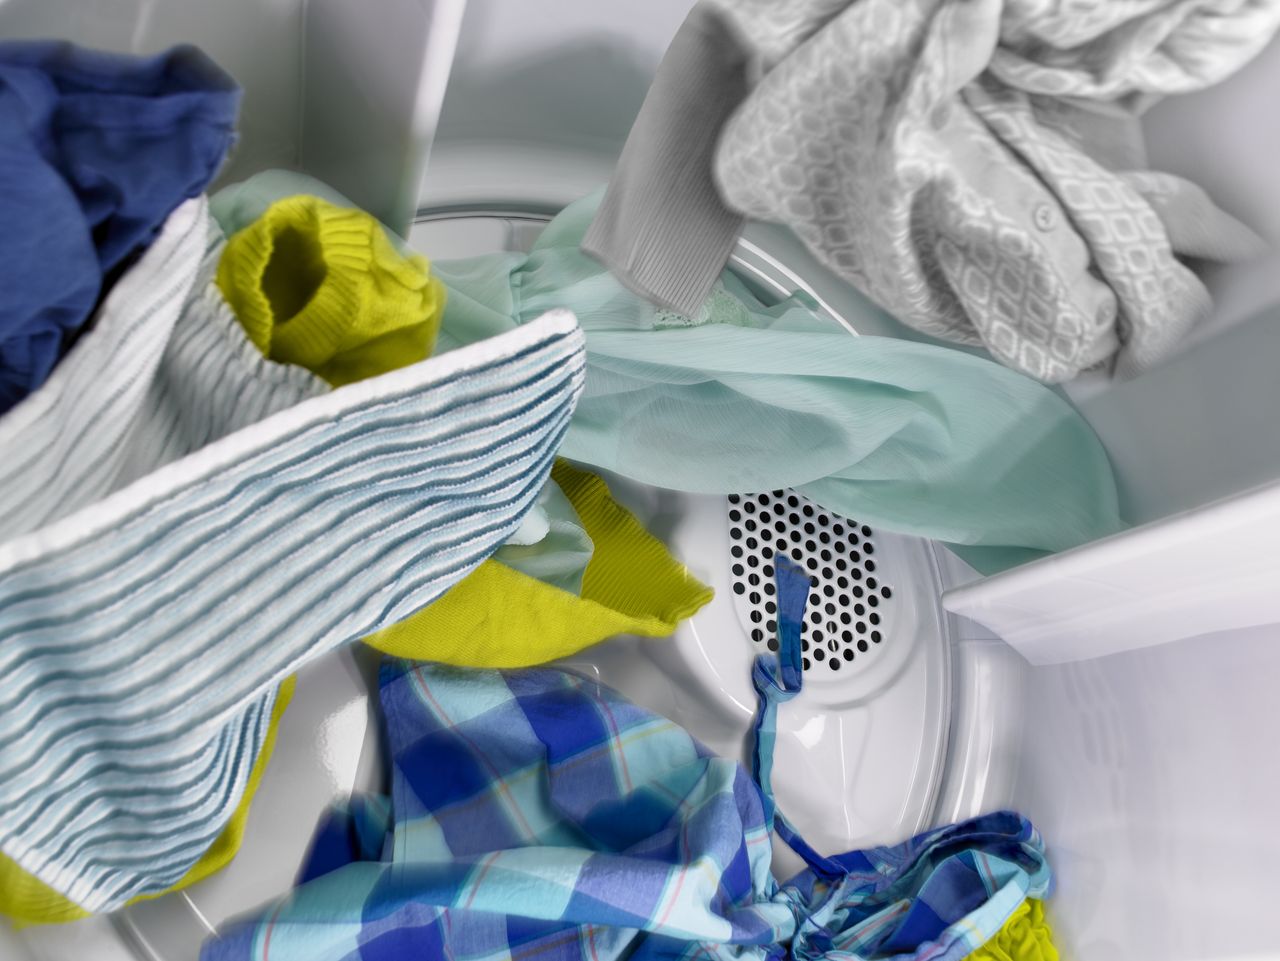
If your Roper dryer model RED4516FW starts, but the dryer drum isn’t turning, don’t pull the plug on your appliance just yet. A non-tumbling drum is a symptom contributed to a number of malfunctioning parts. While some malfunctions are more serious than others, most are repairable. Below, we’ve created a repair guide to help you figure out why the dryer drum in your appliance is no longer turning and how you can fix it.
How to Repair a Dryer Drum That Won’t Turn
Before you start to repair your dryer, unplug it from the wall or turn the power running to the appliance off at the circuit breaker. To avoid injuring yourself, please wear safety goggles and work gloves while you fix your appliance.
The Belt
Your dryer has a thin rubber belt which wraps around the drum, the idler pulley and the drive motor pulley. The belts purpose is to rotate the dryer drum. Unfortunately, the rubber belt can grow brittle and eventually break after years of use. When this occurs, the dryer drum will no longer turn. Replacing the damaged component is the only way to fix the problem.
How to Replace a Broken Belt in Your Roper Dryer
- Pull out the lint screen from the top of your dryer and unthread the two screws found underneath it on the main top panel. Then, slide a putty knife in between the top and front panel on the left and right side of your dryer. Move the putty knife over a few inches until you hit the spring clips on either side. Push down on the locking mechanism to free the top panel from the front panel. Flip the top of the dryer up and rest it against your laundry room wall.
- Locate and disconnect the door switch wires, and take out the screws holding the front panel to the dryer. Next, lift the front panel up and off the dryer cabinet.
- If your dryer belt has not completely broken, you’ll need to reach underneath the dryer drum to unthread the belt from the idler pulley and the drive motor shaft. Once the belt is free, you can take it off the drum and get rid of it.
- Retrieve the new drum belt, and run your hand along it to ensure no parts of the belt are twisted. Then, put the belt over the drum, and pull it back until it sits in the same area the old belt was located. If your dryer belt was broken before you started the repair, and you’re not sure where on the drum it sat, look for marks left by the old belt for guidance.
- Reach under the dryer drum, and loop the belt around the idler pulley and the motor shaft. Once the belt is secure, stand up and rotate the drum to align the belt.
- Now that the new drum belt is situated, you can reassemble your dryer. Start by reattaching the front panel to the dryer. Then, reconnect the door switch wires, and secure the panel with the screws you took out earlier. Next, flip the top panel back around and push down on it to re-engage the locking springs between the front and top panel. Once the panel is secure, reattach the screws near the lint screen opening, and replace the lint screen.
- Plug your appliance back in and test it out to make sure the drum is rotating properly.
The Dryer Drum Bearing Ring
The ring bearing is found on the lip of the dryer drum. It reduces the friction created by the drum rotating. Like the dryer drum belt, the ring bearing in your appliance can wear down after years of use. Replacing the ring is not complicated and should only take you a little over an hour.
How to Replace the Dryer Drum Bearing Ring in Your Roper Dryer
- To take off the top panel and the front panel off your dryer, follow the first two steps in the drum belt replacement guide provided above.
- Now that you have disassembled the front half of your dryer, you can access the dryer drum bearing ring. Using a pair of needle nose pliers, squeeze the locking tabs on the bearing ring and push them down and out of the slots on the lip of the dryer drum. Once you have disengaged all the tabs, pull the ring off the front of the dryer drum. Then, rotate the drum to bring the bottom half of the bearing ring to the top. Use the same technique to remove the second half of the dryer drum bearing ring.
- Align the new bearing ring tabs with the slots on the dryer drum, and then snap the ring into place. Next, turn the drum, and snap the second half of the bearing ring onto the lip of the drum. Run your hand along the new bearing ring to ensure the tabs are pushed all the way into the slots on the drum.
- With the new dryer drum bearing ring installed, begin reassembling your dryer. Start by reattaching the front panel. Then, reconnect the door switch and rethread the screws which hold the front panel to the dryer cabinet. Next, rotate the top panel back into its proper position and push down on it to engage the locking springs. Reinstall the screws found near the lint screen opening, and slide the lint screen into its housing.
- Plug-in your dryer and start it up to test out the new dryer drum bearing ring.
More Part Malfunctions That Cause a Non-tumbling Dryer
- The Drum Rollers are found inside your dryer cabinet on the rear panel. Their main purpose is providing support for the drum. If the rollers are worn or damaged, the dryer drum may not rotate freely. You can test the rollers by removing the dryer belt and turning the drum by hand. If the you feel any resistance, the rollers are most likely the problem, and need to be replaced. While you are switching out the drum rollers, we suggest taking a look at the drum roller axles. Worn out axles can also cause a non-tumbling dryer drum.
- The Idler Pulley provides extra tension on the drive belt to prevent the belt from slipping off the drive motor pulley. Due to the high speed at which the idler pulley rotates, the part can wear down after years of use. If this occurs, the dryer drum may no longer turn. To determine whether or not the pulley needs replacing, take the front panel off your appliance and remove the dryer drum belt. Once the belt is off, check to see if the idler pulley spins smoothly. If you feel any tension, swap out the worn idler pulley for a new one.
If you’re having a hard time narrowing down the cause of your dryer’s tumbling issue, please contact us today, and one of our highly trained appliance repair technicians will help you diagnose and fix the malfunction.
(323) 284-6780Give us a call!

Apr. 09, 2024
How to Fix the Whirlpool Washer F9 E1 Error Code

Apr. 09, 2024
How to Solve Frigidaire Dishwasher Lights Blinking

Apr. 09, 2024
Resolving the LG Washer UE Error Code (3 Easy Fixes)

Mar. 06, 2024
Replacing an Over-the-Range Microwave with a Range Hood

Mar. 06, 2024
How to Get Burnt Smell Out of Microwave (In 2 Easy Steps)

Mar. 06, 2024
7 Reasons Why Your Bosch Ice Maker Is Not Working

Feb. 05, 2024
Why Does Your Self-Cleaning Oven Smell?

Feb. 05, 2024
Why Is Your Whirlpool Cabrio Washer Not Spinning?

Jan. 03, 2024
Why Does My Refrigerator Make Noise?

Jan. 03, 2024
Troubleshooting the F2 Error Code on a Whirlpool Oven

Jan. 03, 2024
Rust Inside Microwave: Causes, Fixes, and Prevention Tips

Dec. 11, 2023
4 Ways to Get Smell Out of Dishwasher

Dec. 11, 2023
7 Steps to Fix a Whirlpool Oven Not Heating

Dec. 11, 2023
What to Do When Your Washing Machine Smells Like Rotten Eggs

Nov. 06, 2023