


March 7, 2022
Dryer Repair
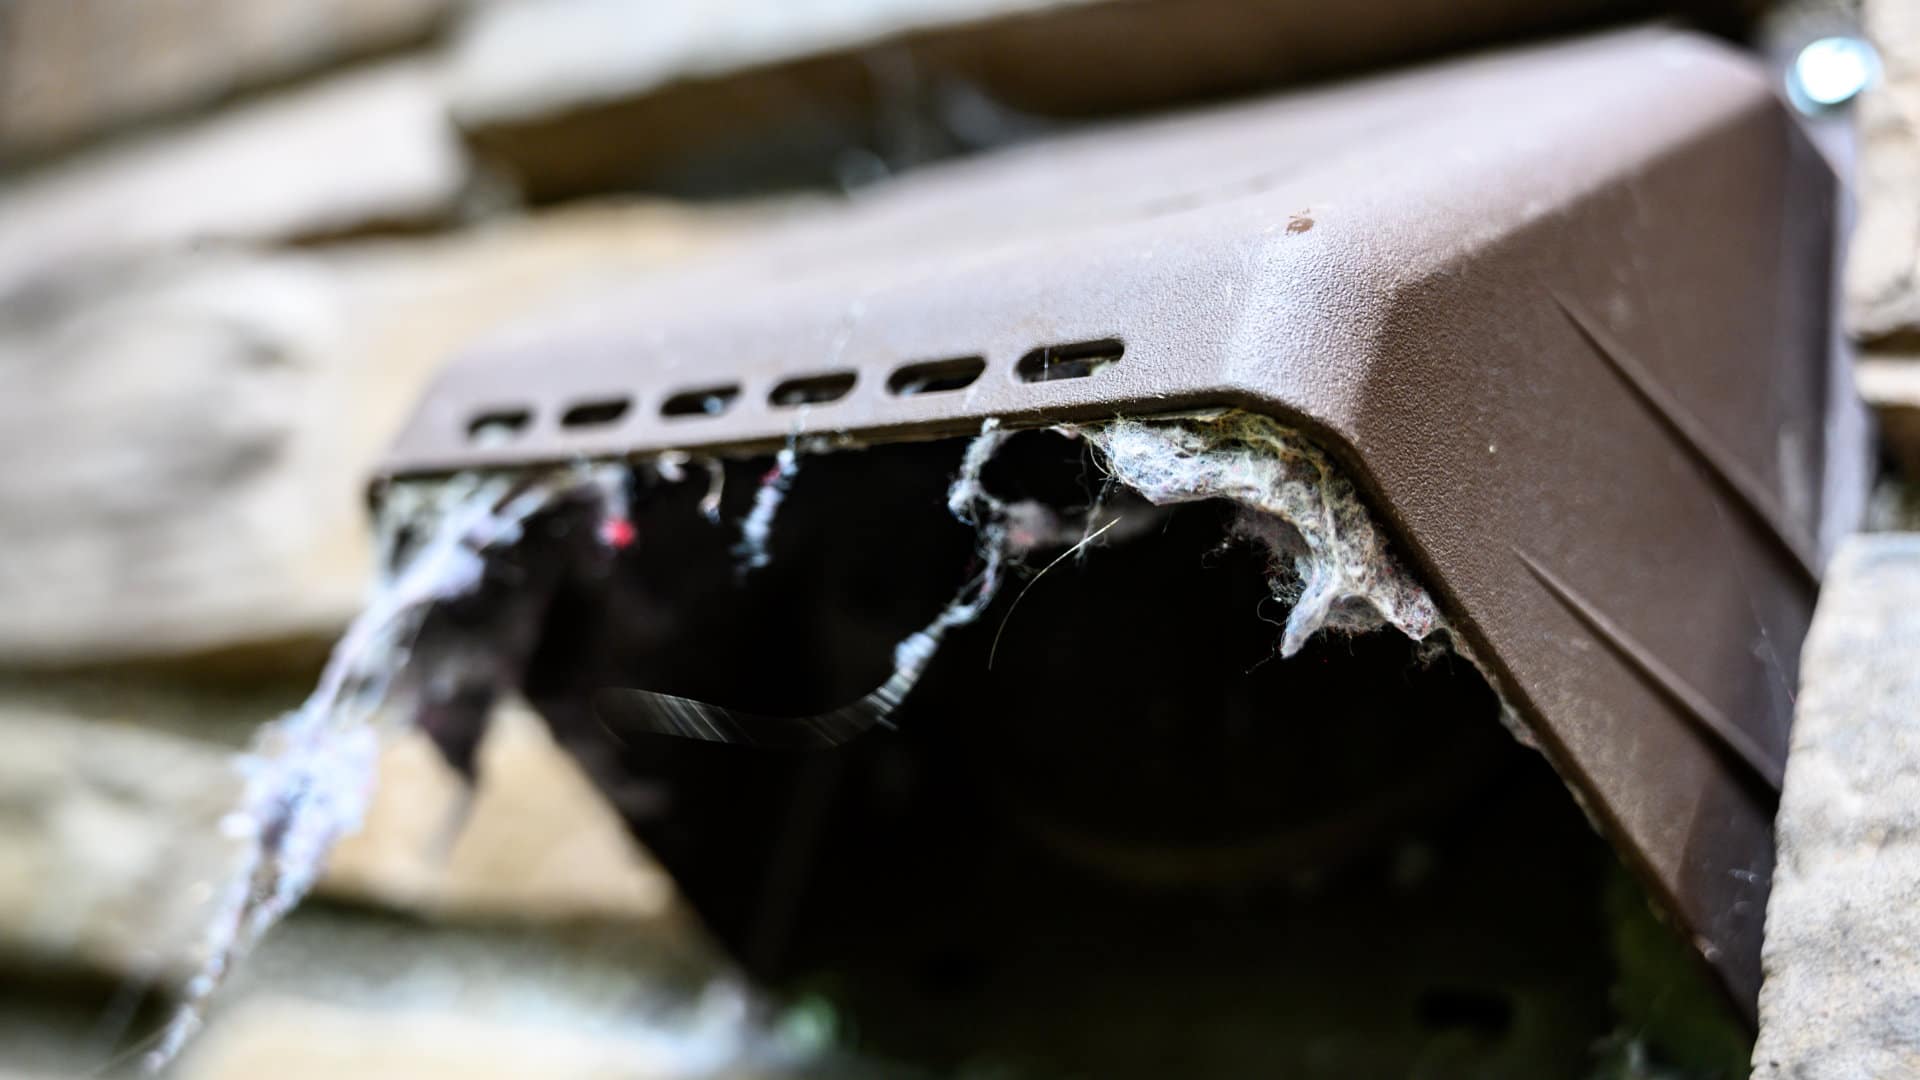
Dryers are one of the most used appliances in people’s homes, especially during the cooler winter months. To keep your dryer working at its optimal level and to avoid fire risks, you must give the dryer vent a thorough clean regularly. This is because when your dryer vent gets blocked up with lint and other debris, it creates a fire hazard due to the high heat your dryer gets up to. It also increases your energy costs as the dryer must work harder to dry your clothes.
It’s recommended that you give your dryer vent a regular clean, especially when you notice the dryer is taking longer to dry and/or overheating.
Thankfully, cleaning out your dryer vent is easy to do and doesn’t take too long to complete. Simply follow our step-by-step guide and you’ll be done in no time.
Step 1 – Disconnect the vent
The first step is to disconnect the vent so you can gain access to the inside of it.
Here’s what to do:
- Turn the power off to your dryer either by unplugging it or switching the circuit breaker off.
- Turn the gas supply off (if you have a gas-powered dryer).
- Pull your dryer about a foot from the wall. Be careful not to put too much pressure on the hoses and connections.
- Next, locate the vent at the back of your dryer.
- Disconnect the dryer duct. This can be done by disconnecting the clamp that holds it in place. If possible, you can also disconnect the duct from the wall end as well.
Step 2 – Vacuum the vent
Once the vent has been disconnected, the next step is to vacuum out all the lint and other debris inside of it.
Here’s what to do:
- Put on a pair of safety gloves (if you have any) and remove all the lint that has built up at the back of the dryer.
- Plug your vacuum cleaner in and turn it on. Use the hose attachment on your cleaner to vacuum out the vent at the back of your dryer.
- Next, vacuum out the vent duct as well—extend your vacuum hose attachment out to get it as far into the duct as possible.
- If possible, vacuum the vent from the external end as well. This can be found outside of your house where the vent comes out.
Step 3 – Brush the vent out
If you were unable to vacuum the vent out or if you’d like to give it an extra clean, grab a brush and clean the vent and duct out with it. You’ll need a brush with a thin enough head so that it can fit into the vent and duct. All you need to do is put the brush into the vent and duct and brush out all the lint and other debris.
Step 4 – Reconnect the vent
Once you’ve cleaned out the vent with a vacuum cleaner or a brush you can reconnect your vent. Before doing so, make sure the duct hasn’t become damaged during cleaning. If you find any cracks or holes in it, the duct will need to be replaced.
Here’s how to reconnect your vent:
- Reconnect the dryer duct. This can be done by putting the duct onto the vent and then securing it in place with the clamp.
- Reconnect the duct to the wall end if you removed it earlier.
- Turn the power back on.
- Turn the gas supply back on.
- Turn your dryer onto a cycle and check the connections are firmly in place.
Tips to keep your vent clean
There are a few simple steps you can take to ensure you don’t have to clean your vent as often. This will also reduce the risk of fires developing in your vent and lower your energy bills.
- Regularly sweep or vacuum the dust and lint that develops on the outside of your dryer.
- Remove the vent trap connection once a month and vacuum out the lint. This will reduce how often you’ll need to clean out the entire vent system.
- After every cycle, remove the lint trap filter and give it a quick clean. This will avoid any build-up of lint within your dryer.
- Remove the lint screen and vacuum it out once a week. If you end up with residue on the lint screen, clean it with hot soapy water to remove it.
(323) 284-6780Give us a call!

Apr. 09, 2024
How to Fix the Whirlpool Washer F9 E1 Error Code

Apr. 09, 2024
How to Solve Frigidaire Dishwasher Lights Blinking

Apr. 09, 2024
Resolving the LG Washer UE Error Code (3 Easy Fixes)

Mar. 06, 2024
Replacing an Over-the-Range Microwave with a Range Hood

Mar. 06, 2024
How to Get Burnt Smell Out of Microwave (In 2 Easy Steps)

Mar. 06, 2024
7 Reasons Why Your Bosch Ice Maker Is Not Working

Feb. 05, 2024
Why Does Your Self-Cleaning Oven Smell?

Feb. 05, 2024
Why Is Your Whirlpool Cabrio Washer Not Spinning?

Jan. 03, 2024
Why Does My Refrigerator Make Noise?

Jan. 03, 2024
Troubleshooting the F2 Error Code on a Whirlpool Oven

Jan. 03, 2024
Rust Inside Microwave: Causes, Fixes, and Prevention Tips

Dec. 11, 2023
4 Ways to Get Smell Out of Dishwasher

Dec. 11, 2023
7 Steps to Fix a Whirlpool Oven Not Heating

Dec. 11, 2023
What to Do When Your Washing Machine Smells Like Rotten Eggs

Nov. 06, 2023